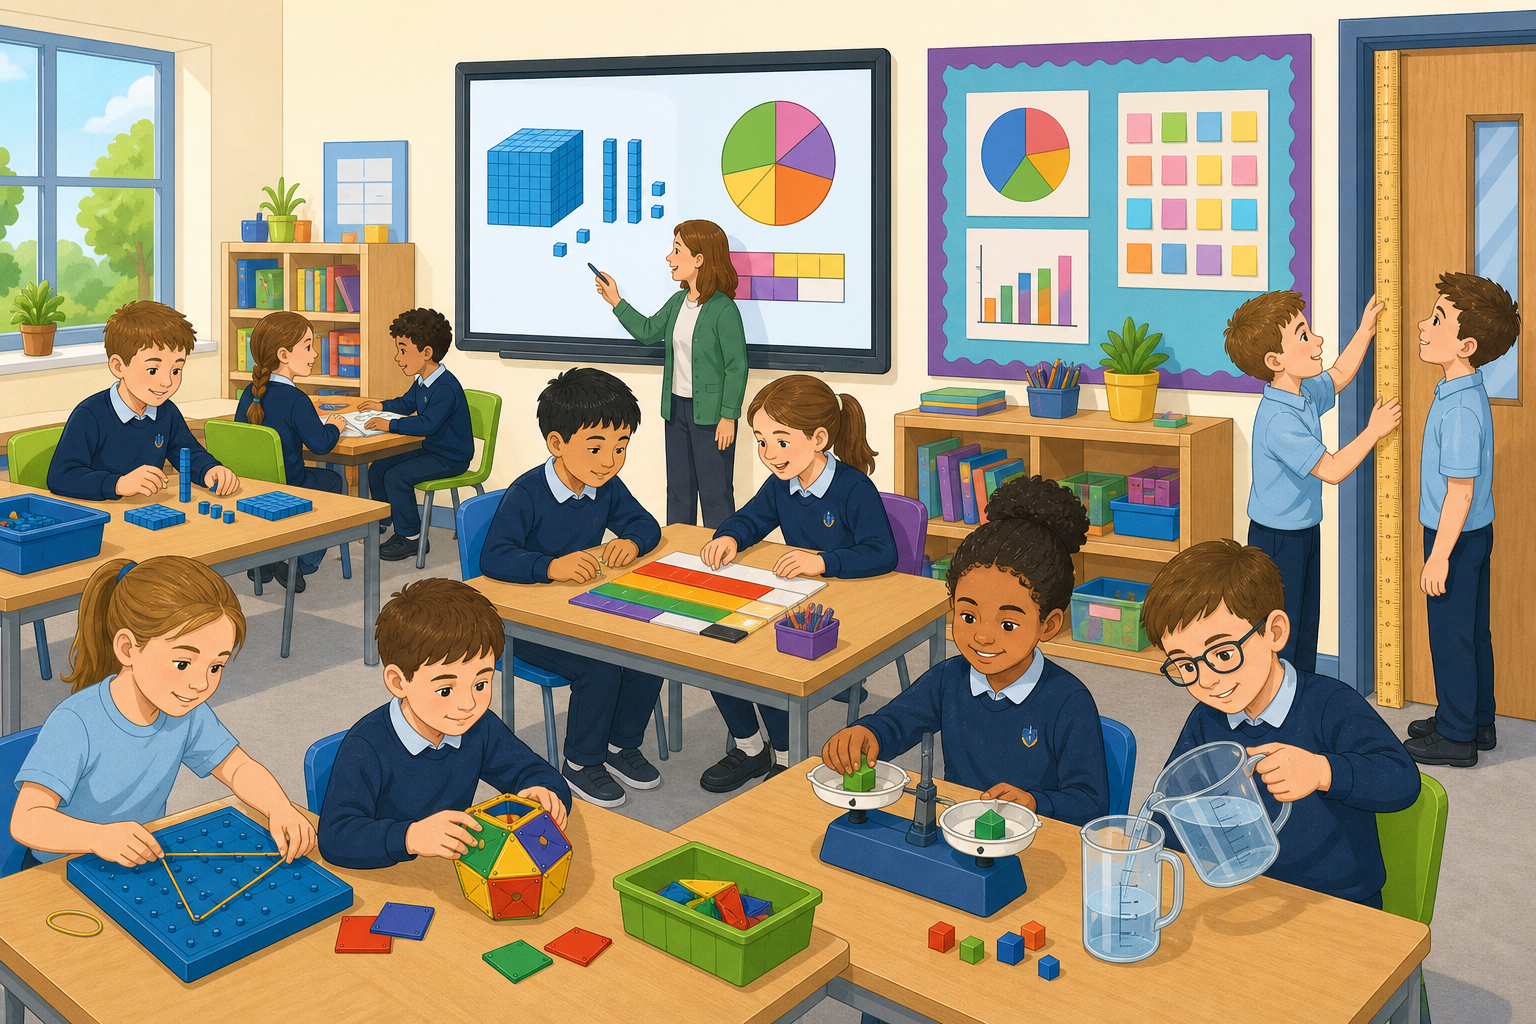
Look at the classroom door. Is it taller than one metre stick, two metre sticks, or even more? Have a think before any hands go up.
And here is the harder one: would you measure your pencil case the very same way you measure that door?
Hold the metre stick up against the door as pupils settle so the comparison is real, not imagined. Give five seconds of quiet think-time, then take three hands-up answers, not open call-outs.
You are listening for the idea that a door needs a big unit and a pencil case needs a small one. Don't name metres and centimetres yet — that lands in the next step.
We'll look at four things on screen and decide the sensible unit for each. Notice which ones are in centimetres and which ones are long enough for metres.
Ruler, 30 cm: short enough to hold, so centimetres make a sensible number.
Metre length, 100 cm: pause here. One metre is one hundred centimetres, the key fact; have the class echo it.
Desk, 60 cm: ask metres or centimetres, still centimetres.
Bookshelf, 1 m 20 cm: first one big enough for metres; link 1 m 20 cm to 120 cm.
Close: small things in centimetres, longer things in metres, and a metre is always 100 cm.
Now we measure real lengths around our room. Each time, the class names an object and votes first: should we record it in centimetres or in metres?
When the object is small enough to reach from your seat, like your copybook or your pencil case, measure it yourself with your own ruler and write it with its unit. When it is a longer thing, like the whiteboard, watch as two pupils measure it at the front with the metre stick, and check that the answer matches the unit we voted for.
Aim to cover about four objects in this slot: one or two small ones the class measures at their desks, and one or two longer ones a pair measures at the front. For each object, have the class vote cm or m before anyone measures, then measure and check the vote — that vote is your pacing lever and keeps the watching pupils thinking.
As pupils measure at their desks, circulate and catch alignment slips on the spot. Revoice a pupil's reasoning aloud ('I chose centimetres because a copybook is small') so the choosing is visible to all. Keep each front-of-room watch beat short.
In your maths copy, list five things you can see in the room. Beside each one, write "cm" or "m" for the unit you think suits it best. Then, before any measuring, write your estimate of how long each one is.
Walk the room glancing at the cm/m choices and the estimates — this is whole-class copybook practice, not marking. Nudge anyone who picks metres for a pencil or centimetres for the corridor with a quiet question.
Now we measure four lengths, choosing the unit each time. Two you do yourself at your desk: your desk width and a small object you can reach, like your pencil case. Two are long, so a pair measures them at the front while everyone watches: the height of the classroom door and the length of the corridor. Each time, choose the unit and write your estimate first, then measure and write the real length with its unit. For the corridor, the pair lays the metre stick end over end while the class counts the metres aloud.
Then watch one worked example of the same length written two ways. A desk measures 60 cm. Because 1 m = 100 cm, that is 60 hundredths of a metre, written 0.6 m. So a chair back of 0.6 m is the same length as the 60 cm desk. Then find one more matching pair in the room.
Open with one full estimate-then-measure model on a desk at the front before any pupil work.
Split the slot: pupils then do their own desk and one small object at seats (estimate and unit first, then measure); a pair does the door and corridor at the front while the class watches. Before each front measure, take a quick class estimate and unit vote, then measure and check.
Take lengths in size order: desk (cm), small object (cm), door (m), corridor (m). Corridor once only, stick end over end, class counts metres aloud.
After the measures, board the rename and keep it visible:
If a pupil offers the door as 200 cm, revoice both forms: 2 m is the same as 200 cm.
When would saying "2 metres" be clearer than saying "200 centimetres"? And when might centimetres be the better choice instead?
Listen for pupils noticing that big lengths are easier to say in metres (the number stays small and tidy) while small lengths need centimetres to be exact. Revoice a strong answer: 'so we pick the unit that gives us a sensible number to say'. Head off the idea that one unit is always 'right' — both 2 m and 200 cm are correct, we just choose the handier one.
Next we look at renaming length units — turning metres into centimetres and centimetres into millimetres, and back again, so we can swap between them whenever we need to.
Keep this brisk. Recap the cm-for-small, m-for-big rule and the 1 m = 100 cm fact one last time, then point forward to renaming so today's choosing-the-unit work feels like the natural lead-in.
You're previewing this lesson. Get full access to this lesson and hundreds more — each one ready to teach, with interactive activities, printable resources and pupil progress tracking built in.