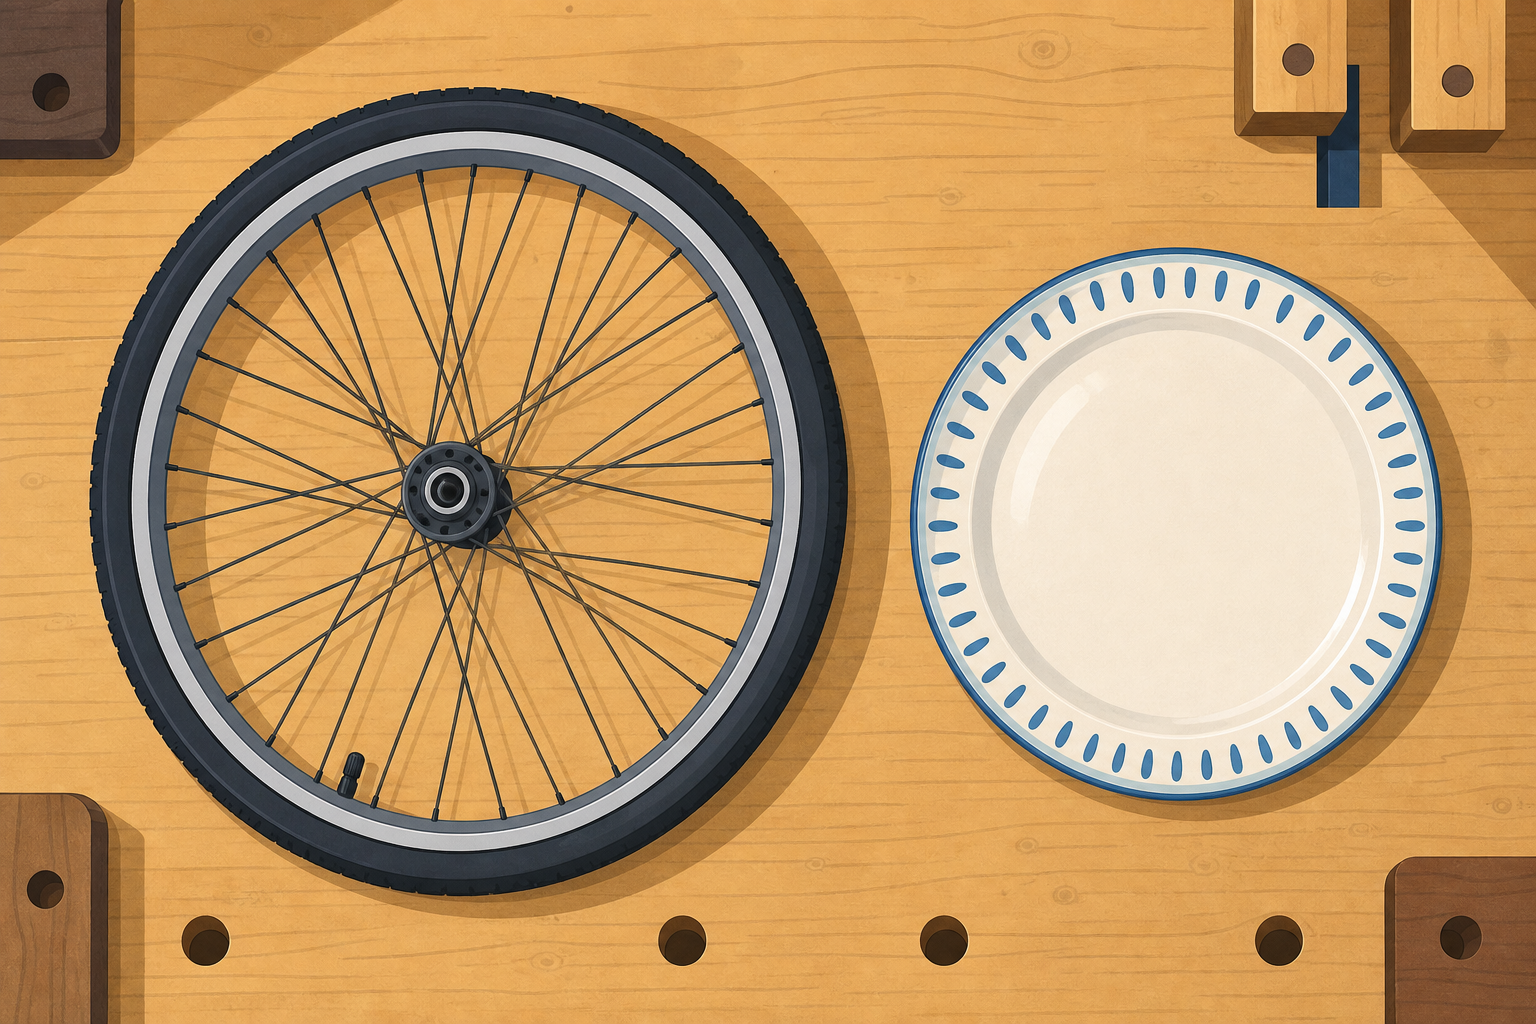
Here are two circles side by side: a bicycle wheel and a dinner plate. One is big, one is small. What is the same about both of them, and what one measurement could you take that would tell you nearly everything about the size of a circle?
Take three hands-up answers, not open call-outs. Steer toward the idea that a single distance (across, or out to the edge) describes a circle's size. Do not name radius or diameter yet — the next step introduces the vocabulary on the board.
Look at the circles on screen. The first shows the parts of a circle: the centre in the middle, a radius reaching out to the edge, the diameter going all the way across through the centre, and the circumference running all the way around the outside edge. Notice how the diameter is exactly twice the radius.
Now a bigger circle, same rule. This one shows the radius, say what the diameter will be before you check.
And here the diameter is given first. Say what the radius has to be when we know the whole width across.
Keep diameter = twice the radius as the sentence pupils hear you say each time.
Today we work through these circles together on the board: first drag the radius to 4 and read the diameter, then to 7, then set the radius so the diameter shows exactly 10, and finally drag to a radius of 2.5 (the tricky decimal one). Each time, say what the diameter will be before you check.
Talk this one through together — pupils take turns at the board and the class agrees or corrects out loud.
Drive the values in the order named. Start with radius 4. Then radius 7. Then set the radius so the diameter is 10 — this is the reverse move, so pupils choose radius 5. Finally drag to radius 2.5. Before each reveal, ask the class to predict the diameter. The 2.5 case is the wrinkle: pupils double a decimal, so hold out for five. Revoice a strong answer: so if I know the radius, I double it — and if I know the diameter, I halve it.
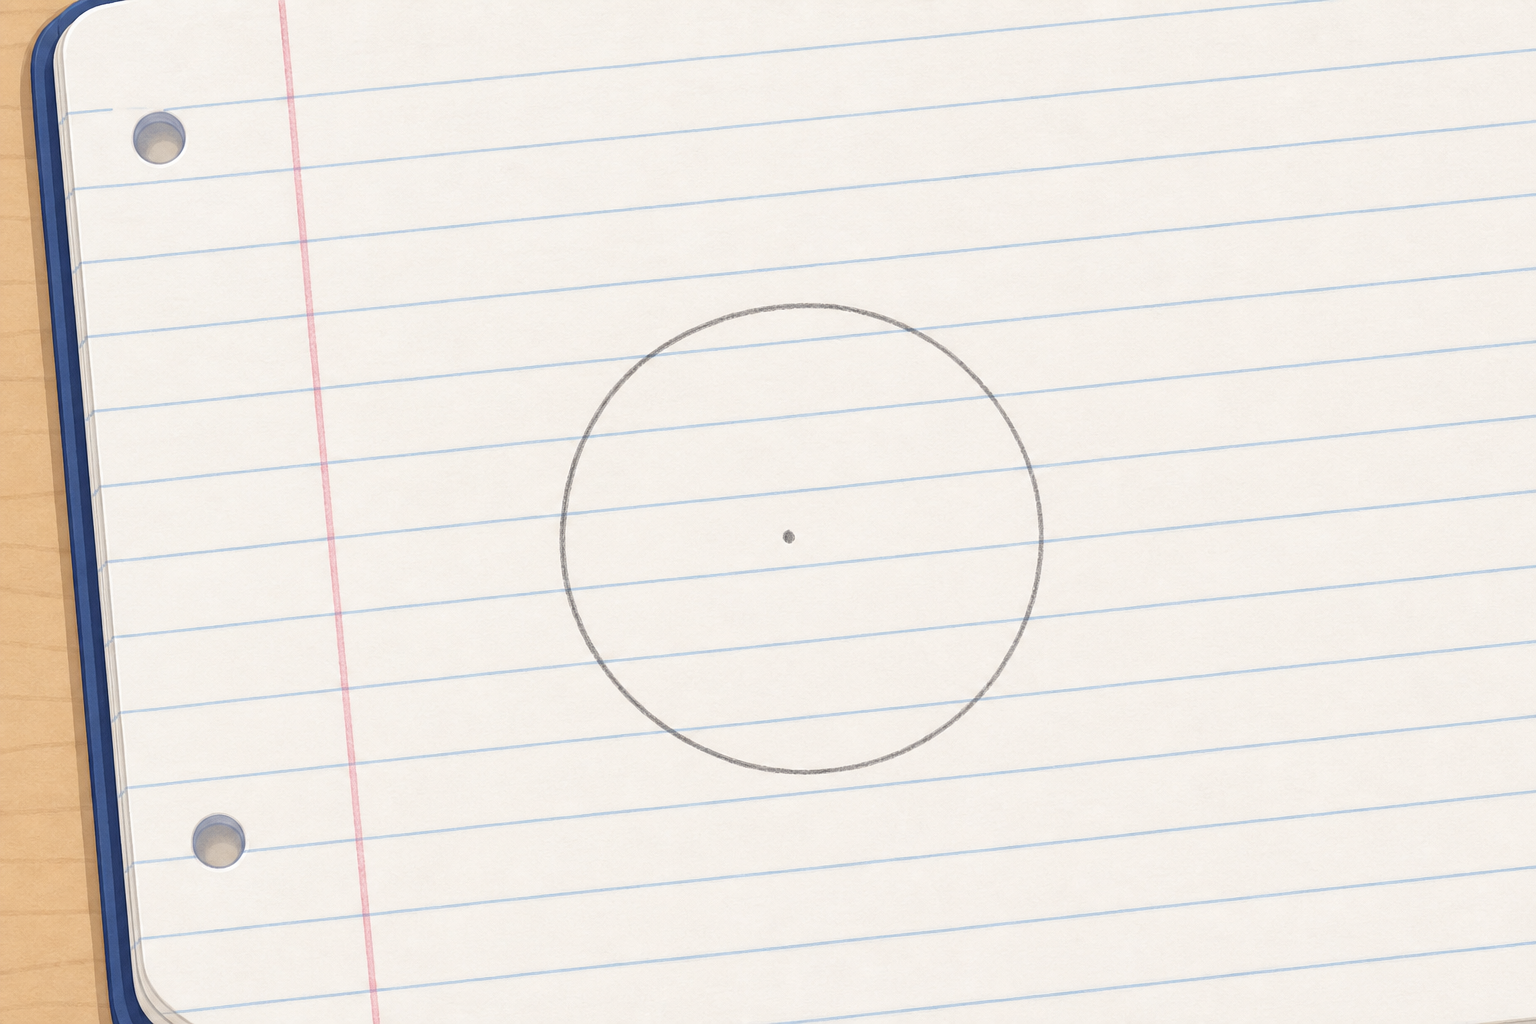
In your maths copy, sketch one circle. Now label four parts:
Underneath, write: r = ? and d = 2r.
Walk the room glancing that the radius reaches to the edge and the diameter passes through the centre dot — this is whole-class copybook practice, not marking. Catch any diameter drawn as a chord that misses the centre.
Now the written conversion round in your copy. For each circle you are given one length and you find the other. Work them in this order, one under the other:
For each circle you are given either the radius or the diameter. Use d = 2r to find the missing length. Show each answer with its unit (cm), one under the other in your maths copy.
Ways to start:
Stretch:
Record: Written in the maths copy, one circle per line, each answer with its unit.
This is the practice round — pupils work each conversion in their copies, then the class confirms each answer aloud before moving on. Keep it brisk rather than over-explaining.
The circle-tool anchored the radius–diameter link in the last two steps; this is the written ×2 / ÷2 drill on paper. The diameter-9 line is the wrinkle: halving an odd number gives 4.5 cm — hold out for the decimal answer rather than 4 with a remainder. On the last item, watch that pupils halve 24 to get 12 cm rather than doubling by mistake.
You're previewing this lesson. Get full access to this lesson and hundreds more — each one ready to teach, with interactive activities, printable resources and pupil progress tracking built in.