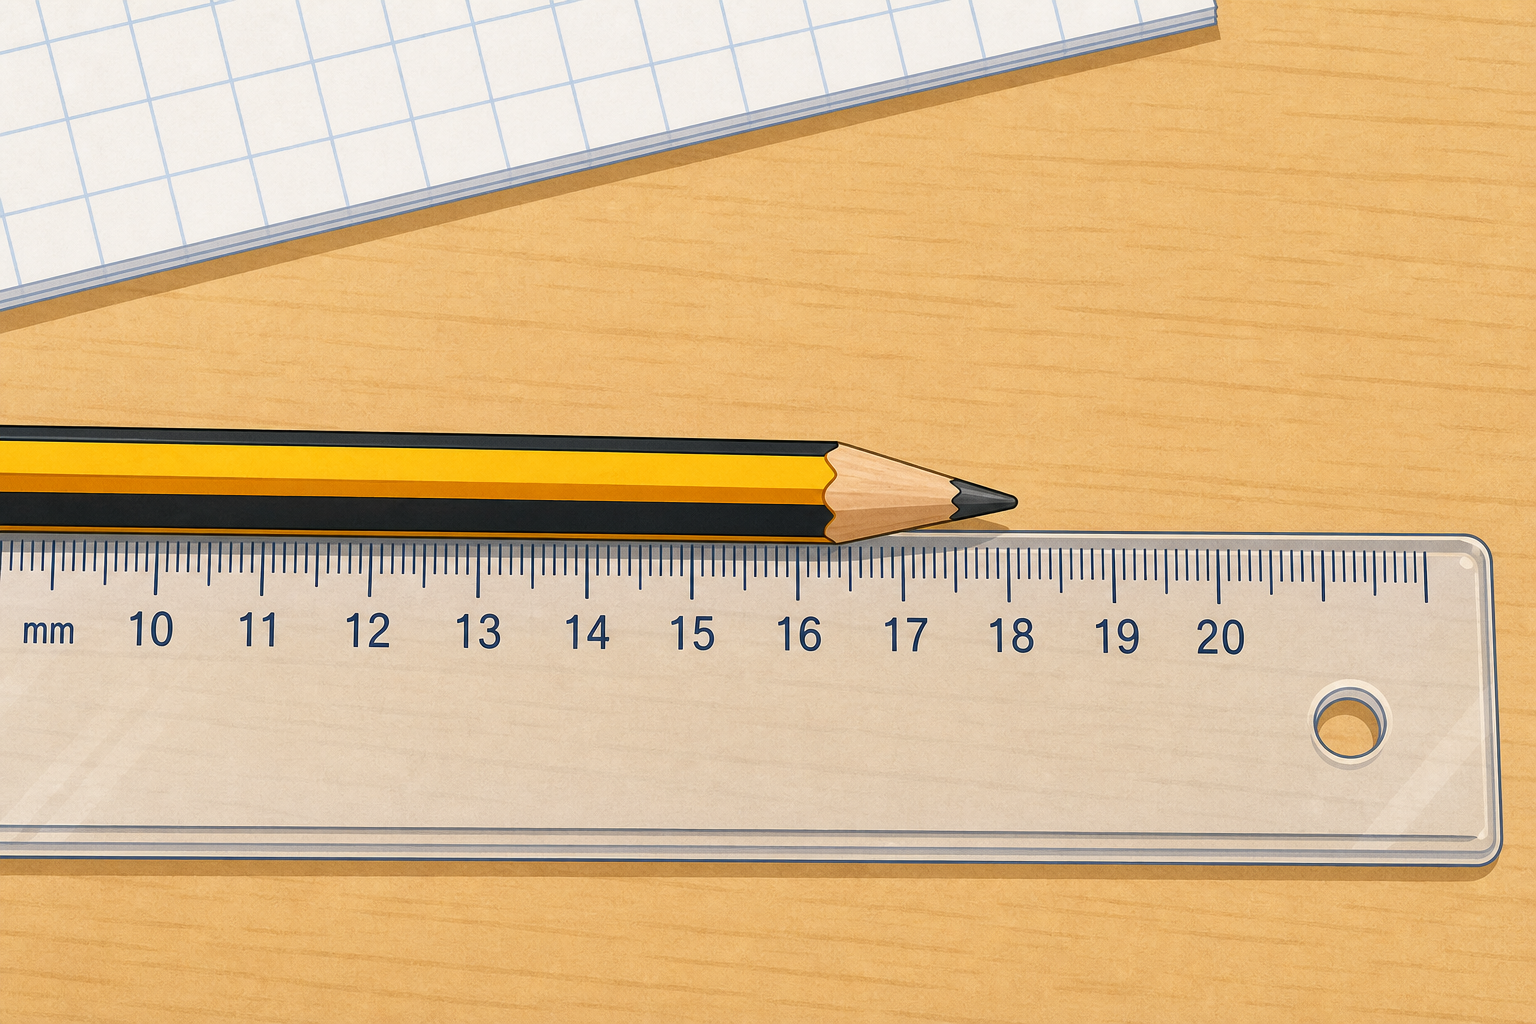
Here is a photo of a pencil lying along a ruler. The tip is sitting somewhere between the 16 and 17 centimetre marks. How long is this pencil, as exactly as you can read it? Hands up: what number would you write down?
Display the ruler-and-pencil photo as pupils settle. Take three hands-up answers, not open call-outs. Listen for anyone who reads the tiny marks between 16 and 17 — that is the millimetre reading we are after today. Don't confirm the answer yet; they will read their own objects next.
Watch closely at the front. The ruler has long lines for the centimetres and tiny lines in between — ten millimetres in every centimetre. We will measure a few real objects against it, so watch where each one ends and where the eye needs to be to read it true.
Real demonstration ruler at the front, not on screen. Lay each pre-measured object flat, one at a time.
Pencil: end at the 12 line plus four small marks — count the marks aloud, read as 12.4 cm or 124 mm.
Book 24.7 cm, then pencil case 19.5 cm — same routine, name both unit versions each time.
Parallax: lean deliberately to one side so the line seems to slip, then come back square-on. Say eye square over the mark and have them watch the difference.
Do not solve the Getting Started photo — they read their own objects next.
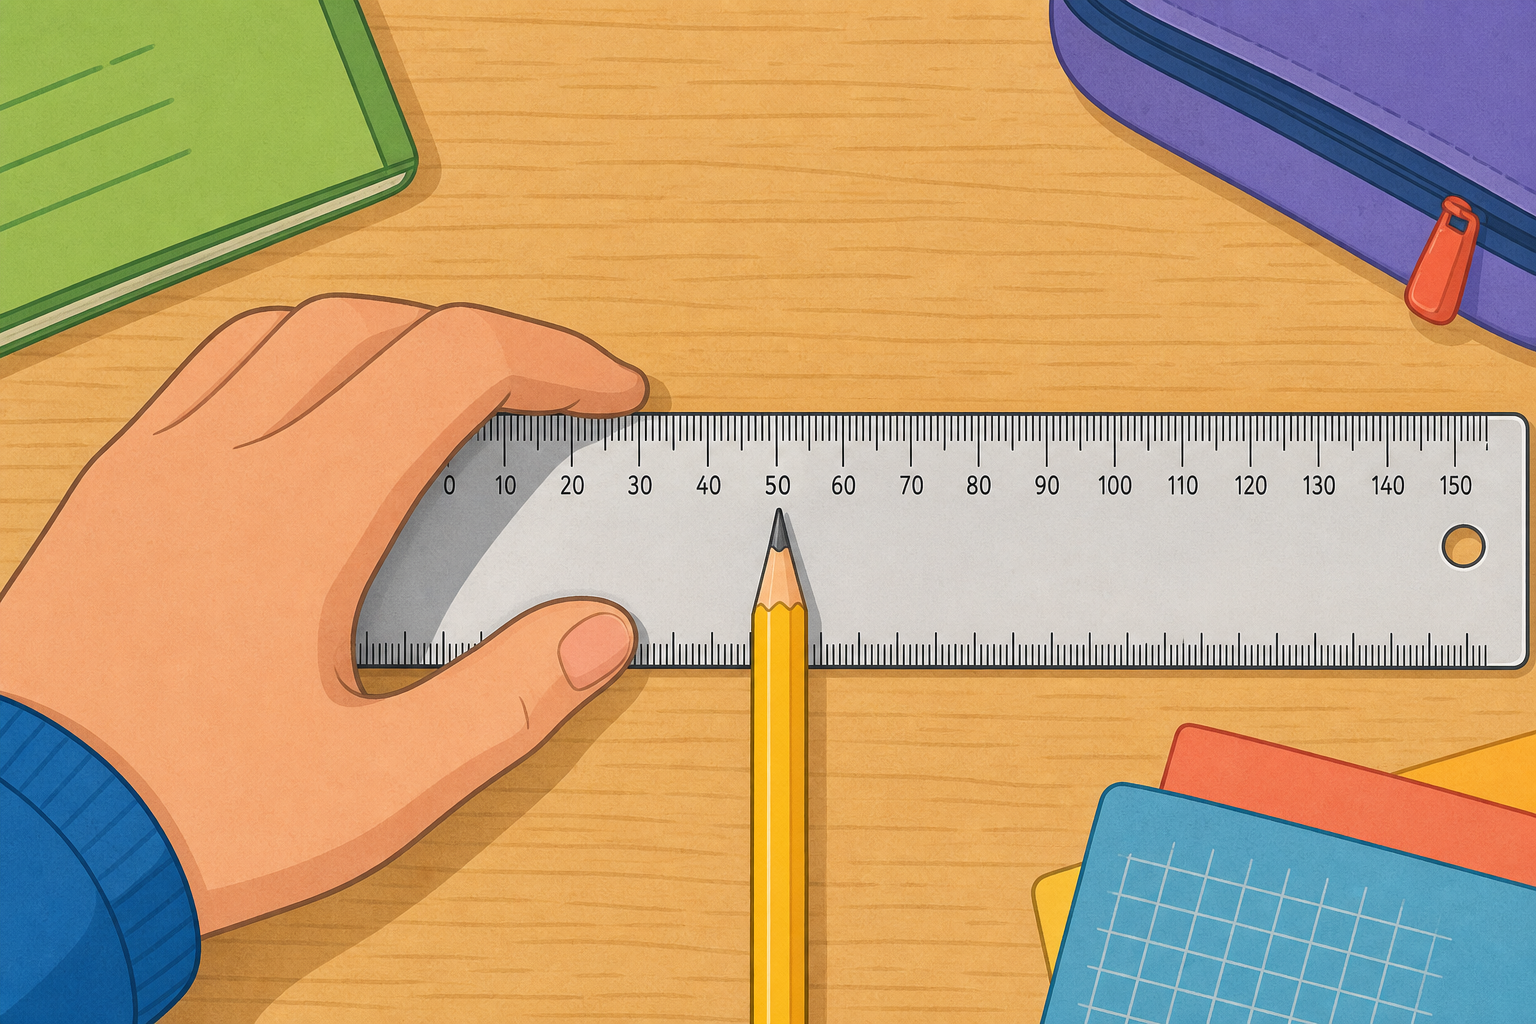
Now it is your turn at your own desk. Take your own ruler and measure three things: your pencil, your eraser, and your maths copy. For each one, read it to the nearest millimetre.
Say each length aloud two ways: in centimetres with a decimal (like 13.8 cm) and in whole millimetres (like 138 mm). Remember to look straight down, eye square over the mark, before you read. Each pupil's pencil, eraser and copy are different lengths, so readings will not match.
This round is for pupils to measure at their desks with their own rulers — circulate and catch alignment slips on the spot. The class reads aloud and you reconcile any disagreement as you circulate.
Look-fors as you walk the room:
Take a few readings aloud at the end; where two pupils disagree on the same kind of object, re-measure one together at the front.
In your maths copy, sketch ONE of the readings you just took. Write the length two ways underneath your sketch: in centimetres with a decimal, and in whole millimetres. Then circle the millimetre digit on each one.
Watch this worked example first. A pencil that ends four small marks past 12 is written two ways:
Circle the millimetre digit on both: the 4 after the decimal point in 12.4 cm, and the last digit 4 in 124 mm. Those two circled digits are the same millimetre count. Now sketch one of your own readings and do the same.
Board the worked example before pupils open their copies: 12.4 cm and 124 mm. Point to the tenths digit in the cm form and the units digit in the mm form, then circle both 4s so the class sees they match.
Worked steps to show:
Walk the room glancing at the two unit versions and the circled millimetre digit — this is whole-class copybook practice, not marking. Slip to watch: pupils circling the whole-centimetre digit or every digit, instead of only the tenths digit in cm and the units digit in mm.
Before the stations, watch one worked reading together. An object ends between two tiny millimetre marks, past the 8.6 line but not quite at 8.7. It sits closer to 8.6, so the nearest millimetre is 8.6 cm (or 86 mm). When an end falls between two marks, choose the nearer one, not a half.
Six real objects are set out as stations at the front: a crayon, an eraser, a glue stick, a highlighter, a marker, and a colour pencil. In your maths copy, rule three columns and head them Object, cm, mm. When it is your turn at a station, measure that object with your own ruler to the nearest millimetre.
Write each object's name and its length two ways in your copy: in centimetres with a decimal and in whole millimetres. Look straight down, eye square over the mark, every time. If the end sits between two marks, take the nearer mark. At the end we will read each one aloud and agree the true length.
These are the practice questions, run the six real objects as rotation stations at the front. First, teach the missing nearest-millimetre move with one concrete demo at the board before anyone rotates.
Worked between-marks demo (show end to end):
Then pupils come up in turns and read each object they reach with their own ruler; they record straight into the three-column table they ruled in their maths copy. There is no printed sheet to prepare.
Pupils read as many objects as they can reach in the time rather than a fixed number; keep the rotation moving so as many as possible get a turn, and confirm each reading aloud at the end.
Approximate true lengths for confirming the final readings: crayon ≈ 8.6 cm (86 mm), eraser ≈ 4.7 cm (47 mm), glue stick ≈ 15.2 cm (152 mm), highlighter ≈ 13.8 cm (138 mm), marker ≈ 14.5 cm (145 mm), colour pencil ≈ 17.3 cm (173 mm). Your own objects may differ by a millimetre or two, what matters is that readings agree across the class.
Where did the reading get harder today? Was it the longest objects, the ones whose end fell between two marks, or the ones where it was tricky to look straight down? Where does the precision start to drop off?
Listen for pupils naming the between-the-marks ends as the hardest — that is where precision genuinely drops, because there is no exact mark to land on. Revoice a strong answer: so when the end sits between two marks, we take the nearest one — we can't read half a millimetre on this ruler. Also draw out anyone who names the eye-square lean as the thing that wobbled their reading.
Next we will take these millimetre, centimetre and metre readings and convert between them — moving the digits along as we change from one unit to the next.
Keep this brisk. The millimetre-reading skill feeds straight into the unit-conversion lesson that follows.
You're previewing this lesson. Get full access to this lesson and hundreds more — each one ready to teach, with interactive activities, printable resources and pupil progress tracking built in.