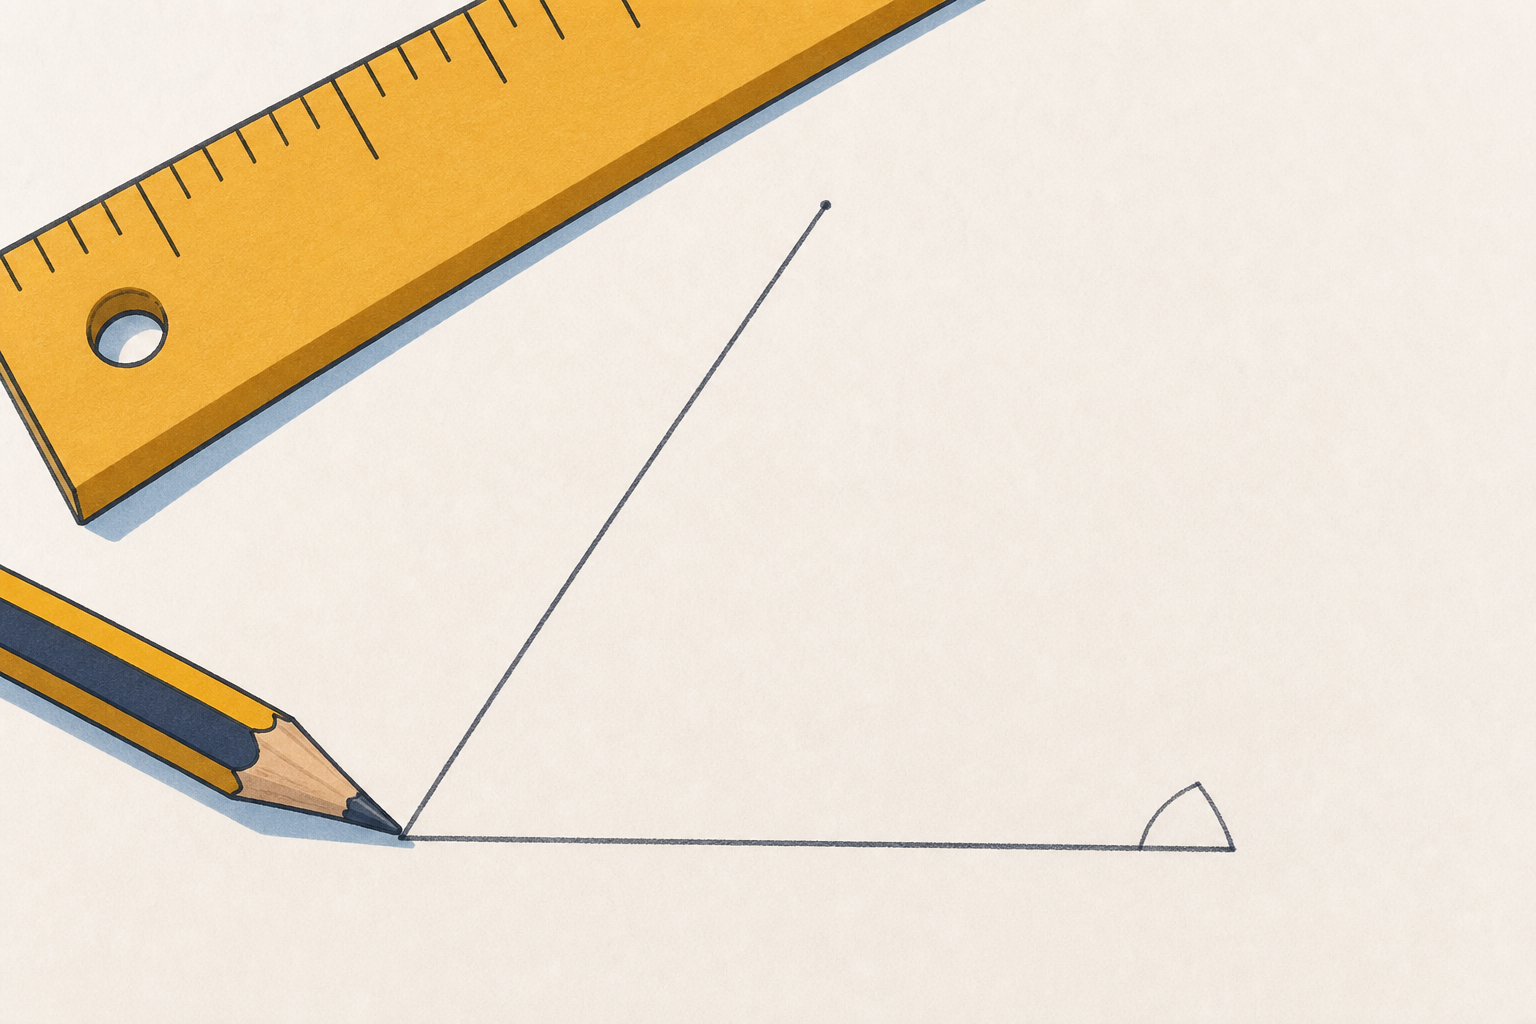
Imagine a triangle with one side already ruled and one angle already marked, but the last corner not yet joined.
To finish that triangle, some parts you would construct (draw carefully with your compass and ruler), and some parts you would work out (figure out with maths). Which is which?
Take three hands-up answers, not open call-outs. Listen for pupils separating construct (draw with compass/ruler) from work out (deduce an angle) — that split is the whole lesson.
Look at the triangle on the board, reconstructed from three given sides (6 cm, 5 cm, 4 cm) using compass arcs. The two arcs cross to fix the last corner, so only one triangle can close.
Now watch what happens with the angles. Once we know two of the triangle's angles, we do not need a protractor for the third. All three angles add to 180°, so the third one is 180° take away the other two. That is an angle we work out, not one we measure.
Talk over the build; do not read a script. Name the three sides (6, 5, 4 cm) and stress that only one triangle closes from them.
Land the key idea on the board where pupils can see it: once two angles are known, write 180° − angle 1 − angle 2 and show the third angle appearing from the subtraction, not from the protractor. Let a pupil say the third value before you complete it.
Now we work through one full review task together: construct a triangle from its three sides (7 cm, 6 cm, 5 cm), then find its angles. We will measure two of them with the protractor. For the third, we do not measure at all: we take the two we found away from 180° (180° − first angle − second angle), then check it with the protractor to see it matches.
We build in this order: rule the 7 cm base, swing a 6 cm arc from one end, swing a 5 cm arc from the other, join the crossing point, then measure and reason the angles.
Watching the board build IS the participation for the class — every pupil follows on their own paper while one pupil works the board build. You do not need every pupil to take a board turn.
Pacing levers across the beat: before the protractor confirms the third angle, ask the class to predict it from 180° minus the other two; turn-and-name a pupil for the subtraction; revoice a strong answer (so we already knew it before we measured). Watch for pupils reading the wrong protractor scale on the second angle.
In your maths copy, complete the review task with your own ruler, compass and protractor: construct the triangle from the three sides (7 cm, 6 cm, 5 cm), measure two angles, then work out the third by taking those two away from 180°. Check that all three angles add to 180°.
Ring the angle you worked out rather than measured.
Walk the room glancing at the ringed angle and whether the three add to 180° — this is whole-class copybook practice, not marking. Prompt any pupil whose arcs did not cross to check the compass width.
Today's challenge: design your own labelled triangle. Construct it from three side lengths you choose, measure two of its angles, then work out the third by reasoning from the 180° rule. Ring the angle you worked out.
Finished the triangle? Then add a stretch. First stretch: draw a circle beside it and label its centre, its radius, and one chord (a chord is a straight line joining two points on the edge of the circle). Second stretch: fold a net (the flat shape that folds up into a solid) for a cube or a triangular prism and sit it beside your drawing.
For a bigger challenge, write one sentence naming an angle you found by reasoning, never by measuring, and prove how you know it is exact.
Can you design a labelled triangle where you construct the shape and find one of its angles by reasoning, not measuring?
['Construct a triangle from three side lengths you choose (ruler and compass).', 'Measure two angles, then find the third by reasoning from the 180° rule and ring it.', 'Optional stretch: add a circle to your design with the centre, radius and one chord labelled.', 'Optional stretch: fold a net for a cube or a triangular prism and sit it beside your drawing.', 'For a bigger challenge, write one sentence stating an angle you found by reasoning and how you know it is exact.']
Ways to start:
Stretch:
Record: A labelled triangle design in the copy, plus one written justification sentence
Share back: One or two pupils show their design on the visualiser or board; the class checks the reasoned angle
This runs as a paper/desk investigation — pupils sketch and construct in their copies while you circulate. Hold one completed exemplar design on the board so pupils can see what a finished piece looks like before they start.
The core every pupil must produce is one constructed triangle with one reasoned angle. The circle-with-labelled-chord and the net are optional add-ons for pupils who covered them in earlier lessons — do not require them. Take one or two designs to the board at the end for the class to check the reasoned angle.
You're previewing this lesson. Get full access to this lesson and hundreds more — each one ready to teach, with interactive activities, printable resources and pupil progress tracking built in.