1 - Getting Started ~5 mins
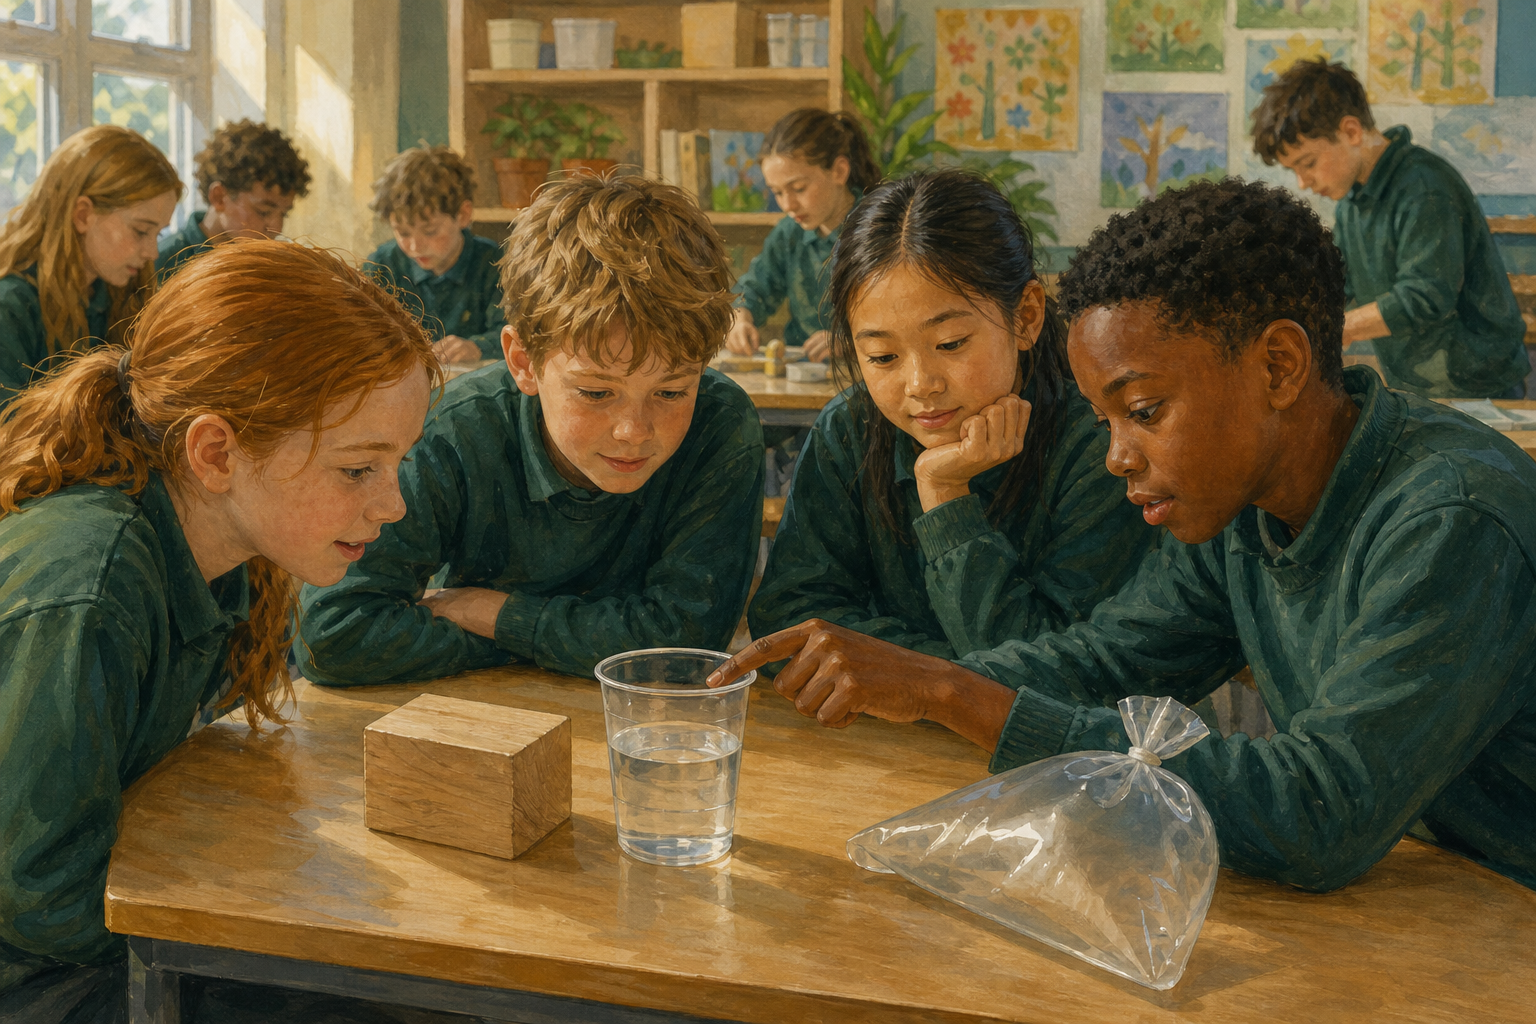 Look at these three things: a wooden block, a cup of water, and a sealed bag of air. Which one keeps its shape? Which one pours? Which one fills every corner of its container?
Today we will explore solids, liquids and gases, then find out what is happening inside them that we cannot see.
Have the three hook objects ready to show only: one solid block or pebble, a clear cup of water, and one sealed clear bag of air. Do not set out the full station kit yet.
Take two or three quick answers. Do not teach the particle idea yet. The hook is curiosity only.
Key question: How can three everyday things behave so differently?
2 - Today's Words and Our Question ~5 mins
Today's words: solid: keeps its own shape. liquid: pours and takes the shape of its container. gas: spreads out to fill all the space.
Our question: how do the wooden block, the water and the bag of air behave when we pour them, fill containers or try to change their shape? With your partner, predict one difference you think you will notice.
Read the short board lines aloud. Keep solid, liquid and gas behaviour words only on the board for this beat. Hold the particles definition until after the stations (step 5), when the model gives it an anchor. Keep the full table for your reference only.
| Concept | Why it matters | Example |
|---|---|---|
| Solid — a material that keeps its own shape and does not flow like water | Knowing a material is solid helps you choose it for jobs that need a fixed shape, like a chair leg or a brick | A wooden block still looks the same after you tip the tray; sand is made of solid grains but the pile can change shape |
| Liquid — a material that pours, takes the shape of its container and keeps a level surface | Liquids move and fill spaces, which is why water finds the lowest point and spills if the cup tips | Water poured from a jug into a cup takes the cup's shape but stays the same amount |
| Gas — a material with no fixed shape that spreads to fill all the space in its container | Air is a gas all around us; understanding gases helps explain weather, breathing and inflated tyres or bags | A sealed bag of air fills the bag; when you press gently the bag squishes a little then springs back |
| Particles — the tiny pieces that make up every material; how they move and arrange explains solid, liquid and gas behaviour | The particle idea is a big idea in chemistry: the material stays the same stuff, but the way its particles move changes with the state | Ice, liquid water and water as a gas are all water; the difference is how the particles are arranged and how free they are to move |
Prediction beat: ask each pair to say one predicted difference about pour, shape or fill behaviour using the three hook objects (for example, "I think only the water will pour"). Predictions are the start of the science, never wrong. Do not ask for a particle prediction yet. Pupils can deepen notes on their Investigation Journal page later; do not slow this beat for writing.
Misconception to head off later, not now: some children think gases weigh nothing or are "nothing". Use today's sealed bag (it fills space, can be pressed a little, and springs back) as the evidence that air is real stuff with behaviour, without relying on any earlier demonstration.
Another common idea: sand "must be a liquid" because it pours. Note it for the stations: sand is solid grains that can slide over each other, which is different from water.
3 - Explore the Three States ~20 mins
Watch first while the teacher models one station. Then, in groups, visit the solid, liquid and gas stations in turn.
At each station, check carefully: does it keep its own shape? Does it pour or flow? Does it fill the whole container? Can you gently press it? Talk about what you notice. The sealed bag of air is for looking at how it fills the bag and for a gentle press only — do not open it or try to pour it.
Before you leave each station, jot one short note or tiny sketch on your Investigation Journal page for that state so you keep the evidence. Leave materials where you found them and wipe small spills straight away.
Before the lesson
Default delivery: three fixed stations. Groups rotate around the room. Do not set a full tray kit at every table — the materials list is stocked for three stations (with enough for two groups working side by side at a station if your class is large).
- Solid station: wooden blocks or pebbles (2), dry sand in one shallow tray, spoons (2), one empty clear cup, tray underneath.
- Liquid station: jug of water, two different-shaped clear cups or containers, tray to catch spills, cloths nearby.
- Gas station: sealed clear bags of air (2–3); optional one fuller and one less-full bag so groups can compare how much each squashes. Keep gas evidence to the bags only. Bags stay sealed.
Worked model (do this live before groups start — about 5 minutes)
Think aloud with the liquid station only:
- I wonder whether the water will keep the jug's shape when I pour it.
- I predict it will take the shape of the new cup and sit with a flat top.
- I test by pouring slowly into a different-shaped cup.
- I observed the water poured, filled the bottom of the cup and took the cup's shape; the top stayed level.
- I think liquids do not keep their own shape; they take the shape of the container.
Then send groups to rotate through all three stations with the same checks: keep shape? pour or flow? fill the container? gentle press? Remind them the sealed bag is press-and-look only.
Light capture at stations: each group takes their Investigation Journal page with them. Before leaving a station they bank one short note or sketch for that state (shape / pour / fill / press). This is a 20–30 second bank, not a full write-up. The fuller comparison happens in the next step.
Optional whole-class gas moment: if useful, open one sealed bag once at the front so the class sees the bag go flat. The air has mixed into the room even though we cannot see it — you cannot pour air into a pile. Groups do not open bags at stations.
Guiding look-fors
- Solid block: keeps shape; does not pour; does not fill a new container by itself.
- Sand: made of solid grains; the pile can change shape and can be poured, but each grain is solid. This is a rich talk point, not a trick.
- Water: pours; takes container shape; level surface; volume stays roughly the same when poured carefully.
- Air bag: fills the bag; no fixed shape; gentle press shows it can be squashed a little then spring back.
Pacing (20 minutes total): about 5 minutes for the live model, then about 15 minutes for the circuit — roughly 4–5 minutes per station including the quick jot and a calm move-on signal. Call the rotation yourself so transitions do not eat the particle step later. If a station runs messy, shorten talk and protect the jot, then move on.
Differentiation: less confident groups use the four prompt cards on the board (shape / pour or flow / fill / gentle press). Confident groups also compare sand with water: same pour action, different reasons.
Safety: water on trays; wipe floor spills at once; no tasting; bags stay sealed at stations; only the teacher opens a bag for a whole-class moment if used.
4 - Record How Each State Behaves ~10 mins
Use the short notes you banked at the stations to finish your comparison table for solid, liquid and gas. For each state, record whether it keeps its shape, whether it pours, and whether it fills its container. Add one clear observation from a station you visited.
Pupils use the Investigation Journal page. They already have one light note per state from the circuit; this step turns those into a clear comparison. Tell them what to record, not invented column names or a layout you design:
- how a solid, a liquid and a gas behave for shape, pouring and filling
- one observation sentence or small sketch from the stations
- optional: where sand fitted (solid grains that can slide)
Circulate and push for evidence language: I noticed… when I… Separate observation from guess. "The water was wet" is weaker than "the water took the shape of the tall cup and kept a level surface".
If a group finished stations early: they add a second observation (for example sand versus water) on the same page, or whisper-compare with a neighbouring pair. No on-device task.
Keep recording to about 10 minutes so the particle interactive and the evidence-to-particle talk still have time.
5 - What Are the Particles Doing? ~10 mins
We saw how solids, liquids and gases behave. Now watch the interactive activity on the board. The tiny pieces, called particles, are a model of what is happening inside. Notice how they move in ice, in water and as a gas, and how warming or cooling changes the movement, not what the substance is.
What are the particles doing?
This is the first full introduction of particles: name the idea here, after the stations have given behaviour an anchor. Drive states-of-matter in guided mode on the IWB. Substance is water so it links ice, liquid water and water as a gas to one everyday material. Narrate each guided step; pupils do not need devices.
What appears on screen: particles of water in a container; temperature control; state name and a short reading. Melting point 0 °C, boiling point 100 °C. Start on solid (ice).
Suggested guided path
- Solid: particles stay in a pattern and only wobble. Link to the block that kept its shape.
- Warm toward melting: particles break free of the fixed pattern and slide. Link to water pouring and taking the cup's shape.
- Heat further to gas: particles race apart and fill the whole space. Link to air filling the bag and spreading when released.
- Cool back down: same water particles, different movement. The substance did not become "new stuff".
Key questions while you advance:
- What are the particles doing that makes ice keep its shape?
- What changed when it melted: the particles themselves, or the way they move?
- Why can a gas fill the whole container when a solid cannot?
Misconception to head off: particles are not "alive" and do not disappear when a liquid becomes a gas. The model shows the same particles moving differently. Also, the dots are a model: real particles are far smaller than anything we can see.
Nature of STEM: chemists use particle models to explain behaviour we can see. The stations showed the behaviour; the model explains it.
Unlock the full learning experience
You're previewing this lesson. Get full access to this lesson and hundreds more — each one ready to teach, with interactive activities, printable resources and pupil progress tracking built in.
This lesson is copyright of Coding Ireland 2017 - 2025. Unauthorised use, copying or distribution is not allowed.