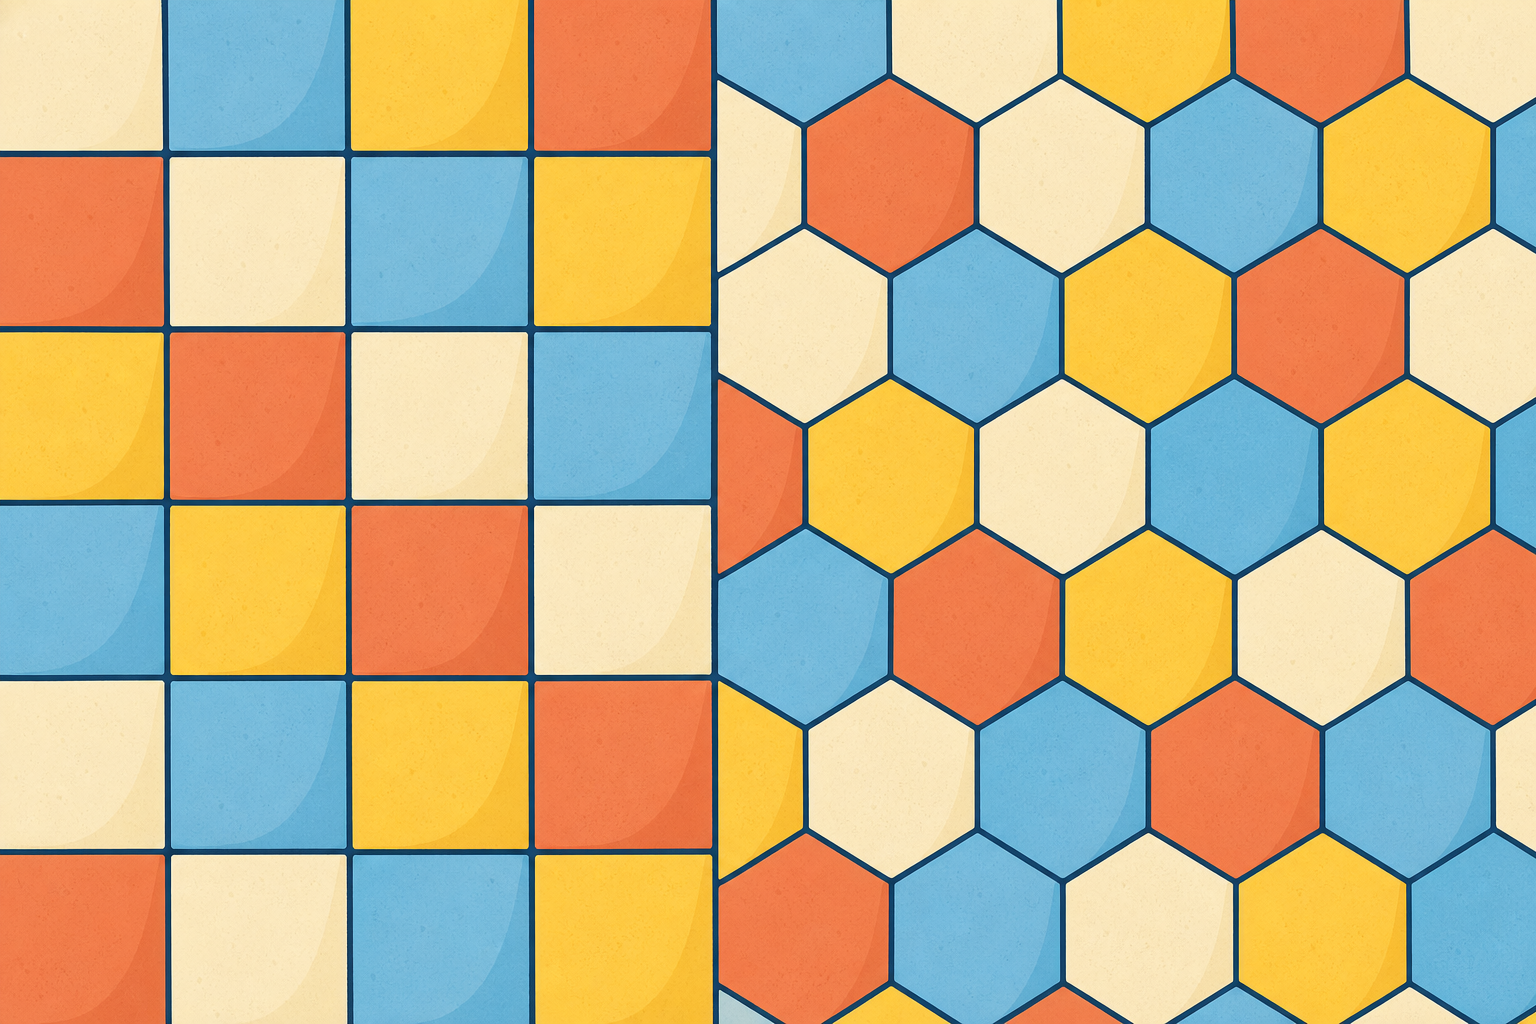
Look at these two pictures: a tiled bathroom floor and a honeycomb. What is the same about them? In each one, the shapes fit together with no gaps and no overlaps. Which shapes do you think can do that, and which ones leave a hole?
Take three hands-up answers, not open call-outs. Hold out for the word gap — that is the idea the whole lesson turns on.
Look at the corner where shapes meet — that is where a shape either closes up neatly or leaves a hole. The interactive and the labelled picture show several shapes meeting at a point. Watch how many corners meet each time, and whether their angles make a full turn or fall short.
Whole idea: corners at a point close up only if their angles total 360°. Have pupils count how many shapes meet before you give the number.
Squares (interactive): 90° corner, four meet, 90° × 4 = 360°, closes up.
Triangles (image, offset not one-per-cell): 60° corner, six meet, 60° × 6 = 360°.
Hexagons (image): 120° corner, three meet, 120° × 3 = 360° — the honeycomb.
Mixed corner panel: 90° + 60° + 60° + 60° + 90° = 360°; point along each angle as you add. A mix closes up whenever the corners still make a full turn — like a quilt block.
Pentagons (counter-example): 108° corner, three make only 108° × 3 = 324°, which is 36° short — point to the wedge gap. Why no floor is tiled with regular pentagons.
Now we fill an area together on the board with squares. As each square goes down, tell me whether the corner where it meets the others still adds up to a full turn. Each square corner is 90°, and four of them meeting make 360°, so the block fills with no gaps.
Remember the mixed corner we saw in the labelled picture, where a square and some triangles shared one point and still made 360°. That is the same rule we are using here, just with one shape. Whatever meets at a corner, the angles have to add to a full turn or a gap appears. So as we drop each square, we are really checking the same thing every time: do the corners still make 360°?
Talk this one through together — pupils take turns at the board and the class agrees or corrects out loud.
Individual pupils drag each square onto the grid. Before each one lands, ask the class whether the corner it meets still adds to a full turn. Revoice a good answer: so the angles at that corner always have to add to 360°. The grid is squares only because squares are the shape it draws truthfully; the mixed-corner reasoning was shown in the Watch and Notice image and is tested with real paper shapes in Verify With Real Shapes. Keep the board work brisk.
Before you design your own block, two ideas to name. First, the three ways we move a shape around a design: a translation slides it across without turning it, a reflection flips it like a mirror, and a rotation turns it around a point.
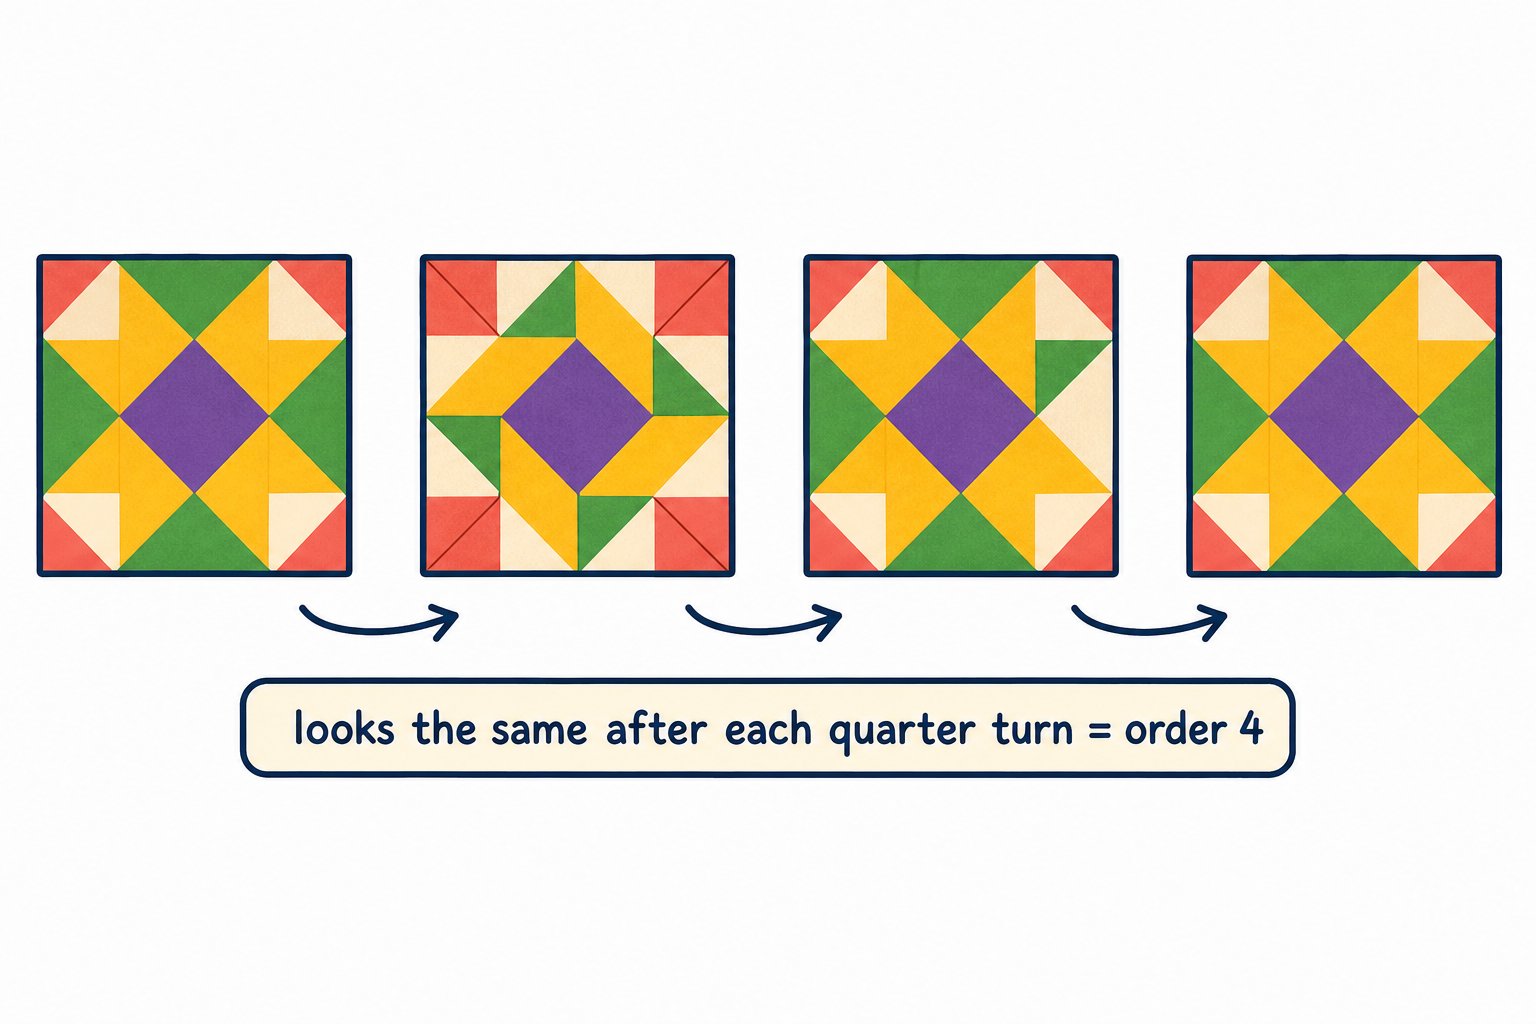
Second, rotational-symmetry order. That is the number of times a design looks exactly the same as you turn it once all the way round. Look at the four pictures of the block on the board. Each picture shows the same block turned a quarter of a full turn further round than the one before it. If the block looks exactly the same in all four pictures, it has rotational symmetry of order 4, because it matches itself four times in one full turn. A design that only looks the same once you turn it the whole way round has order 1.
Point to each of the four pictures in turn and have the class say same or different. Land the plain meaning: order 4 means it matches itself four times as it goes once round; order 1 means it only matches after a full turn. Keep the three transformation words concrete by naming a slide, a flip and a turn from the board text.
Before you sketch your own, we build one worked example together on the board squared grid so you can see the method end to end.
Watch this plan. We mark a 4 by 4 outline on the squared grid. Inside it we place four unit squares in a plus: one in the very centre and one on each of the four sides of that centre square, leaving the four corner cells empty for now. That plus is built by translation: we slide the centre square up, down, left and right by one cell each time, with no turn.
Next we fill each empty corner cell with two right-angled triangles made by drawing one diagonal. We place the first pair of triangles in the top-left corner, then use rotation a quarter turn at a time around the centre of the block to copy that same corner into the other three corners. The finished block uses two shapes, squares and triangles, and the corners where they meet still add to 360°, so there are no gaps.
Finally we check rotational symmetry. Turning the finished block a quarter turn at a time, it matches itself 4 times in one full turn, so its rotational-symmetry order is 4. We used translation for the plus of squares and rotation for the corner triangles (a reflection across a midline would also map some parts onto others).
In your maths copy, sketch a quilt-block design on squared paper using the shapes you choose. Make it a design you would actually want on a real quilt. Combine two or more tessellating shapes with no gaps, the way the board example combined squares and triangles. Label its rotational-symmetry order, and write which transformations you used: translation, reflection or rotation. Don't worry if your first block has a stray gap, spotting it is how you fix it.
Whole-class model first, then copybook. Keep the board demo brisk and concrete; pupils watch one full build before they draw.
Worked steps on the board squared grid:
1. Outline a 4×4 block.
2. Place the centre square, then translate it one cell up, down, left, right to make a plus of five squares. Name the move: slide, no turn.
3. In the top-left empty corner, draw one diagonal to make two right triangles. Say the angles at the inner point still make 360° with the square corners.
4. Rotate that corner pattern a quarter turn around the block centre into each of the other three corners. Name the move: turn about the centre.
5. Turn the finished block on the board a quarter at a time; class says same four times → order 4. List on the board: shapes used = squares + triangles; transformations = translation + rotation; order = 4.
Slip to watch: pupils drawing only one shape, or labelling order without actually turning the design; send them back to the board list. Also watch for gaps at corners where angles were not checked.
Then walk the room glancing for gap-free multi-shape designs and a stated symmetry order, this is whole-class copybook practice, not marking.
You're previewing this lesson. Get full access to this lesson and hundreds more — each one ready to teach, with interactive activities, printable resources and pupil progress tracking built in.