Mathematics
Intermediate
50 mins
Teacher/Student led
+80 XP
What you need:
IWB/Projector/Large Screen
Pattern blocks

Tessellation: Shapes That Fit Together

Explore which shapes fit together perfectly with no gaps or overlaps. Test squares, triangles, hexagons and circles to discover the tessellation rule, then draw and build tilings of your own.
Teacher Class Feed

Load previous activity

    1 - Getting Started ~4 mins

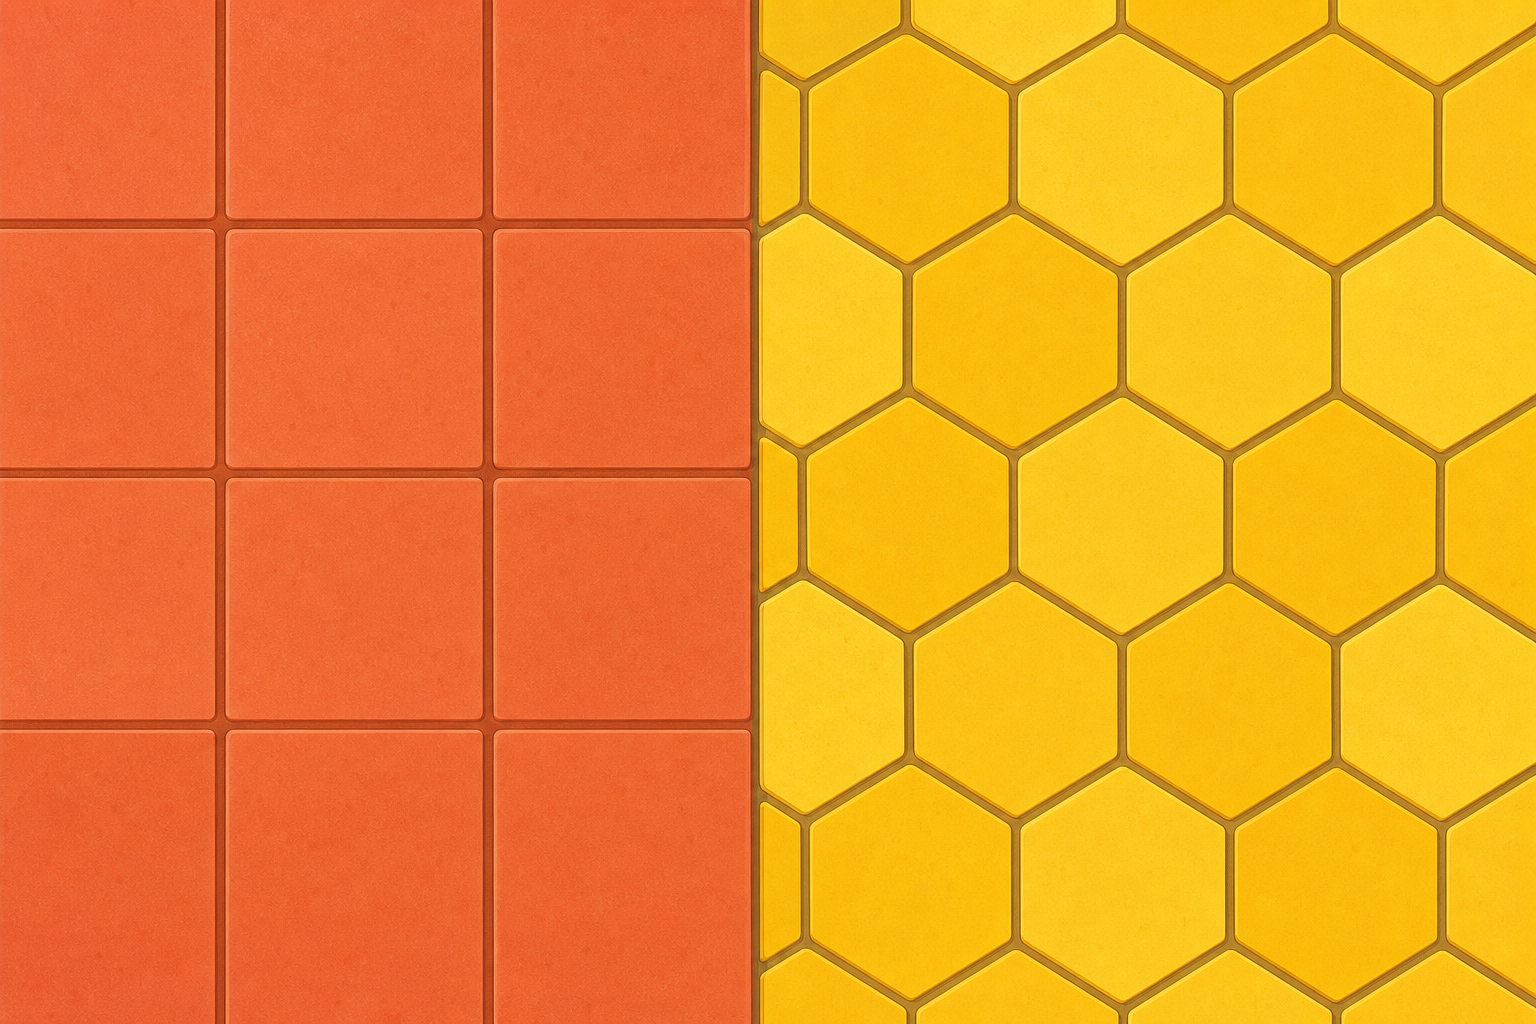
    Illustration for Getting StartedLook at this tiled floor and this honeycomb. What do you notice about the way the shapes fit together?

    Is there any empty space left between them, or do they fit snugly with nothing to spare?

    2 - Watch and Notice ~8 mins

    Look at these three surfaces. First, squares. Then hexagons, like the honeycomb. Then circles.

    As you look at each one, ask yourself: are there any gaps, and do any shapes overlap? That is the test for tessellation.

    3 - Try It Together ~9 mins

    Today we tile a floor together on the board using squares, laying them one at a time so each meets the next edge to edge with no gaps. First, predict: will squares fill the space with no gaps left over?

    Watch as copies of the square are laid to fill the space, each one meeting the next edge to edge. Look for gaps and overlaps, and call out what you see.

    Squares have straight edges, so they close up the space. Later, in your copy, you will draw a shape with three or six straight edges and see the same thing happen.

    Fill the floor with squares

    4 - Draw Your Own Tiling in Your Copy ~3 mins

    COPYBOOK MOMENT

    In your maths copy, choose one shape that tessellates — a triangle, a square or a hexagon — and draw at least six copies of it fitting together with no gaps, like floor tiles.

    Make each copy the same size and let the edges touch, so there is no empty space between them.

    5 - Class Challenge ~10 mins

    Today we work through tiling challenges together on the board with squares. Each one fills a little more space than the last. First we tile a short strip. Then we fill a small square floor. Then we fill a wider floor. Last, we fill a larger floor with no gaps left anywhere.

    Before each challenge, predict whether the squares will fit. Then we fill the space and check for gaps together. Because squares have straight edges, they should close up the whole space with nothing to spare.

    Tile with no gaps

    Pupil practice
    Module 8 · Symmetry, Location and Transformation Algebra
    Lesson 89 · Tessellation: Shapes That Fit Together
    Download Activity Book page (PDF)
    123learn · Online learning platform

    Unlock the full learning experience

    You're previewing this lesson. Get full access to this lesson and hundreds more — each one ready to teach, with interactive activities, printable resources and pupil progress tracking built in.

    Hundreds of curriculum-aligned lessons
    Interactive activities in every lesson
    Printable resources & progress tracking
    Copyright Notice
    This lesson is copyright of Coding Ireland 2017 - 2025. Unauthorised use, copying or distribution is not allowed.
    🍪 Our website uses cookies to make your browsing experience better. By using our website you agree to our use of cookies. Learn more
