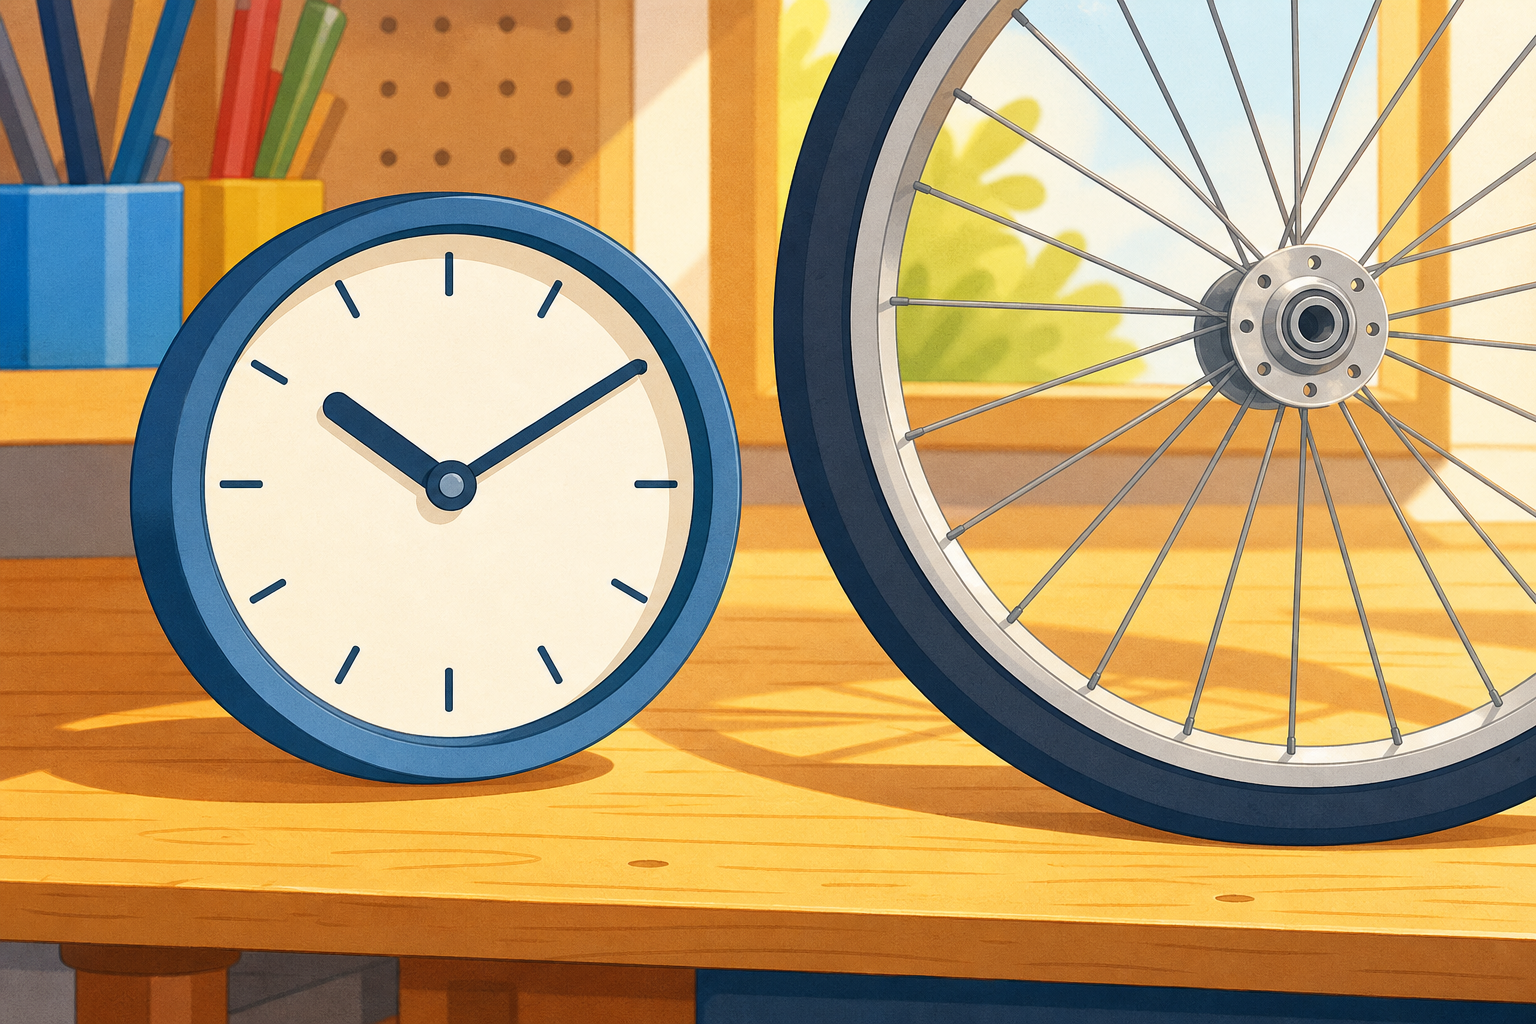
Look at these three round things: a clock face, a bicycle wheel and a coin. Where is the very middle of each circle? And if you wanted to measure straight across the widest part, where would you put your ruler?
Show the three round objects (photo or real). Give five seconds of quiet think-time before hands go up. Take two or three answers on where the middle is and one on where to measure across. Do not name centre, radius or diameter yet — that lands in Watch and Notice.
Watch the circle on the board. First we see the centre — the exact middle. Then a straight line from the centre out to the edge: that line is the radius. When a second radius points the opposite way, the two together make one straight line right across the circle through the middle: that is the diameter. When we have more than one radius, we call them radii: so one radius, two radii. Notice how far the diameter reaches compared to a single radius.
Point to the centre first. Then trace the radius out to the edge. Then draw a second radius the opposite way so the class sees the two line up into one straight line across the middle — the diameter. Build each part live on the tool as you name it. Hold out for the noticing: how many radii fit into the diameter? Let a pupil say it before you confirm. Say the diameter always passes through the centre. Do not narrate the answer for them — flag what to watch and let them see it.
No IWB? Draw the circle on a plain whiteboard with a compass or a circle template, then mark the centre dot, one radius and the diameter by hand in the same order.
Today we fold a paper circle to find its parts. Each of you has a circle. Follow these three steps:
Talk this one through together — pupils take turns at the board and the class agrees or corrects out loud.
Circulate as pupils fold. Watch for folds where the edges do not quite meet — that crease will not be a true diameter. Ask a pupil to hold up their circle and point to the centre, then a radius, then the diameter. Revoice: the crease goes through the middle, so it must be a diameter.
In your maths copy, draw a circle. Mark and label its centre. Draw and label one radius. Then draw and label its diameter. Check that your diameter line passes right through the centre.
Walk the room glancing for the diameter passing through the centre and the labels in place — this is whole-class copybook practice, not marking. A common slip is a diameter drawn near the middle but not through it; nudge those pupils to re-draw through the centre dot.
We take turns at the board to make these circles. Before each one, the whole class says the missing measurement out loud. The board tool is set by its radius, so for a diameter target we first halve it to find the radius to set. Say the missing measurement for each:
This is the practice round — pupils take turns at the board, check each answer, and the class confirms before moving on. The tool is set by radius, so a diameter target must first be halved to find the radius to set on the slider.
The diameter-target ones (10 cm and 12 cm) are where pupils think hardest — slow down on those two and give each a real predict-then-check beat. For a diameter of 10 cm the radius must be 5 cm; for 12 cm it must be 6 cm. Ask the class to predict the radius before the pupil at the board sets the slider, then press Check. Revoice the halving and doubling: the diameter is two radii, so half the diameter gives the radius.
No IWB? Run the same round with a compass on a plain board: a pupil sets the compass to the named radius, draws the circle, and the class checks the measurement with a ruler.
You're previewing this lesson. Get full access to this lesson and hundreds more — each one ready to teach, with interactive activities, printable resources and pupil progress tracking built in.