Intermediate
60 mins
Teacher/Student led
+80 XP

Accessibility Features in Presentations

In this lesson you will discover how to make presentations accessible by checking alt text, captions, transcripts, colour contrast and minimum font sizes. You will create a class checklist, audit one of your portfolio artifacts against these criteria, and apply at least one Fix.

Teacher Class Feed

Load previous activity

    1 - Introduction ~5 mins

    Welcome

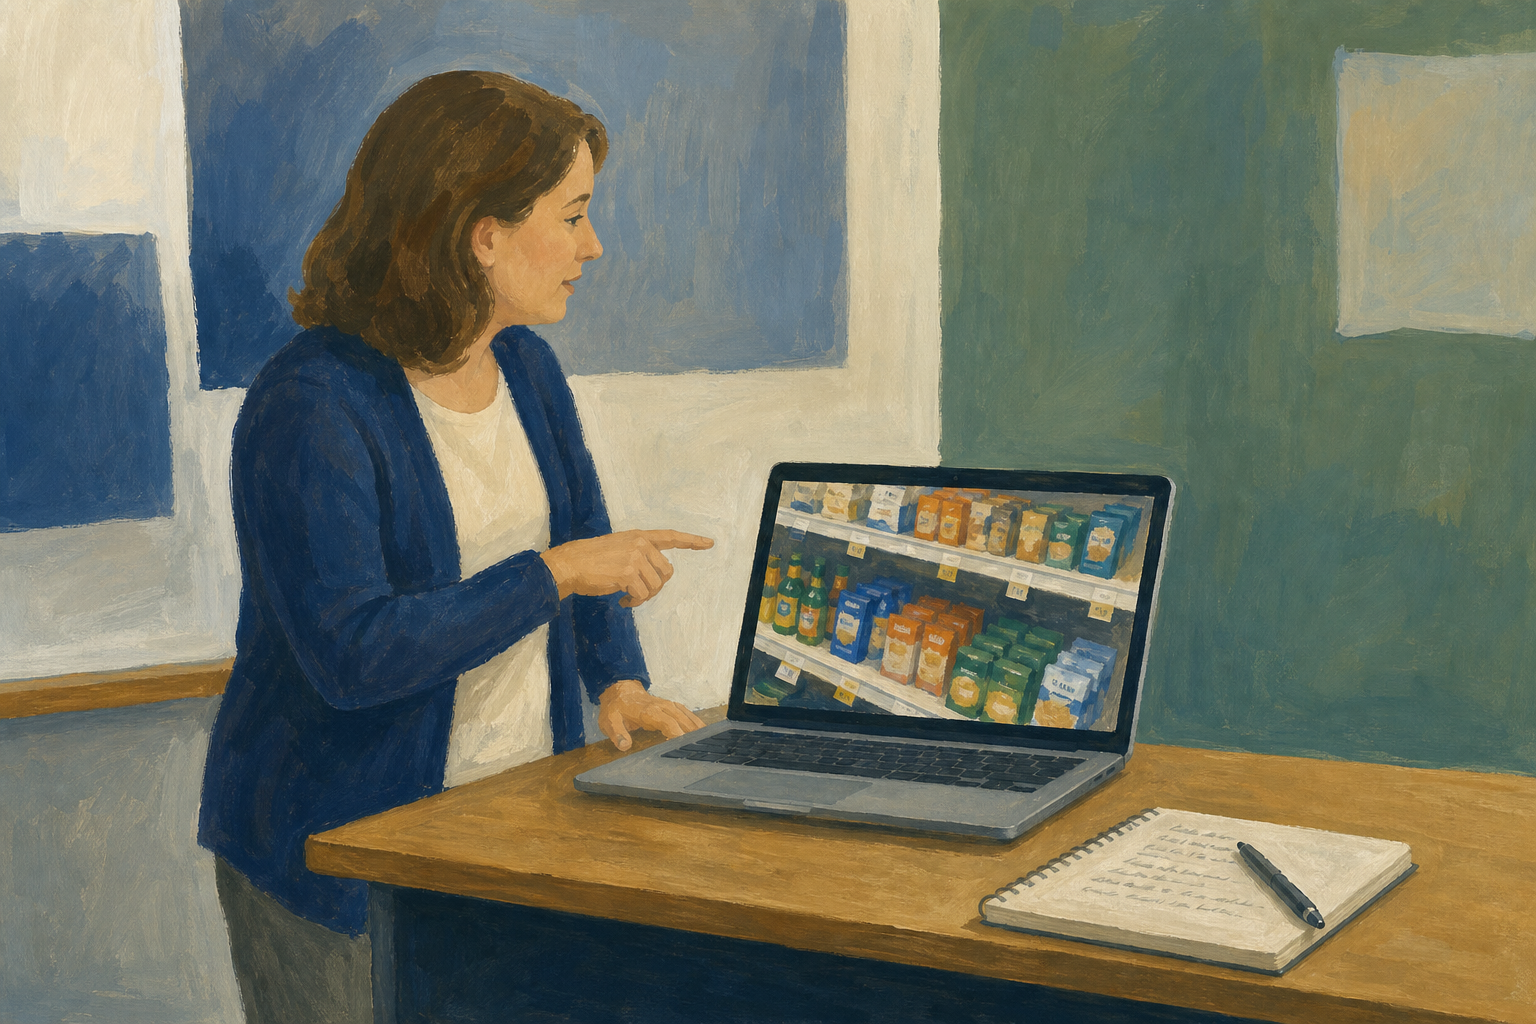
    Illustration for IntroductionYour VET interview presentation has to work for every person in the room, not only people who see, hear, and read in the same way you do. Today you will learn five accessibility checks that turn a good pitch into one more people can actually follow, and you will audit one piece of your Something Real work against them.

    Diagram of a slide image with an alt text description callout
    Without alt text, a key photo is silent for some of the audience. Today you will check for that.

    By the end of this lesson, you will be able to:

    • Audit one portfolio artifact against five accessibility criteria and record honest Pass, Fix or N/A notes
    • Explain why accessibility is part of good design, not an add-on
    • Apply at least one accessibility Fix on a real file and note the before-and-after change

    Warm-up

    Think of a slide, poster, or short video you have seen recently (school, social media, or Work Experience). If someone could not see the images, hear the sound, or read small grey text on a pale background, what would they miss? Jot three words on a scrap of paper or in Notes (for example "tiny menu", "no captions", "grey on white"). Your teacher may collect two examples on the board before Key concepts. Keep that example in mind as the class builds today's checklist.

    2 - Key Concepts ~6 mins

    Key point

    Accessibility means designing so more people can use your work without needing a special version. It is not a last-minute sticker. Start with the three checks that almost always apply to slides and posters. Captions and transcripts join the list when your piece has video or audio.

    ConceptWhy it mattersExample
    Alt text: a short written description attached to an image so screen readers (and people who cannot load the image) still get the meaningWithout it, a key photo or chart in your pitch is silent for part of the audienceWork Experience photo: "Stocked soft-drinks shelf in Centra aisle three, labelled by product type"
    Colour contrast: how strongly text or icons stand out from the backgroundPale grey on white looks clean on a laptop and disappears on a projector or for people with low visionNear-black body text on white (or white text on a dark solid block) for VET slides
    Minimum font size: body text large enough to read when projected or shared on a phoneTiny text forces the examiner to squint instead of listening to youAim for body text of at least 24 pt (or no smaller than 18-20 pt) on projected slides; test on the real projector when you can
    Diagram of a slide image with an alt text description callout
    This is what screen-reader users get instead of a silent photo.
    Before and after slide text showing weak then strong colour contrast
    Same title, weak contrast then strong contrast. If you have to lean in, fix it.

    If you have video or audio

    Note

    Captions put spoken words (and important sounds) on screen so people can follow with sound off or if they are deaf or hard of hearing. Transcripts are a full written version of spoken audio, saved beside the file so people can read, search, and check accuracy. You will still score all five rows in today's audit. If there is no video or audio, mark those rows N/A with a short reason.

    Quick demo: write alt text and fix contrast

    Watch or follow these two moves before you audit your own work.

    1. Alt text. Select an image on a slide. Open the picture or image options and find Alt text or Description. Bad example: {{code:image1}} (says nothing useful). Good example: "Three custom phone cases with county colours on a wooden table". Write what the image shows, not the filename.
    2. Contrast. Select pale grey body text on white. Change it to near-black, or put white text on a dark solid block. Stand back from the screen. If you still have to lean in, the contrast or size is too weak.

    Where to find alt text

    • PowerPoint Online: select the image, open the Picture pane, then Alt text.
    • Google Slides: select the image, open Format options then Alt text (or right-click the image and choose Alt text).
    • Canva: select the image, click the More (⋯) menu and choose Alternative text, or open the Design Accessibility checker if your account shows it.

    If your Fix is captions or a transcript (only when your artifact has video or audio): open your editor's caption panel and correct one wrong word against the real audio, or create a short transcript document saved beside the clip with a clear name. You do not need a full captioning course this period; one honest Fix is enough.

    3 - Build Our Accessibility Checklist ~12 mins

    As a class, lock five accessibility checks you can reuse on any presentation format. We will lock the wording fast, then you use the same five checks on your own file in Portfolio Build. Agree wording that names something you can actually do, not vague hopes like "be inclusive". Your teacher will capture the agreed checks on the board or on screen.

    Our accessibility checklist

    4 - Common Issues ~4 mins

    Common Issues

    IssueSolution
    I cannot find where to add alt textIn PowerPoint Online, select the image, open the Picture pane, then Alt text. In Google Slides, select the image, open Format options then Alt text (or right-click and choose Alt text). In Canva, select the image, click the More (⋯) menu and choose Alternative text, or open the Design Accessibility checker if available. If the tool hides alt text, write the description in your audit Note column and still apply another Fix (for example darken weak text).
    My auto-captions are nonsenseTreat auto-captions as a first draft only. Open the caption panel, play the clip once with sound, and fix names, numbers, and Irish place names by hand before you call captions done. That single corrected line is a valid Fix for this lesson.
    I am auditing audio or video and do not know what Fix meansCaptions Fix: correct auto-captions against playback in your editor. Transcript Fix: save a written transcript beside the clip with a clear filename. You do not need a full captioning tutorial this period.
    Everything on my slide looks fine on my laptopStand further back or use the classroom projector / a phone screen. Weak contrast and tiny fonts almost always show up only when you leave arm's length.
    My artifact has no images, video, or audioMark those rows N/A with a short reason, then still score colour contrast and font size (or equivalent text size on a poster or infographic). Do not skip the whole audit.

    Sample accessibility audit layout

    Key point

    Here is one finished audit from a fictional student, Jordan, who is building a side-hustle pitch for custom phone cases. Copy this four-column layout into your own audit. Notice the honest Fix rows. An audit that only says Pass on everything is usually not a real audit.

    CriterionWhat I checkedPass / Fix / N/ANote
    Alt textProduct photo on slide 2FixImage had no alt text (was like "image1"). Added: "Three custom phone cases with county colours on a wooden table"
    CaptionsNo video in this deckN/AN/A for this artifact
    TranscriptsNo audio fileN/AN/A for this artifact
    Colour contrastLight grey secondary text on whiteFixChanged secondary text to near-black
    Font sizeBody text was 14 ptFixRaised body text to 28 pt for projection

    5 - Portfolio Build ~23 mins

    Independent Practice

    Your goal: Leave class with a completed accessibility audit of one real portfolio piece, plus at least one Fix applied in the source file. This audit is portfolio evidence for your Specialism / VET trail, so save it as {{code:sm2_accessibility_audit}} in {{code:09_specialism/sm2/}} so it can be banked.
    Time: ~25 minutes
    Task:

    What you need open
    Keep two tabs or windows open: your audit document and the source file you are checking (slides, Canva design, CapCut project, document, or the teacher sample).

    Steps
    1. Open the audit template (default). Go to your {{code:Project_Portfolio}} folder, then {{code:09_specialism/sm2/}}. Open the shared {{code:sm2_accessibility_audit}} template, or make a copy of it, and keep that name. Do not build the table from scratch unless the template is missing (fallback below).
    2. Name the artifact. At the top of the audit, write the name of the Something Real file you are checking. If you cannot find a prior file, audit the teacher-supplied sample in {{code:09_specialism/sm2/}} and name that sample clearly.
    3. Fill the five rows. Using the class checklist and the sample layout, complete every row: Criterion, What I checked, Pass / Fix / N/A, and a short note a teacher can understand. Finding Fixes is the point, not a fail.
    4. Apply one Fix in the source file (not only in the audit). Switch to the source file first. Add alt text, darken weak text, raise body text size, correct one caption line, or save a short transcript beside audio or video. Use the paths from Key concepts (PowerPoint Online, Google Slides, or Canva). Save or export the fixed source under its existing name in the same folder, or write the app name and filename in your audit Note if the tool autosaves elsewhere.
    5. Write before and after. Switch back to {{code:sm2_accessibility_audit}} and, in that Fix row, note what it was and what it is now.
    6. Confirm the save path. Check that {{code:sm2_accessibility_audit}} sits inside {{code:09_specialism/sm2/}} so it can be banked as portfolio evidence.

    Pace checkpoint: when your teacher calls minute 12 of this block (or sooner if you are still on the grid), stop adding audit detail and apply one Fix in the source file now.

    Only if the template is missing: create a new document in {{code:09_specialism/sm2/}}, name it {{code:sm2_accessibility_audit}}, and insert a 4-column table with a header row plus five criterion rows. Use the same headers as the sample (Criterion | What I checked | Pass / Fix / N/A | Note). Word Online: from {{code:onedrive.com}} open the folder, choose New then Word document. Google Docs: from {{code:drive.google.com}} open the folder, choose New then Google Docs; download as Word only if your teacher banks Word files.

    Success criteria:
    • {{code:sm2_accessibility_audit}} is saved inside {{code:09_specialism/sm2/}}, names the artifact you audited, and is ready to bank as Specialism portfolio evidence
    • All five criteria appear in the table (alt text, captions, transcripts, colour contrast, font size)
    • Each row has an honest Pass, Fix, or N/A with a short note a teacher can understand
    • At least one Fix is applied in the source file (saved or noted by app and filename), with a before-and-after note in the audit

    If alt text is hidden in your tool, write the description in the Note column and still darken weak text (or raise font size) so you leave with a real Fix.

    123learn · Online learning platform

    Unlock the full learning experience

    You're previewing this lesson. Get full access to this lesson and hundreds more — each one ready to teach, with interactive activities, printable resources and pupil progress tracking built in.

    Hundreds of curriculum-aligned lessons
    Interactive activities in every lesson
    Printable resources & progress tracking
    Copyright Notice
    This lesson is copyright of Coding Ireland 2017 - 2025. Unauthorised use, copying or distribution is not allowed.
    🍪 Our website uses cookies to make your browsing experience better. By using our website you agree to our use of cookies. Learn more