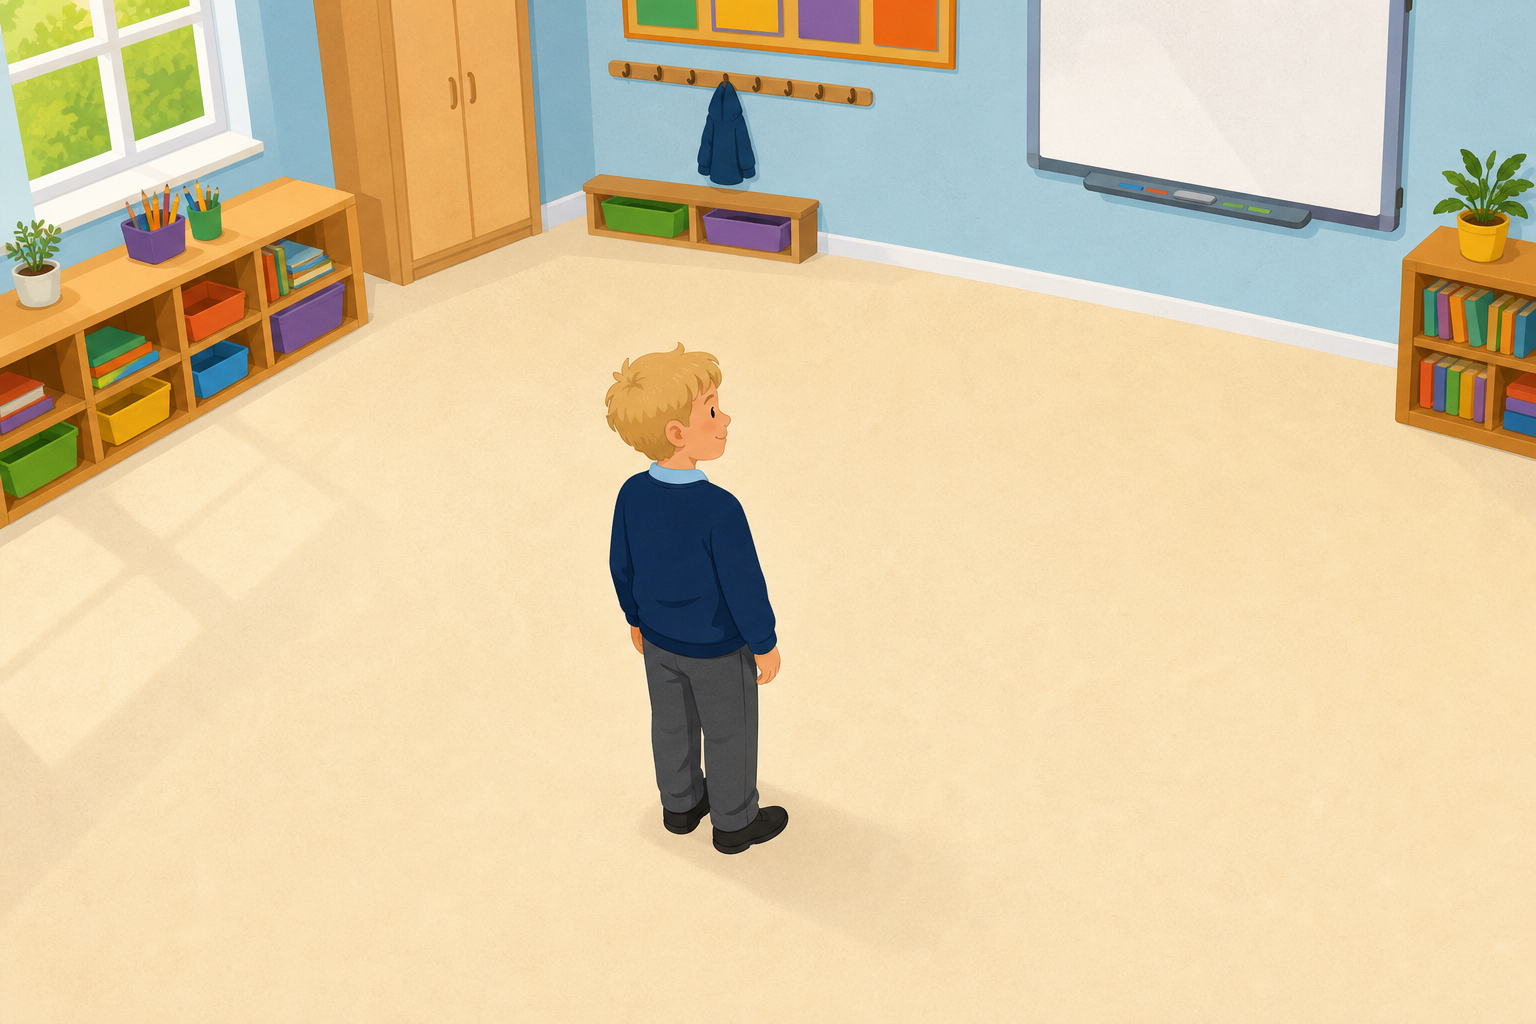
Stand up and face the front. Now turn a little to your side. Now turn much further round. You did not walk anywhere, but something changed each time.
What changed when you turned? Was the second turn bigger or smaller than the first?
Run this as a quick whole-class movement, not a discussion. Everyone stands, everyone makes the small turn, then the bigger turn.
Take two or three hands-up answers to what changed? Listen for pupils saying they turned further the second time. Steer toward the word turn, and hold back the word angle until the next step, where the class meets it on the board.
This opening has a name: it is the angle. First, watch what makes the angle bigger.
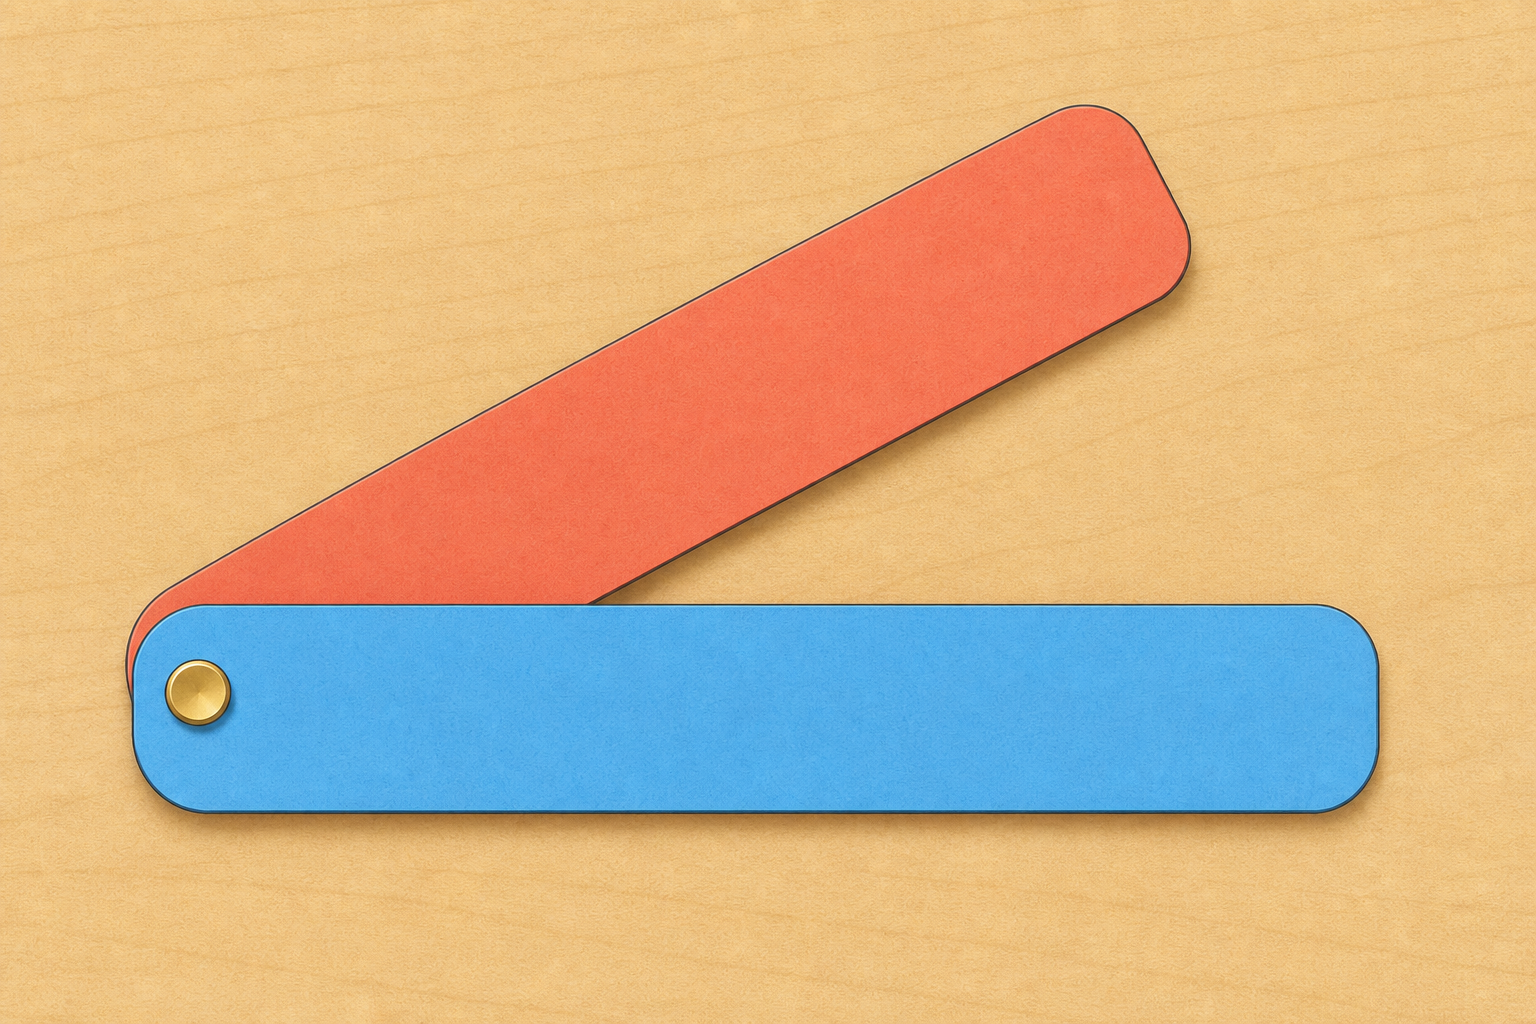
Watch two joined card strips at the front. The two strips are the arms of the angle: they are the two lines that meet at the corner. Their corner stays fixed while one arm swings open. When the arms open only a little, the opening is small. When they open wide, the opening is big.
Now watch this. One arm will be made longer while the opening stays exactly the same. Watch what happens to the size of the angle.
Demonstrate live with two joined card strips at the visualiser (no interactive in this step). Three moves the class watches:
Say angle and amount of turn as you go so the words land with the picture. Name the two strips as the arms the first time you show them.
Today we open the arm on the board together. We will make four openings. First a small opening. Then a square-corner opening, the kind you find at the corner of a page or a book. Then a wide opening. And finally an opening even bigger than the square corner.
Before each one, everyone show with your hands roughly how far the arm will swing. Each opening is a bit wider than the one before, so ask yourself: will this one be wider than the last?
Talk this one through together — pupils take turns at the board and the class agrees or corrects out loud.
Use the angle-tool in explore mode. Before each opening, the whole class shows in the air how far the arm will swing; then call a pupil up to drag the arm to match. Work the four openings in order — a narrow one, the square corner, a wide one, then wider than the square corner — so each one is a bit more open than the last.
The angle readout in degrees is on screen; you do not need to name degrees at Stage 3, and do not say protractor or right angle yet. Point at the opening, not the number, and use the plain phrase square corner. Revoice a good prediction between openings: so the arm swept further, and that is the bigger angle.
In your maths copy, draw a small angle and a big angle, both starting from the same corner. Label which one shows the bigger turn.
Walk the room glancing that both angles start from the same corner and that the bigger opening is the one labelled bigger — this is whole-class copybook practice, not marking.
Today we make these turns on the board, one after another: a small turn, a square-corner turn, a turn a bit wider than the square corner, and then a wide turn. Everyone point in the air first to show roughly how far the arm should swing, then watch one person match it on the board.
This is the practice round — pupils take turns at the board, check each answer, and the class confirms before moving on. Keep the board work brisk rather than over-explaining.
Run the angle-tool in challenge mode through the practice set below. Each target opens a bit wider than the one before, so the class sees the turn growing. The whole class points in the air first, then the pupil drags the arm to match and presses Check for the ✓. Keep calling on the opening, not the degree number — Stage 3 pupils are comparing turns, not measuring them. Use the ✓ in your narration: yes, that is it — a wider turn than the last one.
You're previewing this lesson. Get full access to this lesson and hundreds more — each one ready to teach, with interactive activities, printable resources and pupil progress tracking built in.