Look at the sketch and success criteria your group agreed earlier in this project. What job must this build do, and how will you know it is working?
Today you build it full size for a real classroom job. You will choose a clever shape and a firm way to fix the parts, and you will test with a little load as you go, not only at the end.
Real engineers do this too: they let a clever shape and a clever join carry the weight so the whole thing stays light and strong.
Have each group's Design Brief and sketch ready. If half-size test notes from earlier in this project are available, return those too; if not, use the Design Brief success criteria alone.
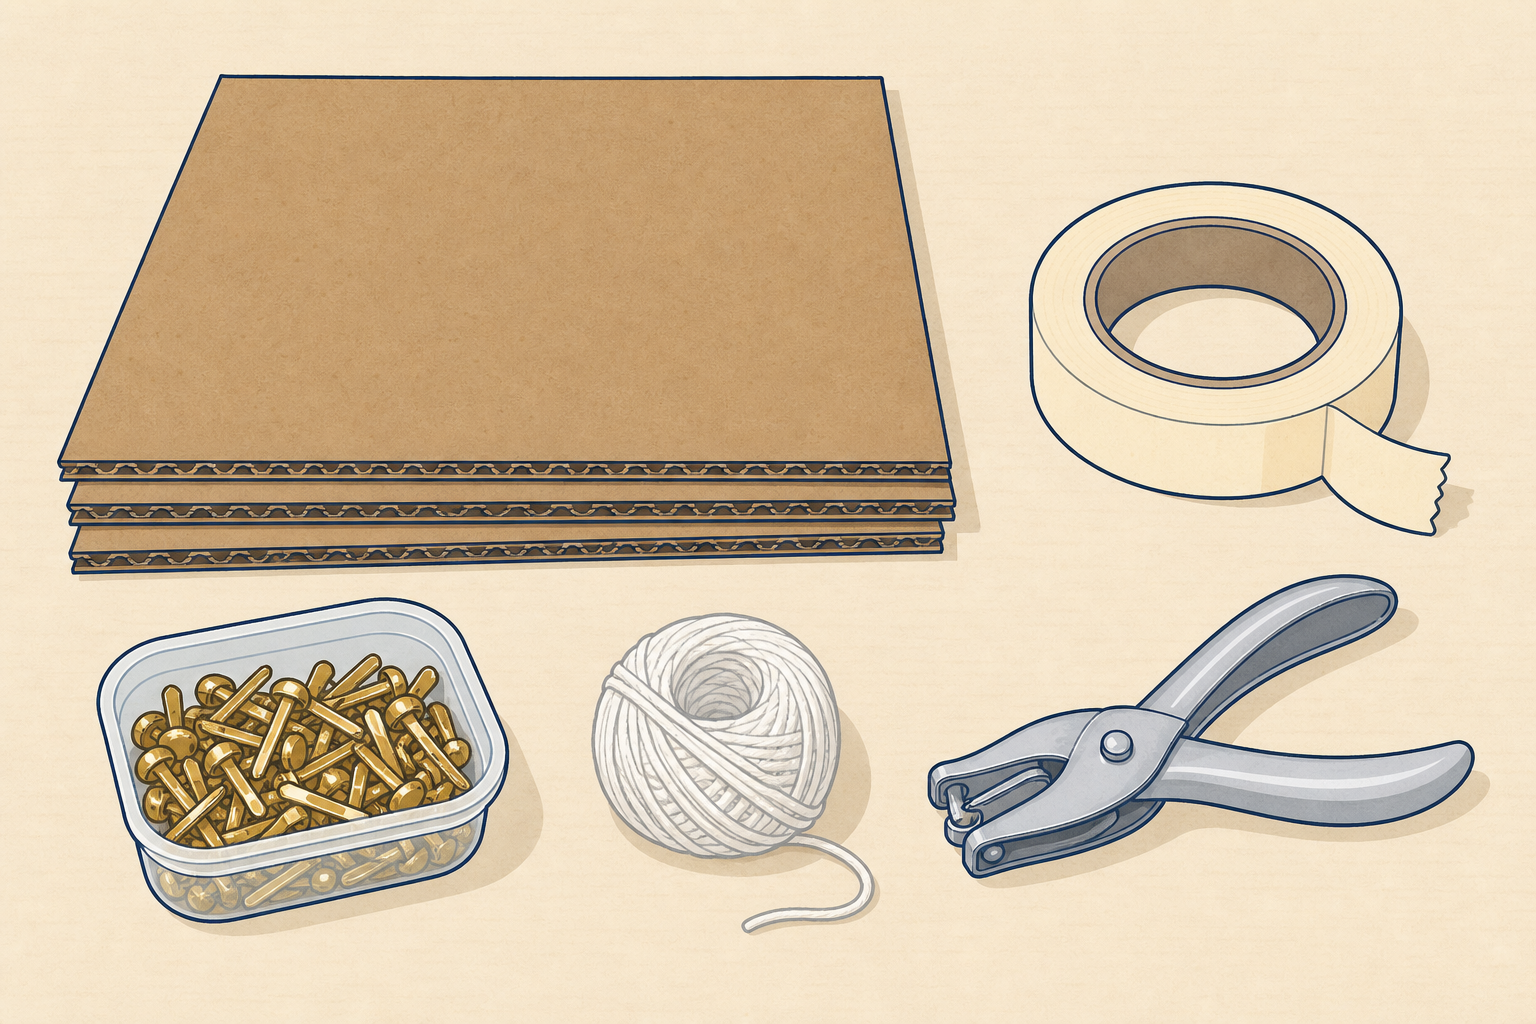
Ask two groups to name their job in one sentence. Allowable full-size jobs today (kit-safe classroom scale only): small shelf for a few books, tablet or device stand, short desk-edge rail or coat hook rail for one light coat, small desk organiser. Do not run full-size yard bridges or long coat rails that must hold several coats; those jobs are out of scale for today's card, lolly sticks and short dowels.
Pre-lesson check: glance at each sketch. If a group planned a yard bridge or heavy rail, help them rescale to a desk-scale version of the same idea before materials go out.
Keep the hook light: do not hand out the full materials kit yet. The question is the beat: full size, shape and join doing the work, test as you go.
Key question: Looking at your Design Brief, where might the build sag, tip or peel first, and what will you do about that full size?
Before you build, choose two things.
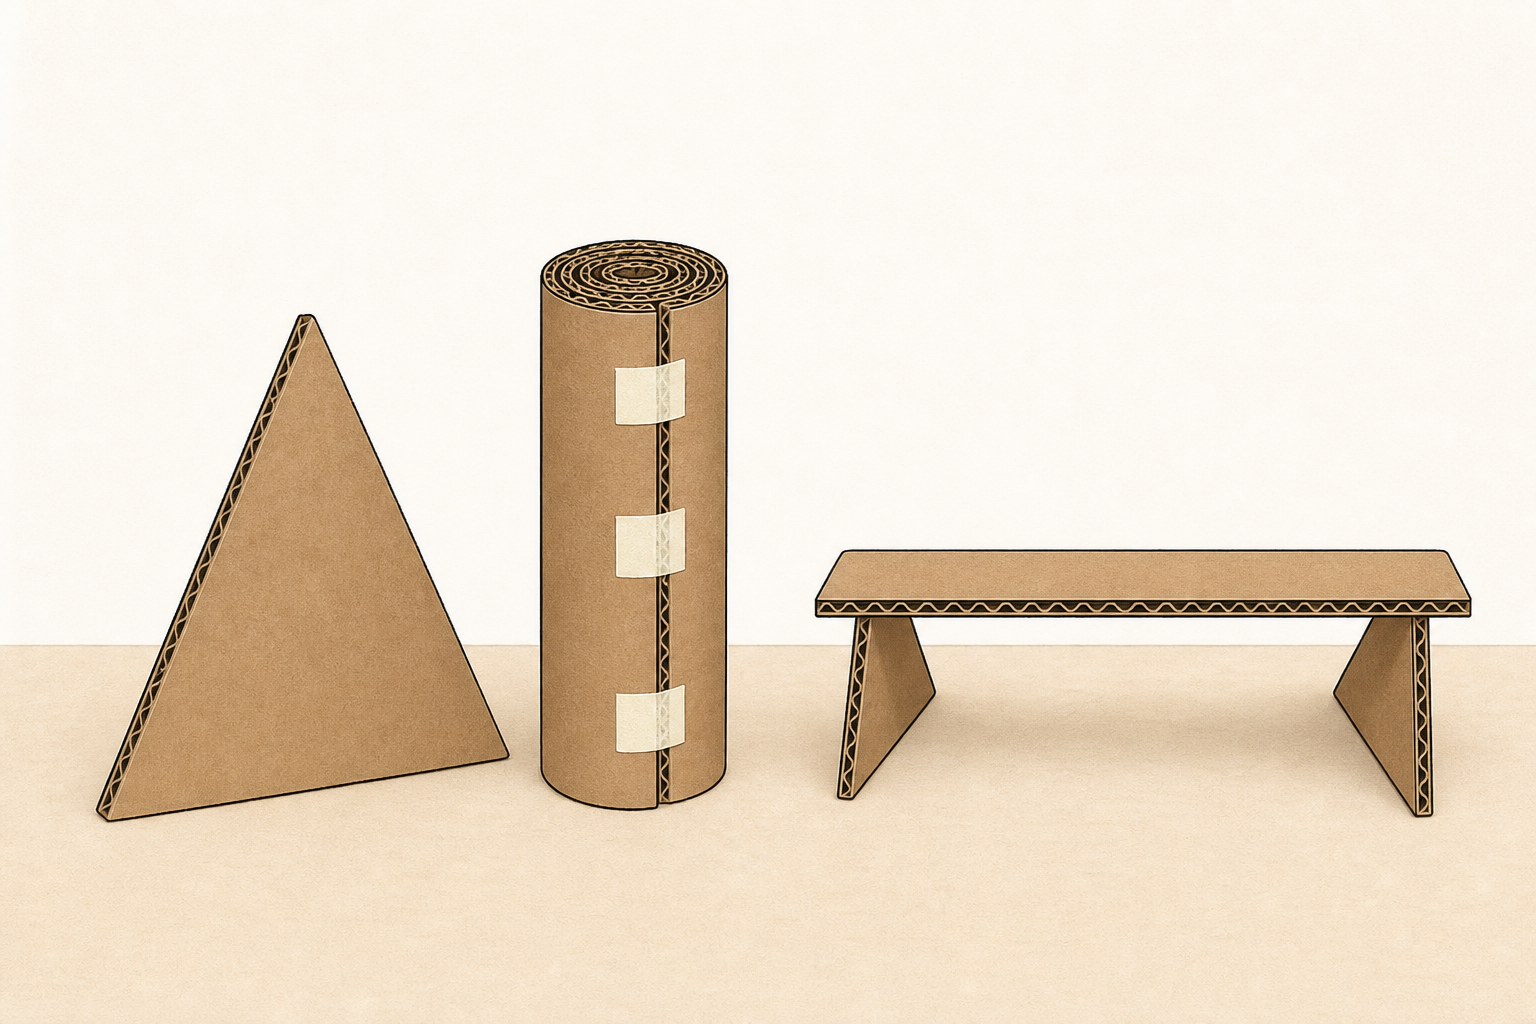
A load-carrying shape is a shape that holds weight without sagging or tipping. Pick from this list: triangle brace, rolled tube, or braced span.
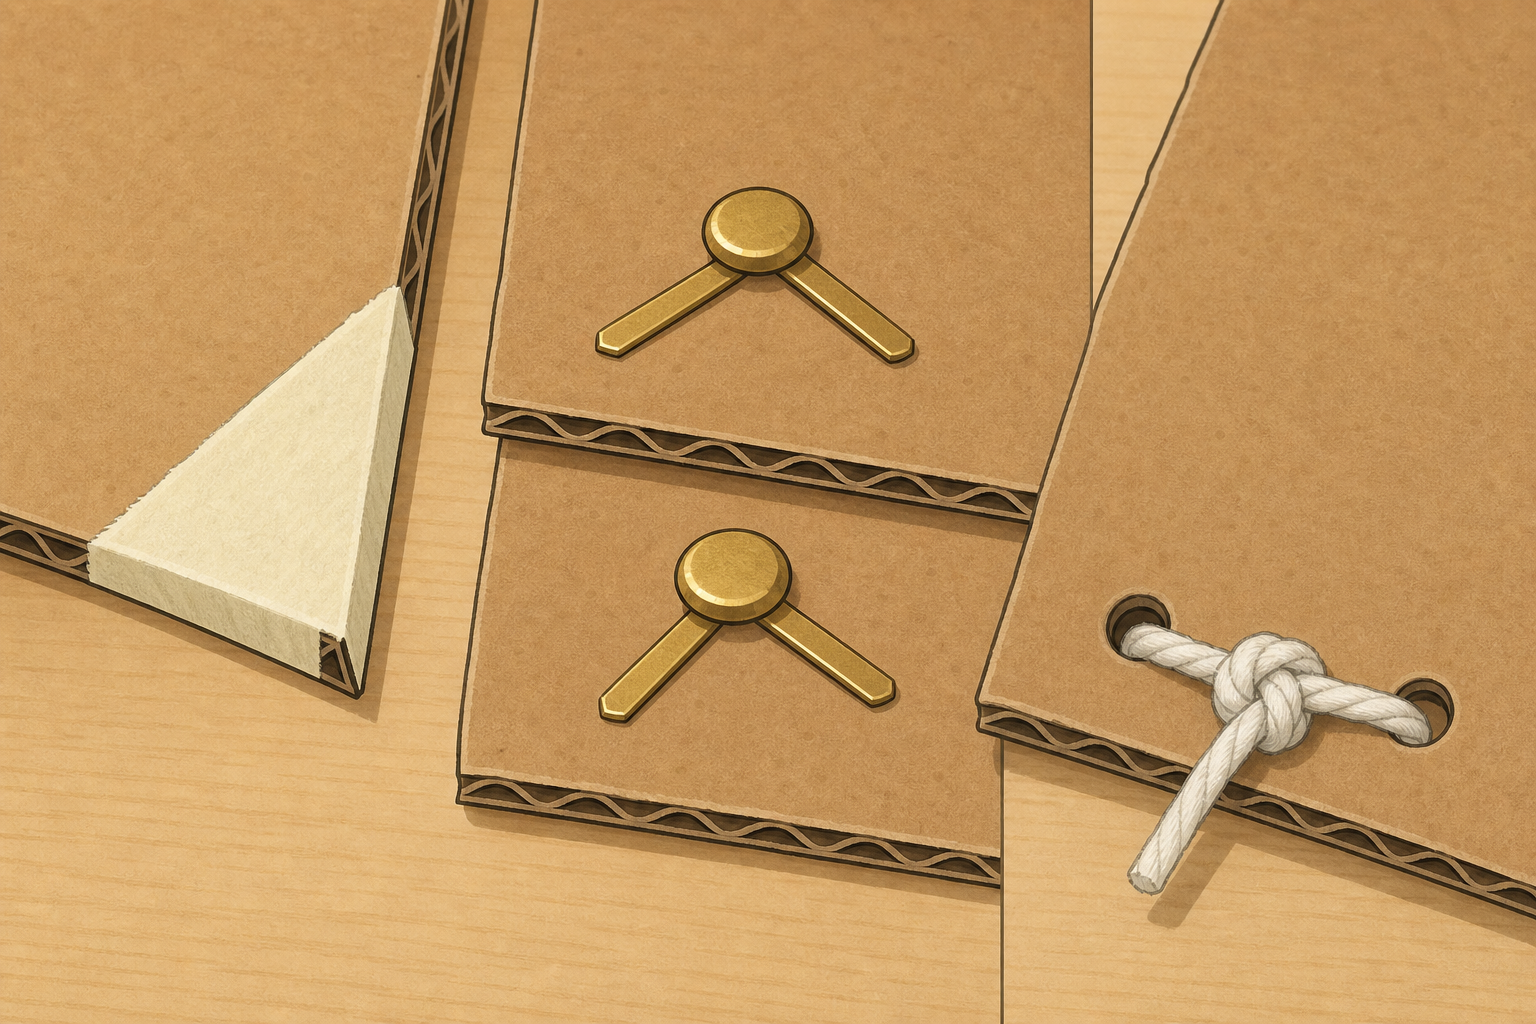
A strong join is a fix that stays firm under load. Pick from this list: taped triangle corner patch, split pins locked so they do not spin, or string ties through punched holes.
If something weakens later, you strengthen it by changing the shape or the join, not by piling on more card or tape.
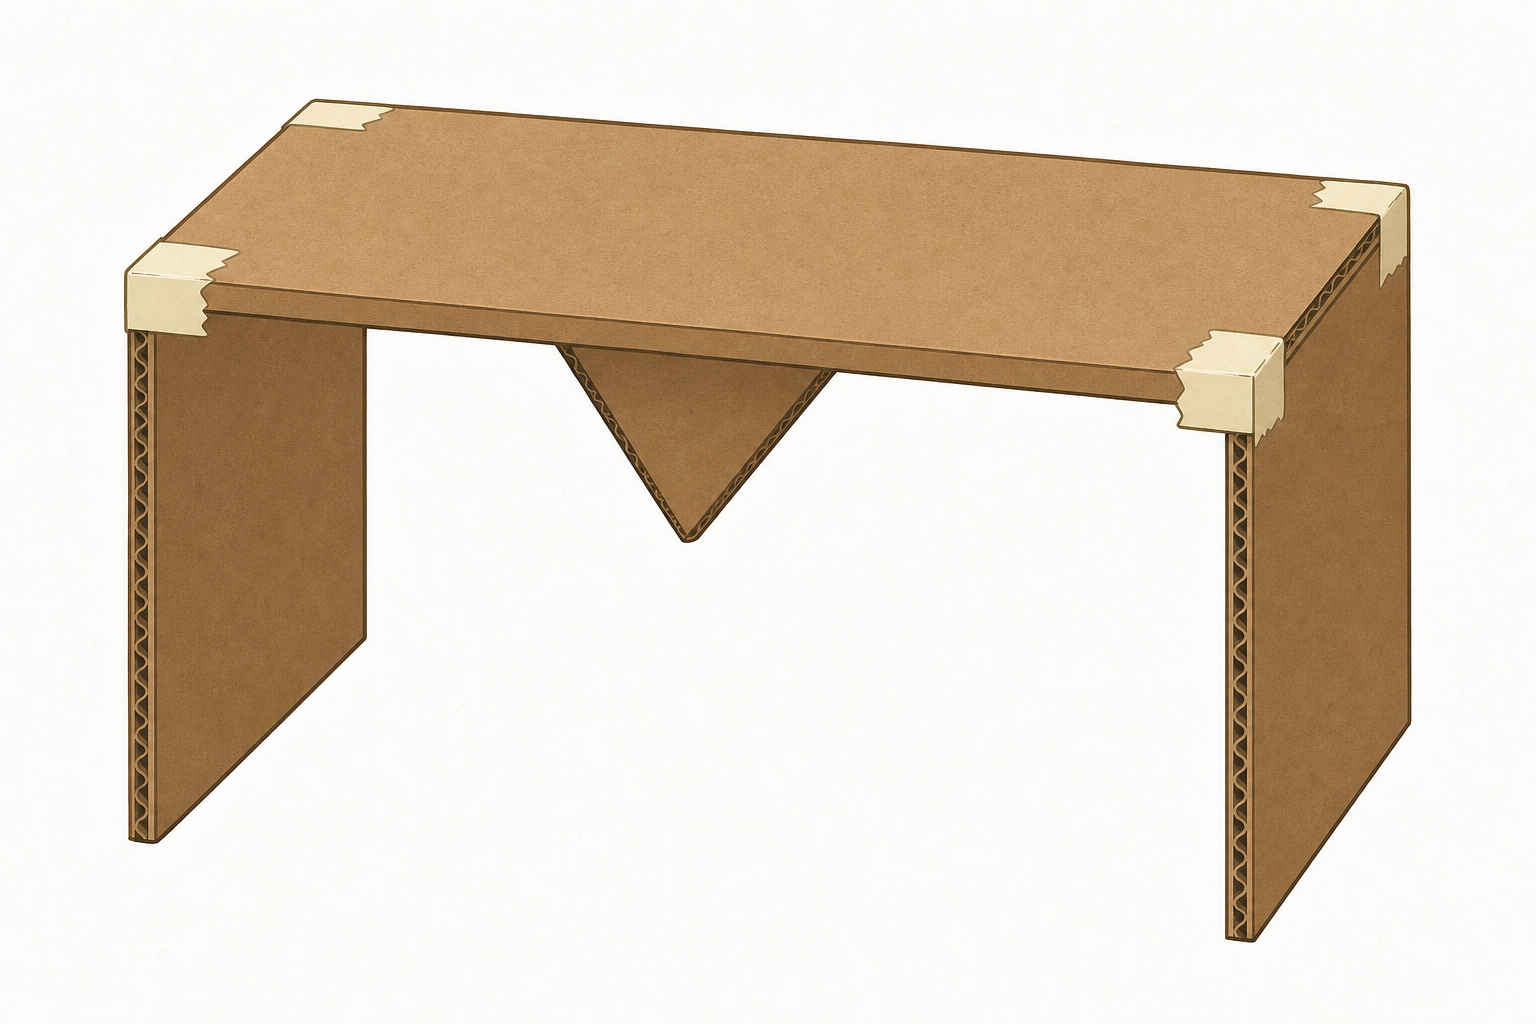
Watch the quick demo: where does the flat shelf fail first, and which choice from the lists would fix it?
Board stays short: the two labels, the choice lists above, and the question. Do the live model before lingering on definitions.
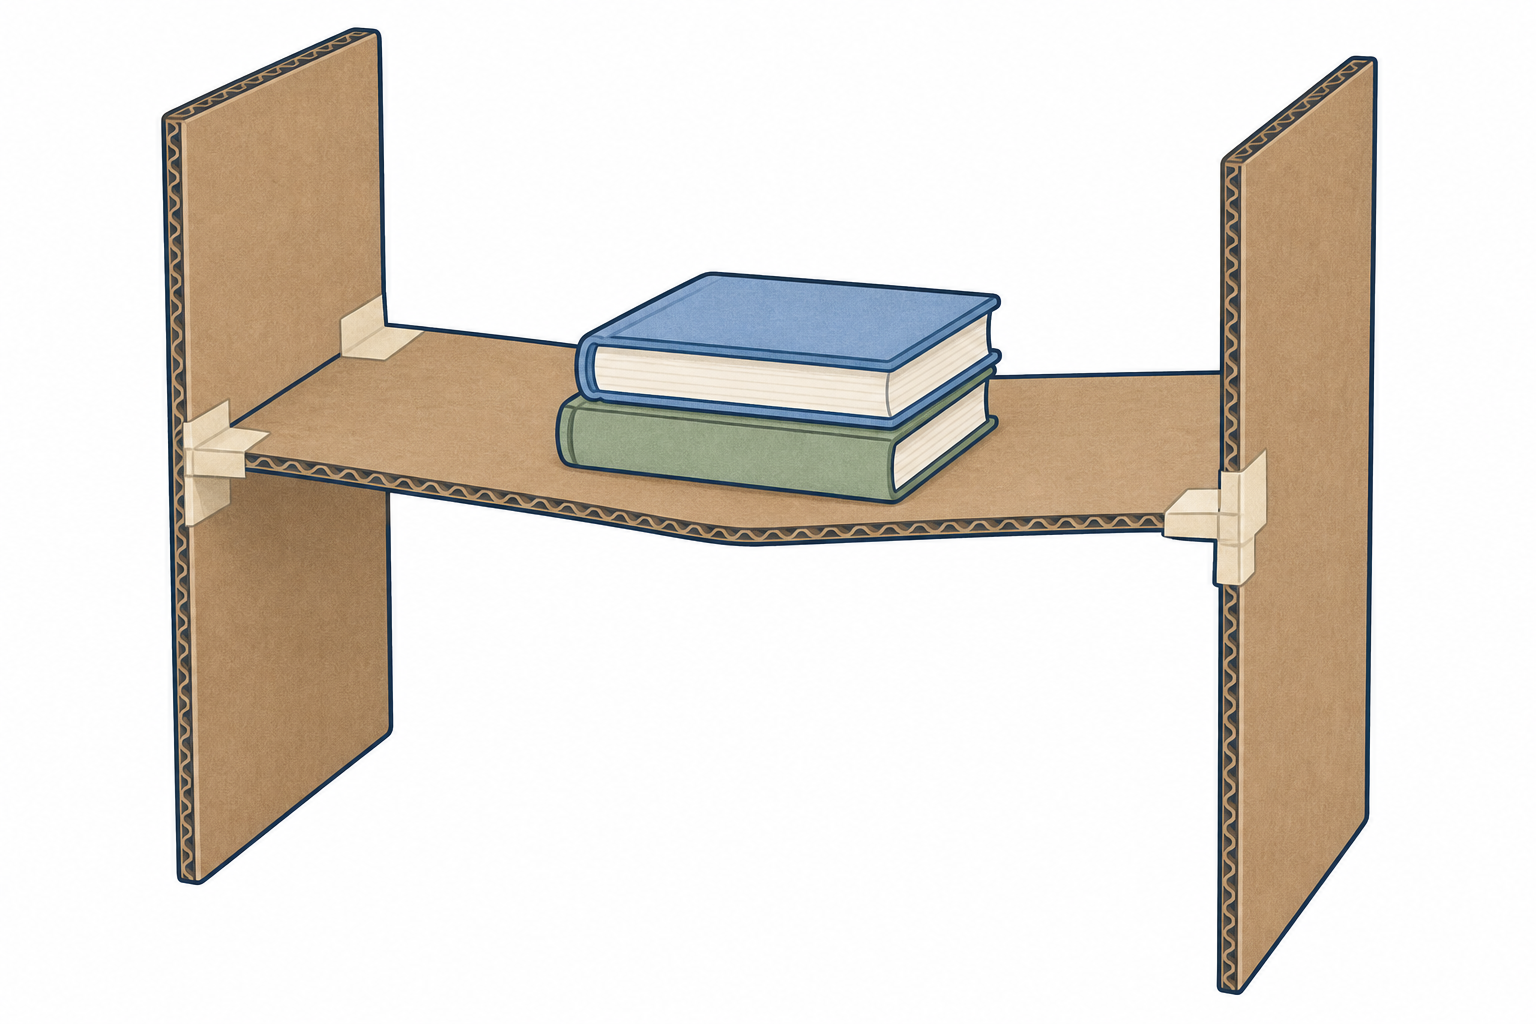
Live model (about 2 minutes, you do this once before groups build): flat card shelf span between two uprights, ends taped only. Add two books one at a time. Name what fails (middle dips / tape peels). Then add one triangle brace underneath and one taped triangle corner patch, reload gently, and say what improved. Keep language plain: triangle brace, rolled tube, braced span, triangle corner patch, firm join versus spinning join.
Use the table below as your teaching reference, not as long board text.
| Concept | Why it matters | Example |
|---|---|---|
| Load-carrying shape — a shape chosen so the build holds weight without sagging or tipping (triangle brace, tube, braced span) | The shape, not the amount of card, often decides whether a shelf or stand holds | A triangular brace under a shelf stops the front edge dipping when books go on |
| Strong join — a way of fixing parts so they stay firm under load (taped triangle corner patch, locked split pin, string tie) | A design is only as strong as the way its parts are fixed together | A triangle corner patch holds better than a single strip of sticky tape when a tablet rests on a stand |
| Fix by changing shape or join (practice, not a third board label) — when something fails, change the shape or the join rather than wrapping on more material | Engineers strengthen a weak spot with a better idea, not just more stuff | If a flat beam sags, brace it with triangles underneath instead of piling tape on the middle |
Modelled cycle (say this aloud once with the demo):
Misconception to head off: Children often think "more tape" or "thicker card everywhere" is the fix. Push them to name a choice from the lists: triangle brace, tube, braced span, triangle corner patch, locked pin, string tie.
Nature of STEM weave: Engineers fix a weakness by changing the shape or the join, not by adding more material. That is how real builds stay light and strong.
Same-session joins: For any join that must hold today's load, use tape, split pins or string. Wet PVA will not set in time for the under-load test.
Build the full-size version from your group's sketch for your classroom-scale job (small shelf, tablet stand, short desk rail, or similar).
Before you cut, point to the board and choose: one load-carrying shape (triangle brace, rolled tube, or braced span) and one strong join (taped triangle corner patch, locked split pins, or string ties). Work as a team so everyone has a job: someone holds, someone joins, someone checks the sketch, and someone watches materials and keeps the load ready but off the build.
Keep the real load nearby but do not pile it all on yet. Your job in this step is to make the shape and the join do the work. Use tape, pins or string for any join that must hold weight today.
Join rule for today: any join that must take load in this lesson must hold immediately (tape, split pins, string ties, or assemblies already dry). PVA stays wet and will give false peel failures; do not rely on it for the under-load test.
Load your build a little at a time. Watch for sagging, tipping or peeling.
When something weakens, stop. Name which idea will fix it using the same plain choices as before: triangle brace, brace under the shelf, rolled tube, braced span, triangle corner patch, locked pins, or string ties. Make that one change, then load again gently.
This is the investigation beat inside the build. Groups must test during the build, not only at the end. Protect time for one change and one reload; that is the objective.
What to expect: flat beams often sag in the middle; tape-only corners peel; tall stands tip if the base is narrow; a single split pin may pivot when the job needs a firm join.
If nothing fails: praise the strong shape or join, then ask what would fail first if the load doubled, and strengthen that point anyway as a precaution they can explain.
Safety: load low and slowly; stand clear as a build fails; adult supervision with scissors and any awkward cuts; no climbing on builds; keep feet clear of falling loads.
If a group used wet PVA on a load join, treat any peel as a "join not ready" moment and switch them to tape or pins for the reload so the science is about shape and join idea, not curing time.
On your Investigation Journal page, record what you built, what sagged or weakened, which idea fixed it, and why that change should help.
Board example before you write: Saw: the middle of the shelf dipped after two books. Think: a triangle brace under the span stopped the dip on the reload.
Keep what you saw separate from what you think it means, like the example.
Pupils record on the paper Investigation Journal page only. Do not invent a second homemade sheet or describe journal layout.
Show the short saw / think example on the board first, then prompt them to capture:
The Investigation Journal page for this lesson should give space for job/build, weakness observed, idea used, and reason or evidence, matching those prompts.
If a group made no change because nothing failed, they still record the shape and join that carried the load and the place they would strengthen next.
Keep this beat moving so packs stay tidy for the next project session.
You're previewing this lesson. Get full access to this lesson and hundreds more — each one ready to teach, with interactive activities, printable resources and pupil progress tracking built in.