Earlier in this project your group chose a real school problem and sketched a solution on your Design Brief. Today is the day your sketch becomes something you can hold and test.
You become the builders: turn that plan into a working prototype using the shared junk-modelling kit. Engineers almost never get a first build exactly as drawn. What matters is following the brief, noticing when something needs to change, and writing that change down.
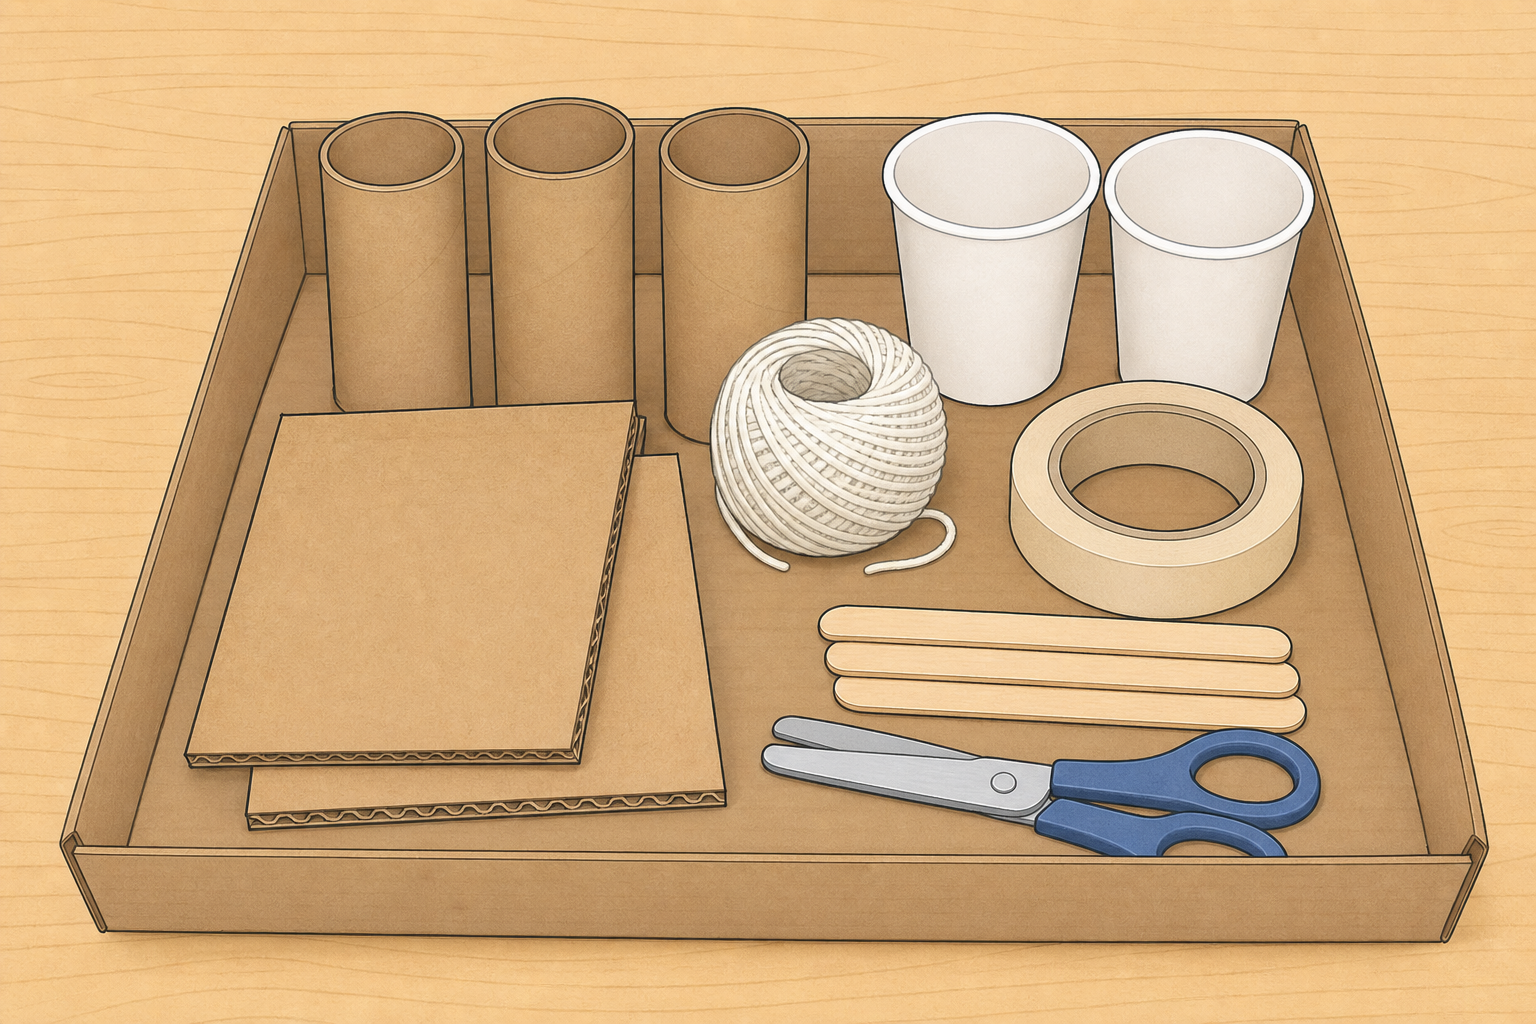
Hand each group the Design Brief they completed earlier in this project. Have the shared junk-modelling kit already set out on group tables, but do not start building yet.
Key questions: What problem is your prototype solving? Who is it for? What will count as success when we test next time?
Keep the hook light: reconnect to purpose and pride in the plan. Save kit talk and method for the next steps.
Nature of STEM: name that engineers build prototypes from plans, then adjust when real materials behave differently from the sketch. That is normal professional work, not a mistake.
Open your Design Brief together. Name the user and one success criterion out loud. Point to the main shape on your sketch.
That sketch is the start of your prototype: a first working model you can test.
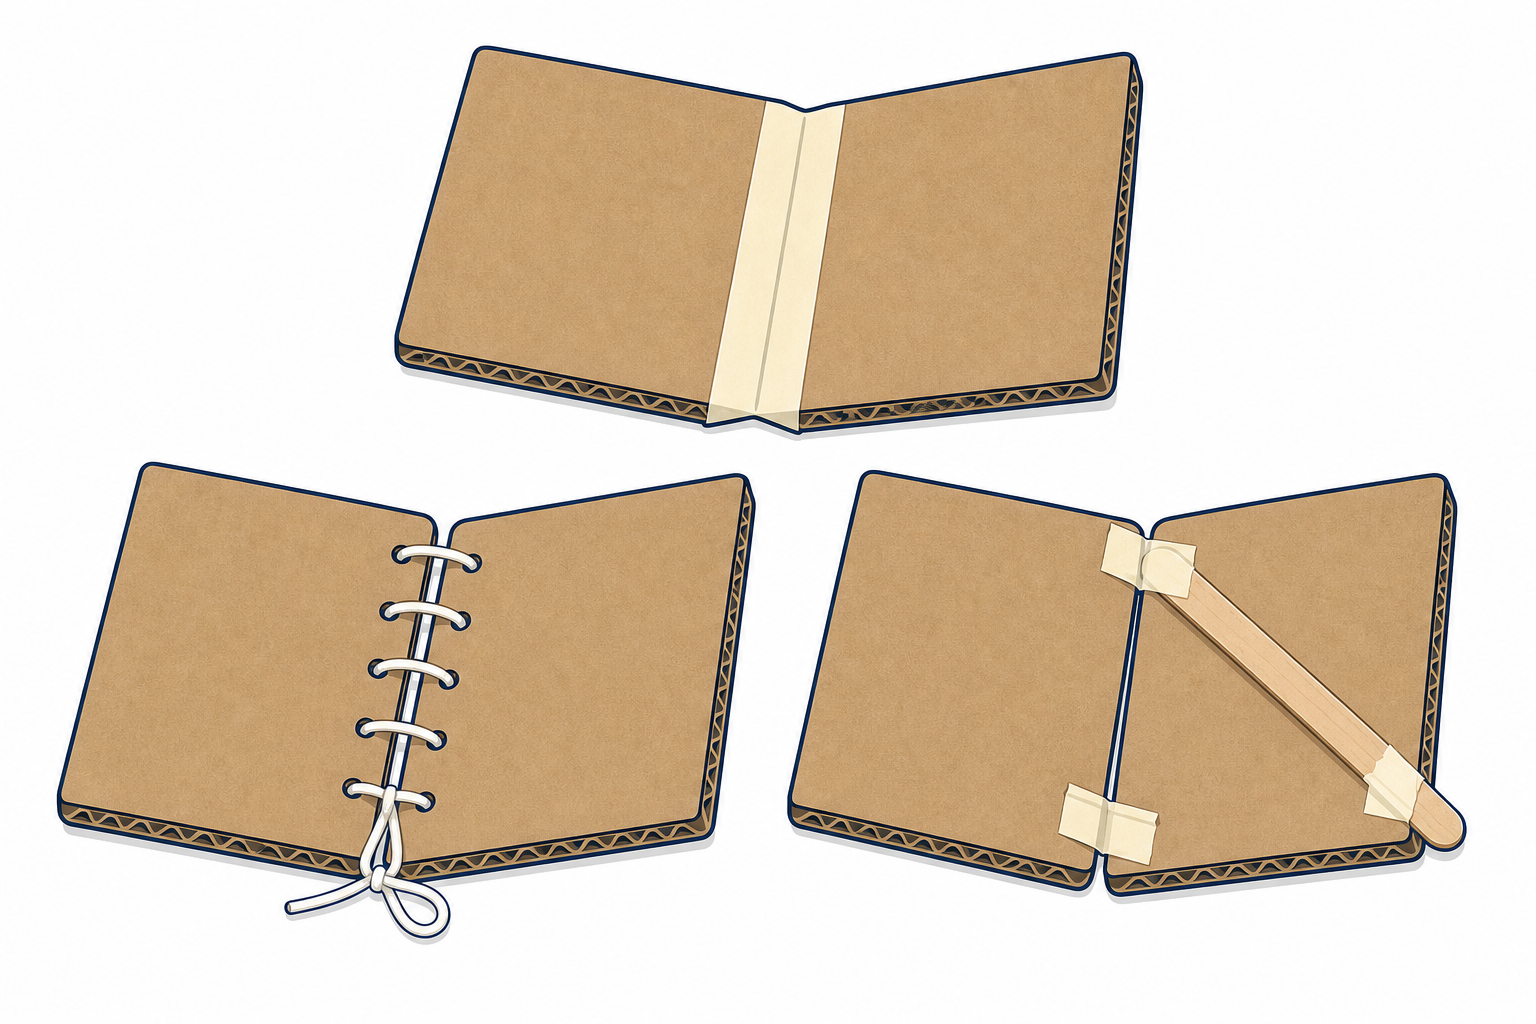
Your Design Brief is the plan you follow. If tape or card will not hold as drawn, keep the user need, change the join, and jot that plan change so you can finish your notes later.
Three short board lines to project (these match the pupil screen):
Use the full table below for yourself while groups re-read their briefs. Do not project the full table.
| Concept | Why it matters | Example |
|---|---|---|
| Prototype — a first working model built to test an idea before a final version is made | A prototype lets you find problems early, when changing the design is still easy and cheap | A cardboard draught-stopper for the classroom door is a prototype of the finished stopper |
| Design Brief — the plan that names the problem, the user, the success criteria and the labelled sketch | A clear brief keeps the group building the same idea instead of inventing a new one mid-way | The brief your group wrote earlier in this project, with success criteria and a measured sketch |
| Plan change — a deliberate change made during making because materials or joins did not behave as expected | Recording the change is how engineers learn; next time you can start from a stronger plan | Adding a triangle brace at the base when a book stand wobbled on first stand-up |
Worked model (do this live, about two minutes): Hold up a scrap of card and a short piece of string. Say: I wonder if this flap will stay shut with tape alone. Try tape; let it peel. Say: I predict string will grip better across the join. Tie the string. Say: I observed the flap stays shut. I think our plan should change from tape to string on this join, and I will jot that on a sticky note now. Show that a plan change is evidence, not failure. Fuller definitions live in this model and the table above, not in a dense pupil glossary block.
Misconception to head off: pupils sometimes treat the sketch as a picture to copy exactly, even when the real material will not hold. A brief is a guide; a recorded change that keeps the user need is good engineering.
Quick purpose check (keep light — do not run a full round-the-room restates gate): while groups re-read, listen in and spot-check that each group can name the user and one success criterion. If a group cannot, pause that group only and help them find those on the brief before materials leave the tray. Save the main-shape check for the first minute of the build as you circulate.
Do not spend the whole six minutes on oral restates from every group. The live plan-change model and a light purpose check both need to fit without racing.
Use only the shared junk-modelling kit. Follow your Design Brief and build a working prototype for your school problem.
If a join fails or the sketch will not stand in real card, that is normal engineering: keep the user need, change the join, and jot it.
Circulate and coach, do not rebuild for them. In the first minute, check any group you did not hear name the main sketch shape. Ask: Which part of the brief are you working on now? What is the join doing — pushing or pulling? What would make this unfair to your success criteria if we tested it tomorrow?
In-build capture cue (say this as they start and again mid-way): each time the plan changes, one pupil jots on a sticky note or the edge of the journal page: what changed + why. Step 4 is finishing those notes, not reconstructing memory from a busy build. Keep the ordered list visible on the IWB so the jot line stays in sight.
Kit-compatible problems (from earlier in this project): a cover or shelter for a bug hotel or seed trays; a barrier to stop balls rolling into a flowerbed; a stand or holder to display books; a draught-stopper for the classroom door. Every group builds from the same kit so materials stay fair.
Look-fors:
If a group is stuck: send them back to the success criteria, not to a new invention. Suggest one structural idea they already know (wide base, triangle brace, tube instead of flat sheet) and let them choose.
Differentiation: less confident groups may build a simpler version that still meets one success criterion; more confident groups can add a second feature from their brief (a hinge, a removable lid, a wider base) once the main structure stands.
Safety: two pairs of scissors per group on the table under adult eye-line; adult makes remaining difficult cuts in thick card or plastic; no running with materials; stand clear if a tall structure tips.
Each of you records on your own Investigation Journal page how the build went. Use your group's sticky-note jots and talk.
On your page, complete these three things only:
This is the paper recording beat for the lesson. Pupils write and draw on the Investigation Journal page only — nothing is typed into the platform.
Expected journal fields (what the provided Investigation Journal page asks for):
Keep the demand to these three fields only so mixed writers can finish in 12 minutes after a long make. Transfer sticky-note jots onto the journal page; keep or discard the stickies as you prefer. Do not invent extra layout boxes for them.
Individual pages, group talk: each pupil completes their own Investigation Journal page. They discuss as a group and share the sticky-note jots, then every child records their own three fields. Look-fors are met when every pupil has a concrete page, not when only one shared sheet exists for the group.
Teacher model if needed: on the board, think aloud one line only: We changed the base from a flat sheet to a folded triangle because the stand wobbled — that keeps the book-holder upright for the reader. Then send them to their own pages.
Support: allow drawing plus short labels instead of full sentences for any field; a stem on the board helps (We changed ___ because ___ / The plan held because ___).
Check while circulating: every pupil has at least one concrete build note and either a plan change with a reason or a confirmed "plan held" with evidence, plus a user-need line. Vague lines such as "it was hard" need a prompt: Which join? What did you try next?
Keep prototypes on the group table labelled with group names. They stay at school for the test and improve session next time.
Think about your build. Be ready with one short sentence for the class, using a frame like these:
Our ______ already ______ for the user. (for example: Our book stand already holds two books upright for the reader.)
We changed ______ because ______. (for example: We changed the tape join to string because the draught-stopper flap would not stay shut.)
Also name one thing you will want to test carefully next time against your success criteria.
Display-only design talk. No typing and no extra written reflection beyond what is already on the journal page.
Take three or four quick group shares. Revoice engineering language: You changed the join because the material could not take the pull — that is a plan change based on evidence.
Common sticky points: groups that decorated before the structure stood; groups that abandoned the brief for a new invention; groups with no recorded plan change even though the build clearly drifted. Address gently and link back to the user need.
Remind the class that next time they will test against the success criteria on the Design Brief, make one improvement, re-test and present.
You're previewing this lesson. Get full access to this lesson and hundreds more — each one ready to teach, with interactive activities, printable resources and pupil progress tracking built in.