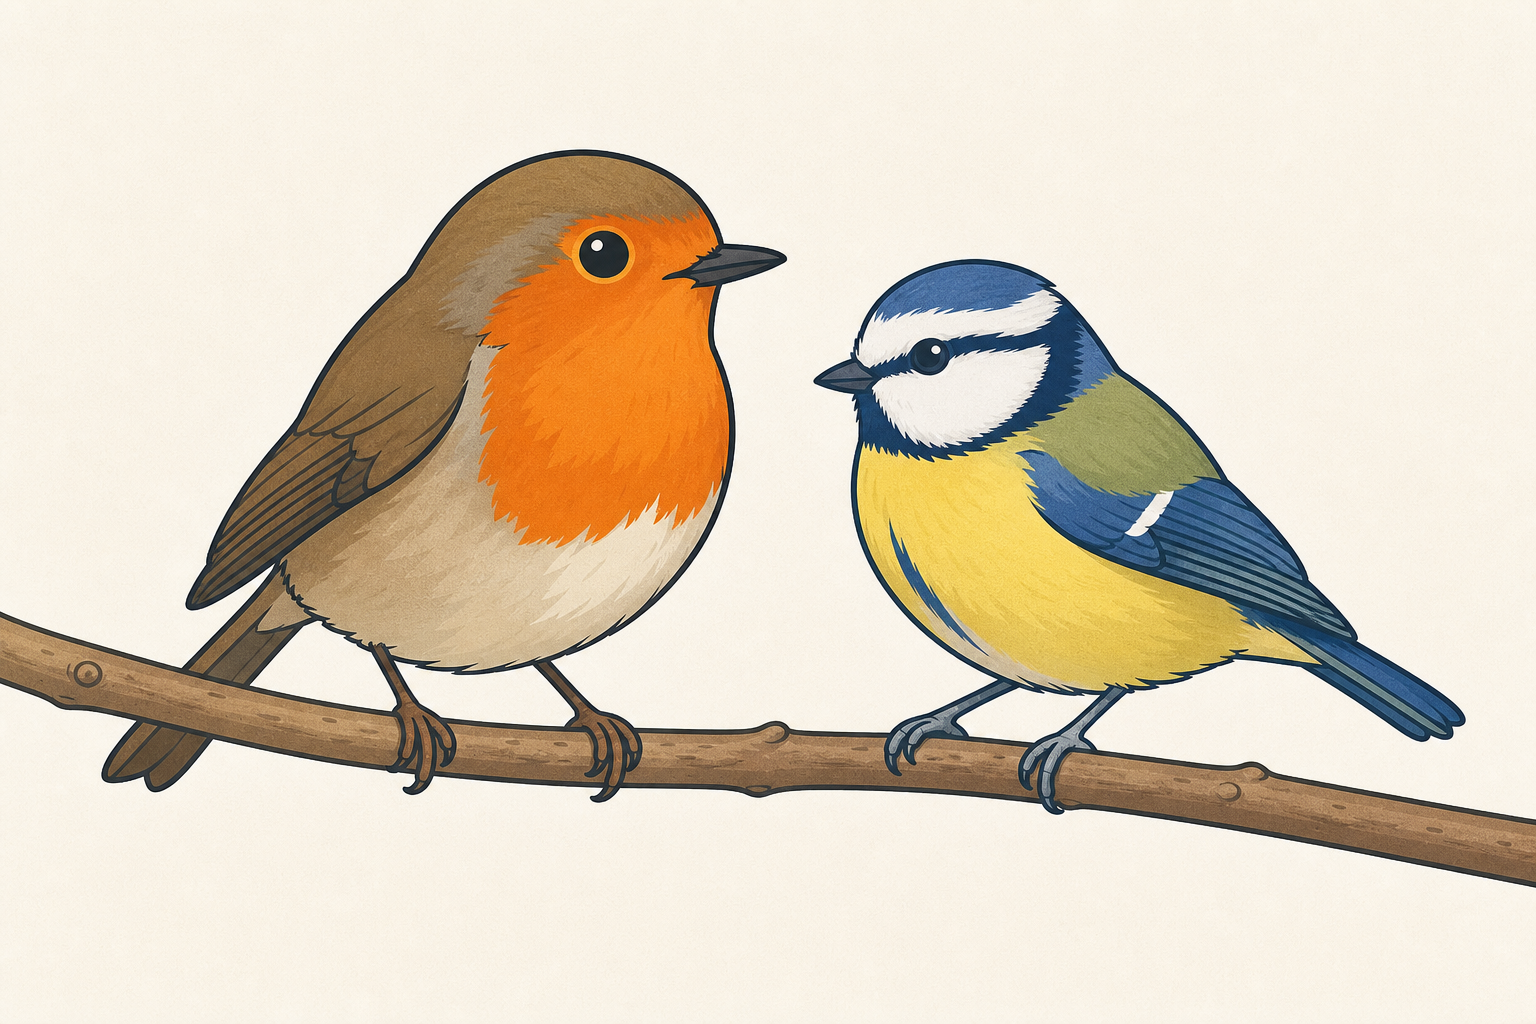
Today we make the feeder you planned. Open the Design Brief you sketched earlier in this project. What is the one job this feeder must do for Irish garden birds such as a robin or a blue tit? Next session we test it; today we make something real enough to try.
Have each group's Design Brief ready from earlier in this project (or photocopied if a group left it at home). Ask one short question only: What is the one job this feeder must do? Draw out holds seed, keeps seed dry, and a perch a small bird (robin or blue tit) can use. Do not rebuild the full design talk from Part 1. Point to one labelled part on a volunteered brief and say we will build from that plan today. Keep the junk-modelling kit in trays ready at the side; trays stay off desks until after the safety brief in the next materials step, when you hand them out.
Engineers build a prototype first: a rough working model they can test. Your Design Brief is the labelled plan that guides the build. If making shows a better way, that is a design change: write it down, do not hide it.
As you build, watch whether the materials make you change the plan, and write that change down if they do.
Project the short board lines only. Keep the full table for yourself.
| Concept | Why it matters | Example |
|---|---|---|
| Prototype — a first working model of a design, made so it can be tested and improved | Engineers do not jump from sketch to finished product; a prototype lets them find problems before the real thing is built | A bottle feeder your group finishes today so you can test seed, dryness and perch next session |
| Design Brief — the labelled plan that shows what the feeder should do, its parts, and the materials to use | Without a brief, groups guess and the test later cannot check the original idea | The sketch from earlier in this project with seed holder, perch, and a cover or lip to keep rain off the seed labelled |
| Design change — a deliberate change to the plan during the build when materials or making show a better way | Noticing and recording a change is honest engineering; silent changes make the later test unfair to the original plan | Moving the perch down because the seed hole sat too high for a robin-sized bird |
Worked model (you do this live before the build): Hold up one bottle and one group's Design Brief (or your own sample sketch). Think aloud: I wonder which part I should make first. I predict the bottle body is the best start because everything else hangs off it. I check the brief: seed hole about halfway up, perch below the hole. I cut the hole with adult help. I observed the stick perch was too thick for the hole I made, so I think I will use a thinner stick and note that change. Hit all five beats so pupils hear prediction, checking the plan, and recording a change before they build.
Misconception to head off: pupils treat any change as "cheating" or as failure. Name it as engineering: the plan guides you; evidence from the materials can improve it, as long as you write the change down.
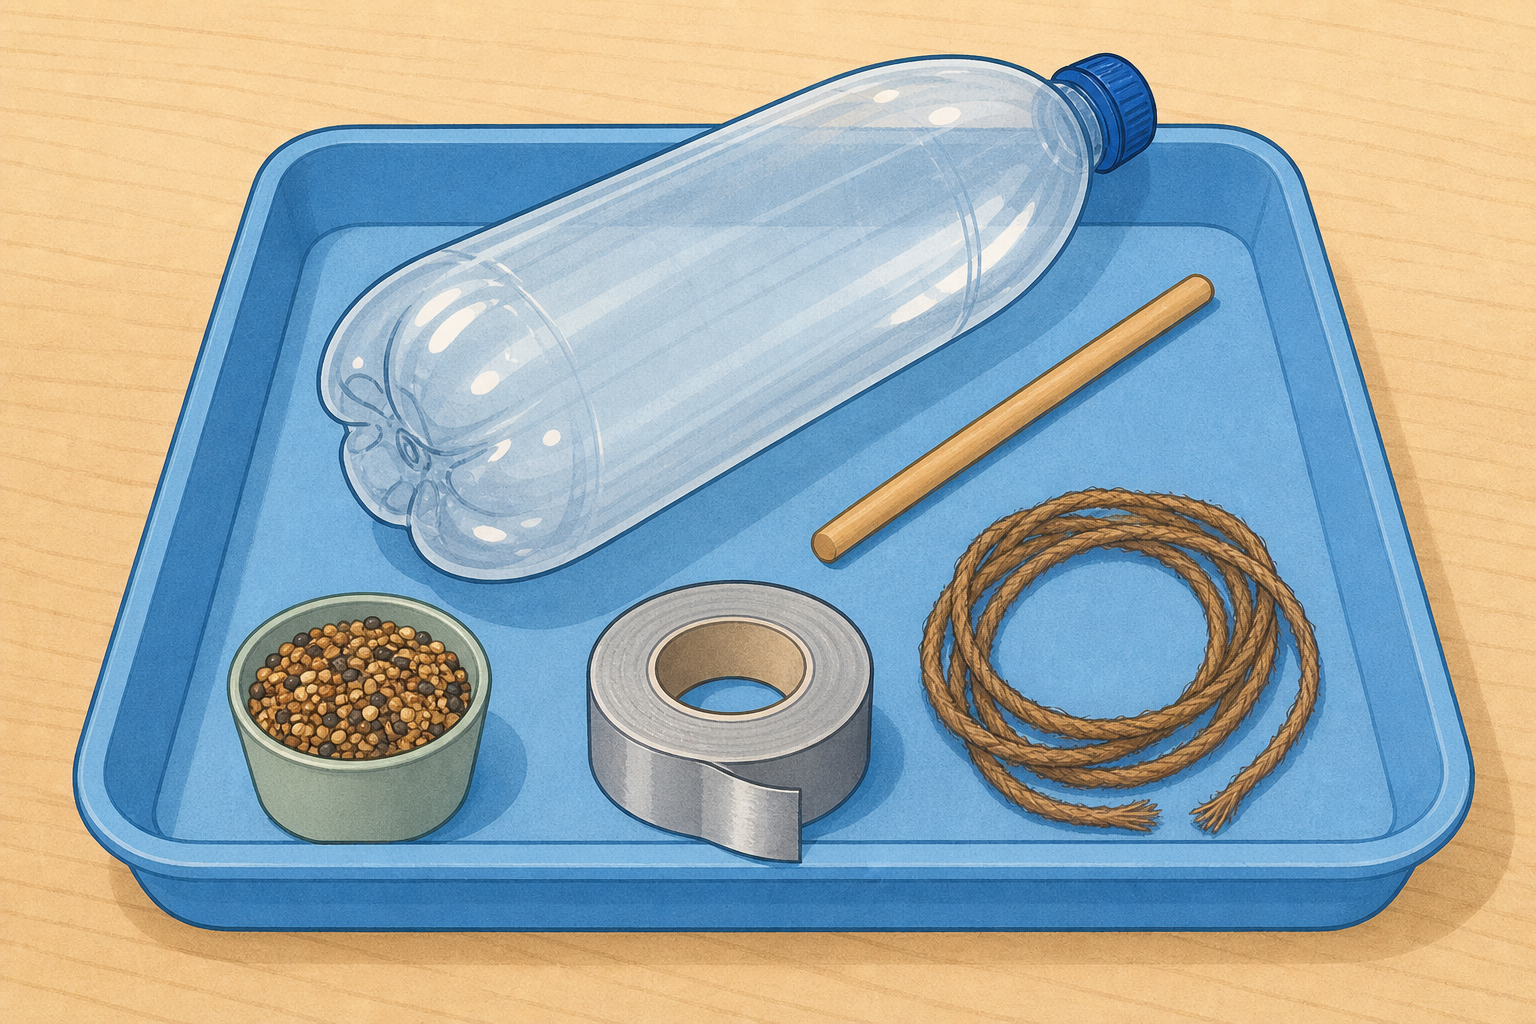
Before we build: scissors stay closed when you walk; only an adult makes hard cuts in bottles; wash hands after handling bird seed. Trays are coming out now. When yours arrives, check you have a bottle, string, sticks, a joining roll, and a little seed for a dry test fill later.
Walk the safety rules first while trays stay at the side. Ask two pupils to restate the rules. Then hand out one tray per group and only after that run the materials check (bottle, string, sticks, joining roll, seed cup). Do not invite pupils to check trays before they are on desks.
Flag seed allergies or breathing sensitivity: a pupil who should not handle seed can build the structure while a partner adds seed later, or use dry rice as a stand-in fill for the dry fit. No seed is tasted. Keep hanging string short on desks so it does not trip anyone.
What good looks like: every group can name the three user needs from their brief (holds seed, keeps dry, stable perch) before they touch the bottle.
Build your feeder from the Design Brief so a robin or blue tit could reach the seed from the perch. Rough is fine: engineers learn by making. Start with the bottle body, then add the seed opening, the perch and a way to hang or stand it. Ask an adult for any hard cut. If you change the plan, say why out loud so you can write it later.
Circulate with scissors and a craft knife only you (or a second supervised adult) use for bottle mouths and tough openings. Prefer bottles whose main openings were pre-started before the lesson so the first five minutes are finishing cuts, not a full-class queue. Groups do the rest: sticky tape, string, sticks, positioning. Keep bird seed for a dry fit near the end of the build, not poured outdoors today.
Suggested flow inside the 25 minutes: minutes 1–5 body and seed opening (adult finishes cuts); minutes 6–15 perch and ideas to keep rain off the seed (sticky tape, second bottle top, or stick frame); minutes 16–22 hanging loop or stable base; minutes 23–25 dry seed fit check without water.
Key questions while circulating: Which part of your brief are you making now? Does the perch sit below the seed hole so a robin or blue tit can reach? What will keep rain off the seed? If that stick will not fit, what will you try instead?
Differentiation: a group stuck on the brief starts with three must-haves only (container, hole, perch). A confident group can add a simple rain lip or a second perch. Pair a careful cutter with a careful taper. Fast finishers sketch one improvement idea for the test session or help another group hold parts while sticky tape sets; they do not start a second feeder on a device or leave the room.
What to expect: first prototypes often lean or have the perch too high. That is useful evidence for the test session. Do not rebuild for them; prompt one fix they can still attempt today if time allows.
Nature of STEM: real product designers build a rough prototype from available materials before any polished version. Noticing a forced change and recording it is part of the job, not a mistake.
Put the Design Brief beside the prototype. Does it still match? Point to each labelled part. Name one thing that matches the plan and one thing you changed, or would still change.
This is a short structured check, not a full fair test (that comes later in the project). Run it as a group desk check, then cold-call three groups to share one match and one change. The Design Brief stays as the separate plan sheet from earlier; pupils do not redraw a brief here. They will capture the inquiry trail (question, what they expected, matches and changes, short conclusion) on the Investigation Journal page in the next step.
Prompts: Where is the perch compared with your drawing? Is there a way for seed to stay reasonably dry? What forced a change: the bottle shape, the stick thickness, the sticky tape, time?
Look-fors: groups separate "still to finish" from "deliberate design change". Both can go in the journal, but only real changes to the idea count as design changes.
Misconception: "It looks different so we failed." Reframe: a prototype that reveals a problem is doing its job.
You're previewing this lesson. Get full access to this lesson and hundreds more — each one ready to teach, with interactive activities, printable resources and pupil progress tracking built in.