Mathematics
Intermediate
50 mins
Teacher/Student led
+80 XP
What you need:
IWB/Projector/Large Screen

Classifying Angles: Acute, Right, Obtuse and Straight

Learn to classify angles into four named groups — acute, right, obtuse and straight — by comparing each angle to a right angle (square corner) and recognising a straight angle as a half turn.
Teacher Class Feed

Load previous activity

    1 - Getting Started ~4 mins

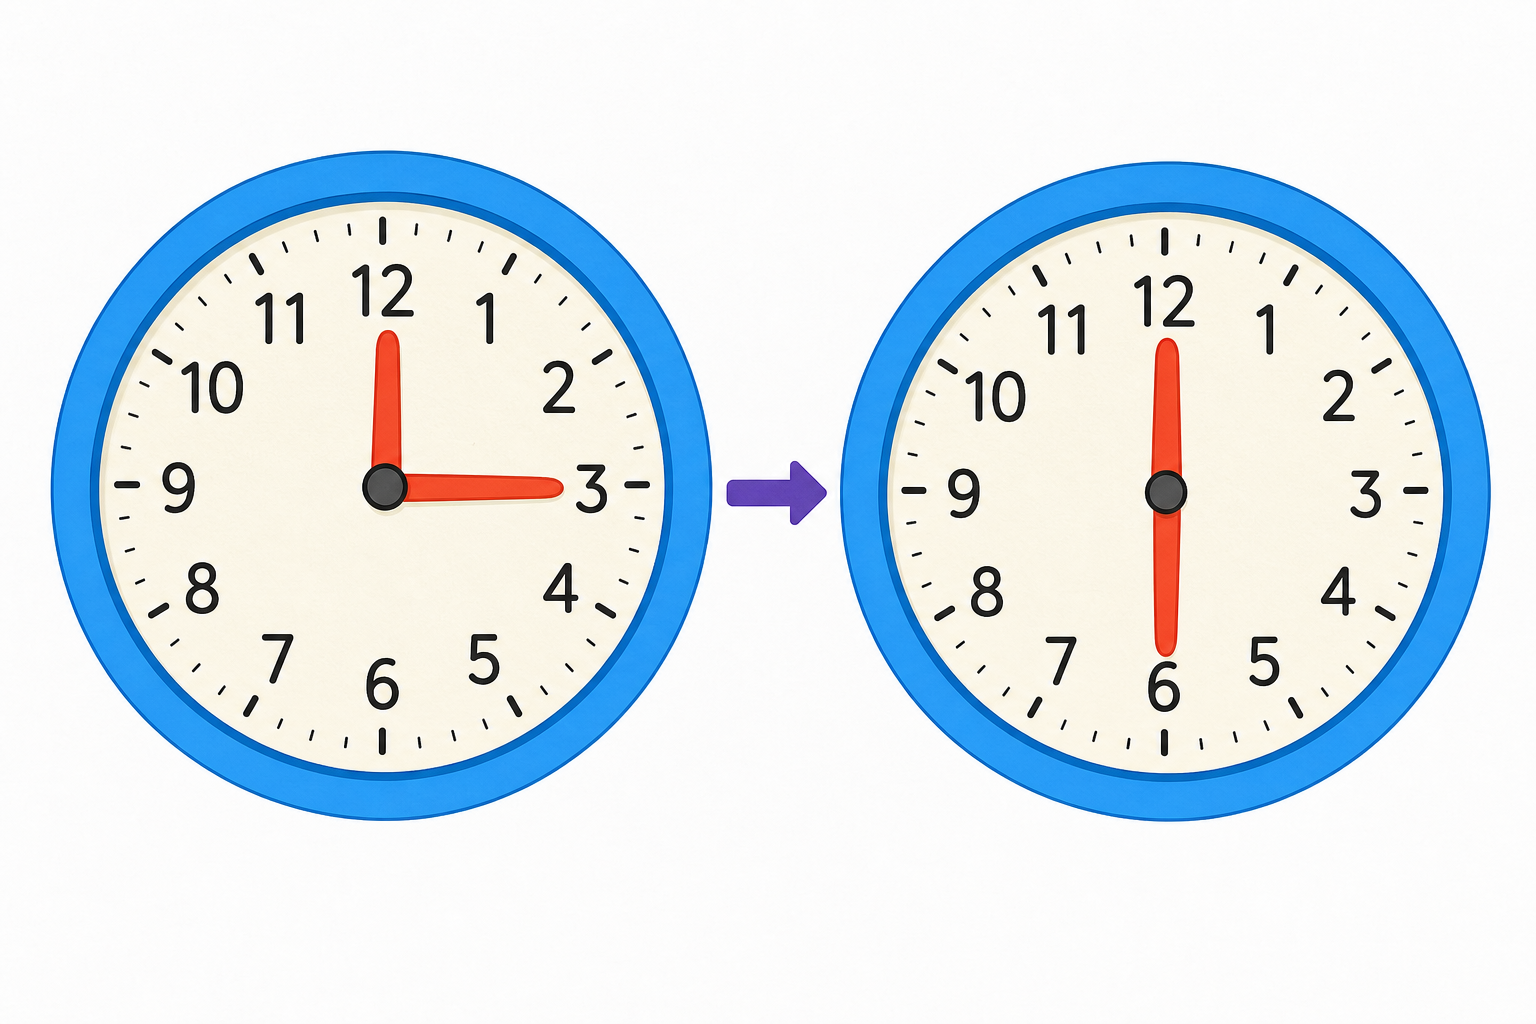
    Illustration for Getting StartedLook at the two clocks on the board. On the first clock, the minute hand points to the 12 and the hour hand points to the 3, making a neat square corner. On the second clock, the hour hand moves down to the 6, so the two hands make one flat, straight line.

    Key point

    That second one is completely flat. What kind of turn made the hour hand go all the way down to make a straight line?

    2 - Watch and Notice ~8 mins

    Four angles on the board, each already sorted into its group. Compare each one to a right angle (the square corner). Watch which are smaller, which fit exactly, which are bigger, and which open all the way to a flat line.

    Look carefully at the last group. A straight angle is not a wide corner, it is a flat line, a half turn. How many right angles could fit inside a straight angle?

    3 - Try It Together ~8 mins

    Now we sort these angles together into their four groups: acute, right, obtuse and straight. One pupil comes to the board to drag each card into its group. The rest of the class agrees or corrects out loud before the card lands.

    Key point

    Before each card lands, we compare it to a right angle (the square corner) and decide which group it belongs to. Hold the paper right-angle checker against the angle: does the square corner fit exactly, is it too big to fit, does it slot in with room to spare while the arms still bend, or do the arms lie flat in one straight line?

    Sort each angle into its group

    4 - Draw One of Each in Your Copy ~3 mins

    COPYBOOK MOMENT

    In your maths copy, draw one angle of each kind and label each one: an acute angle, a right angle, an obtuse angle and a straight angle.

    Use the corner of your copybook as your square-corner guide, and put a small square mark inside the right angle to show it is exactly square.

    5 - Class Challenge ~10 mins

    Now we make each kind of angle ourselves, using two strips joined at a point, then drag the matching card to its group. First we open them a little to make an acute angle. Then we open them to a right angle and check it against a square corner. Next we open them wider for an obtuse angle. Finally we open the strips fully so they make a straight angle, one flat line.

    Match the angle you made to its name

    Pupil practice
    Module 7 · 2D and 3D Shapes and Angles Data & Chance
    Lesson 87 · Classifying Angles: Acute, Right, Obtuse and Straight
    Download Activity Book page (PDF)
    123learn · Online learning platform

    Unlock the full learning experience

    You're previewing this lesson. Get full access to this lesson and hundreds more — each one ready to teach, with interactive activities, printable resources and pupil progress tracking built in.

    Hundreds of curriculum-aligned lessons
    Interactive activities in every lesson
    Printable resources & progress tracking
    Copyright Notice
    This lesson is copyright of Coding Ireland 2017 - 2025. Unauthorised use, copying or distribution is not allowed.
    🍪 Our website uses cookies to make your browsing experience better. By using our website you agree to our use of cookies. Learn more
