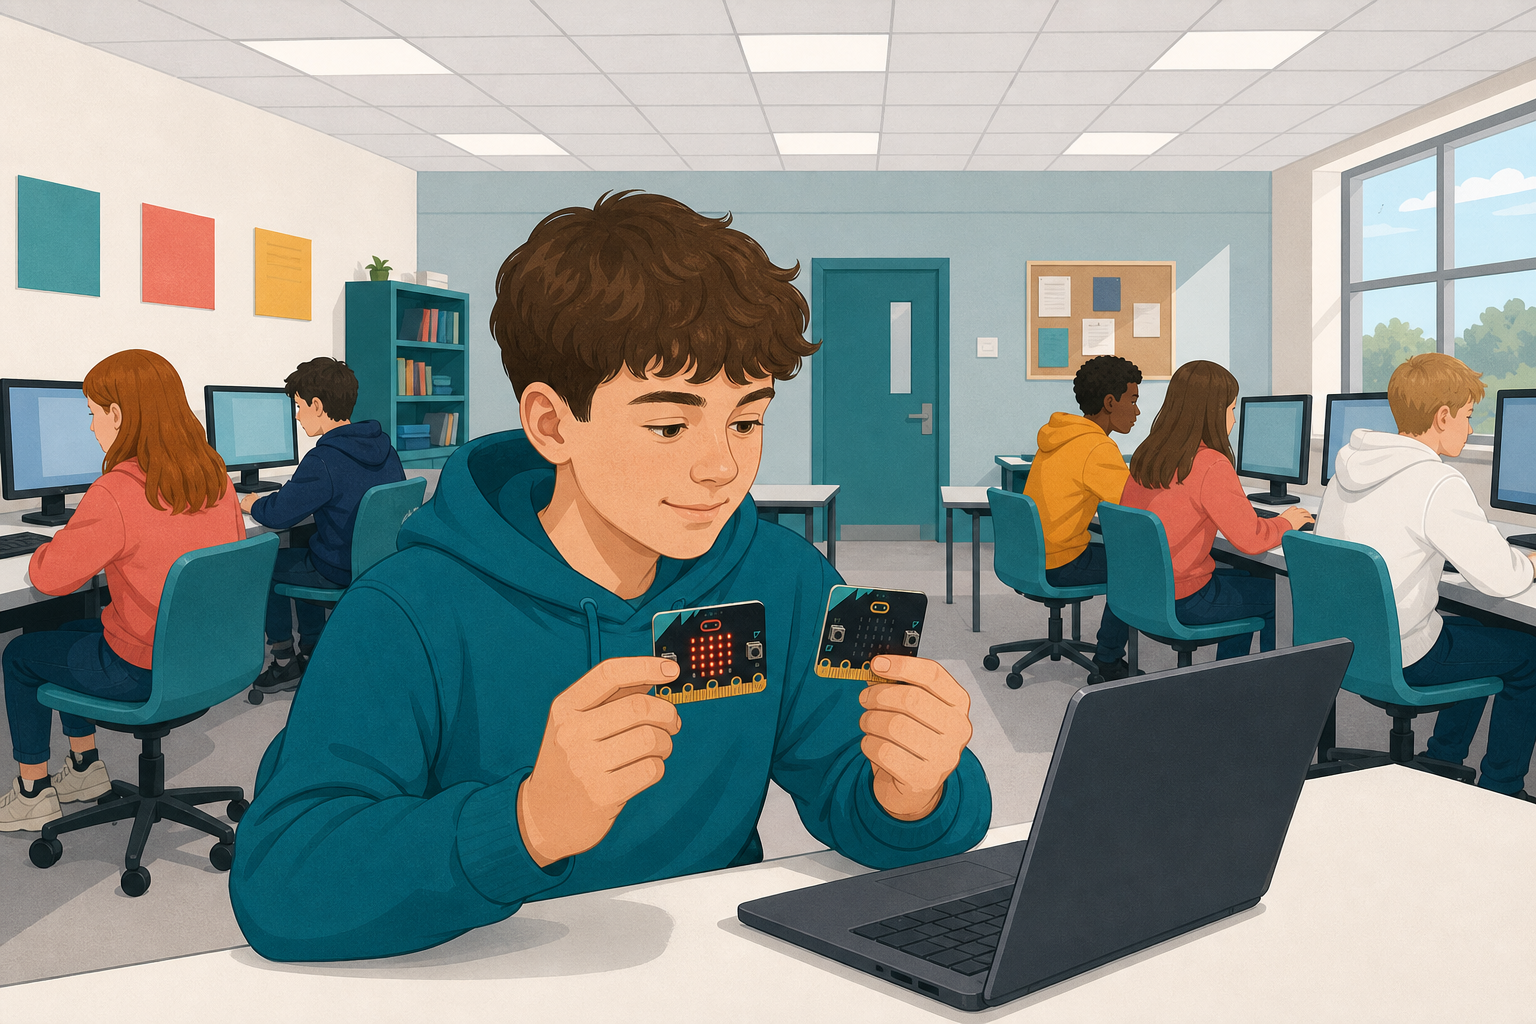
 You can already work with micro:bit inputs and the display. Today you will connect two micro:bits with radio so one can send a message and the other can show it.
You will start a new project in the MakeCode editor and build it up in stages at your own device: think first about what should happen, then build it, run it and fix whatever does not work.
Two micro:bits can only hear each other if they are on the same radio group. A radio group is just a number, and it works like a channel: set both to 1 and they talk; leave one on a different number and nothing arrives, with no error to tell you why.
That is the first thing to get right and the first thing to check when a message does not turn up. Today one micro:bit sends and the other shows what it receives: first a message, then a number, then a name and a value together.
Go to the https://makecode.microbit.org website and create a new project.
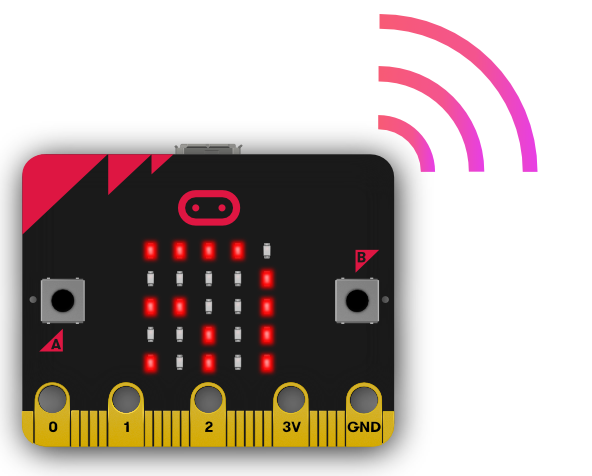
The first thing we need to do is set the radio group that our micro:bits will be broadcasting on. A radio group is the channel that the Microbit both sends its messages and listens for other messages. A Microbit can only send or receive in one group at a time.
A Microbit that is on radio group 2 will not be able to receive a message from another Microbit that is on radio group 3. However, if they are both on radio group 3, they can communicate with each other.
Add the following code to set the radio group to 1.
radio.setGroup(1)
We can send different types of messages, we can send:
- A string (text) message.
- A number message.
- A name and value message.
Let's start off by sending a string message. Add the following code to send the message "Hello" when you press the A button.
input.onButtonPressed(Button.A, function () {
    radio.sendString("Hello")
})
Unlock the full learning experience
You're previewing this lesson. Get full access to this lesson and hundreds more — each one ready to teach, with interactive activities, printable resources and pupil progress tracking built in.
This lesson is copyright of Coding Ireland 2017 - 2026. Unauthorised use, copying or distribution is not allowed.