Our class tablet (or a heavy book of the same size) keeps tipping when we prop it against other books to film an investigation or follow a demo. What job does a good stand need to do, and who is it for?
Capstone Part 1 of 2. Keep the hook light: show the tipping tablet or book and ask the question. Do not hand out the build kit or name variables yet.
If the class has no tablet: use a hardback book or a plastic lunchbox of similar size as the stand-in load for the whole project.
Key questions: Who will use this? What must it never do? What would count as success?
Talk in pairs, then share. Who is this stand for? What must it hold? What must stay true even if the desk is lightly bumped? We will write a short user need the whole class agrees on.
Have the tipping demo still visible. Capture agreed phrases on the IWB.
A stand for our class that holds a tablet (or book) upright on a desk, stays steady when the desk is lightly bumped, and lets pupils put the device in and take it out easily.
| Concept | Why it matters | Example |
|---|---|---|
| User need — what the person who will use the design really needs it to do, written before building | If you skip this, you build something clever that does not solve the real problem | Our stand must hold a tablet upright, stay steady when bumped, and be easy to load |
| Option test — a quick fair test that compares two design choices with evidence | Engineers choose between ideas with a fair test, not only with a vote | Wide base versus narrow base, same height, same load, same nudge |
| Prototype model — a first working version built so it can be tested and improved | A model lets you learn fast before you spend more time or materials | Today’s cardboard stand, ready to test more carefully next lesson |
Nature of STEM: real engineers start with the user, not the materials. Naming the need is engineering work, not a warm-up.
Misconception to head off: “The coolest-looking stand is the best.” Beauty is fine; the user need decides success.
First we will answer one fair-test question: does the shape of the base change how easily a stand tips?
Five cards appear on the interactive: base shape, how easily it tips, the load on the stand, how hard we nudge it, and the height of the stand. Call out where each belongs: Change, Measure, or Keep the same.
This quick test is how engineers stop arguing about favourites: the base has to earn its place with evidence.
After we agree as a class, each group records Change, Measure, Keep the same, and how you will judge tipping on your Investigation Journal page.
Drive the fair-test-planner on the IWB. Target placement:
Pupils then complete the option-test section of their Investigation Journal page for their group’s option test. Groups may note tips / does not tip as a simpler measure if needed, but the class default is nudge count to 10, with the same load and the same nudge method.
Worked model (say aloud before groups plan): I wonder which base is steadier. I predict the wide base will tip less easily than the narrow base when both are the same height, because more of it sits on the desk. A wider base gives the stand more room to lean before it topples, like standing with your feet apart instead of together. I will change only the base shape (wide versus narrow), keep the load, the nudge, and the height the same, and count how many gentle fingertip nudges it takes to tip (stop at 10). I think the wide base will win.
If groups want a different option pair (for example three legs versus a solid base), allow it only if they can still change one thing, measure one thing, and keep the rest the same, including matched height. Note the agreed pair on the IWB so step 4 does not overwrite it.
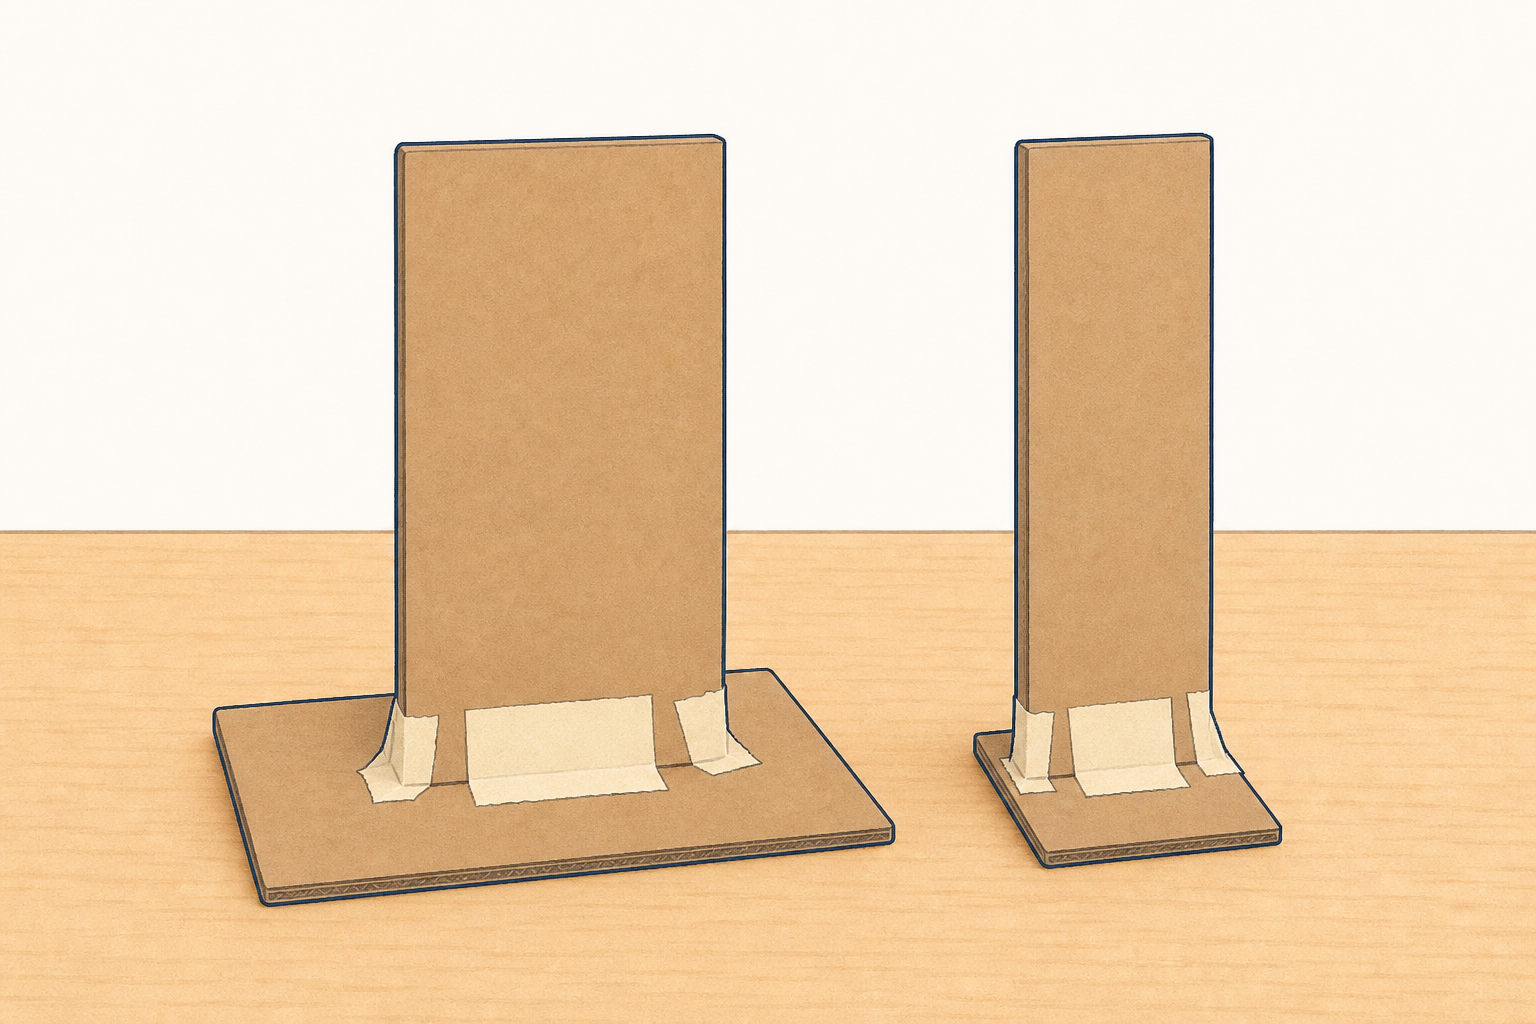
In groups, build two quick base samples only (not a full stand yet). The class default is one wide base and one narrow base, both the same height. If your group already agreed a different fair pair when you planned, use that pair instead, still changing only one thing and matching height. Use the same load and the same gentle fingertip nudge each time. Count nudges until each base tips (stop at 10). Record which base tips less easily, then choose the winner for your full design.
Pre-cut matched-height base templates for every group so the 14 minutes stay on testing, not cutting. Each group needs one wide and one narrow template cut from card:
If a group’s fair pair from step 3 was not wide versus narrow (for example three legs versus solid base), they still use pre-cut pieces cut to the same height rule and change only that one feature.
Give each group their two pre-cut templates plus tape. Use the same book or tablet mock-up as the load for every trial. Agree the class default nudge: one gentle fingertip push from the same height and force; count nudges until tip, maximum 10.
What to expect: the wider base usually tips less easily. If results are mixed, check that height and load really matched.
Safety: round-tip or supervised scissors only if a small trim is needed; adults make any tough card cuts; keep loads modest so nothing falls toward faces.
All groups are practical at once. Circulate and cold-call fair-test checks across groups: “Was that nudge the same both times? What would make this unfair?”
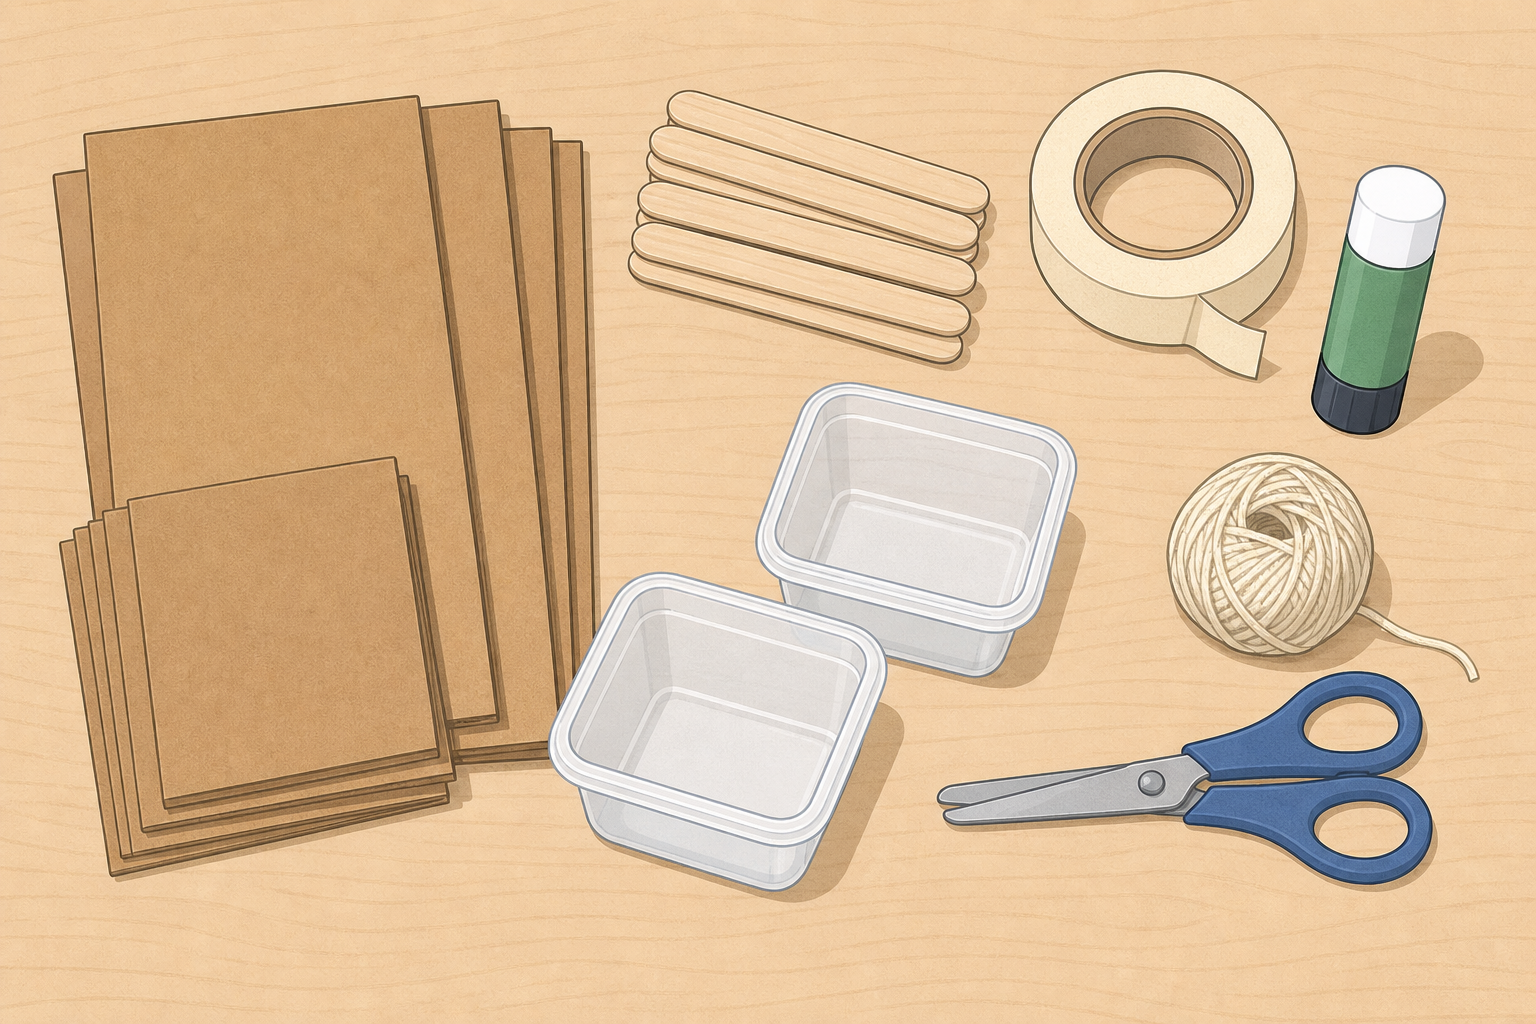
Here are today’s success criteria on the board: holds the tablet or book upright on a desk; stays steady when the desk is lightly bumped; device or book can go in and out easily; built only from the flexible build kit. The kit you may use is: cardboard and card, lolly sticks, masking tape, glue sticks (optional for paper only), string, clean recycled boxes or tubs, and scissors. Using the base that won your option test, sketch one labelled side view of your full stand on your Investigation Journal page. Tick the materials you will use from the kit list, and tick the success criteria already shown on the board.
Display the success criteria and the kit list on the IWB before groups plan (they expand the agreed user need into checkable lines):
Kit on the board (show the physical kit too if you can): cardboard and card; lolly sticks; masking tape (default join); glue sticks optional for paper-to-paper only; string; clean recycled boxes or tubs; scissors.
Prefer tape for speed: PVA or wet glue will not set before the stop clock. Do not offer PVA in this lesson.
This step is plan only. Keep the products light so groups finish in time: one labelled side sketch (base, support, resting place), materials ticked from the board list, success criteria ticked (not rewritten in full). Circulate and check that the winning base idea from the option test is actually used in the sketch. Do not start full builds until the next step.
Differentiation: some groups add a simple lip or stop so the device cannot slide forward; keep the core criteria the same for everyone.
You're previewing this lesson. Get full access to this lesson and hundreds more — each one ready to teach, with interactive activities, printable resources and pupil progress tracking built in.