Mathematics
Advanced
50 mins
Teacher/Student led
+80 XP
What you need:
IWB/Projector/Large Screen

Drawing a Cuboid on Dot Paper

Draw a cuboid on dot paper by building the front face, adding depth lines at a consistent slant, and joining the back corners. Learn how the slanting dots create the illusion of a solid 3D shape on a flat page.
Teacher Class Feed

Load previous activity

    1 - Getting Started ~4 mins

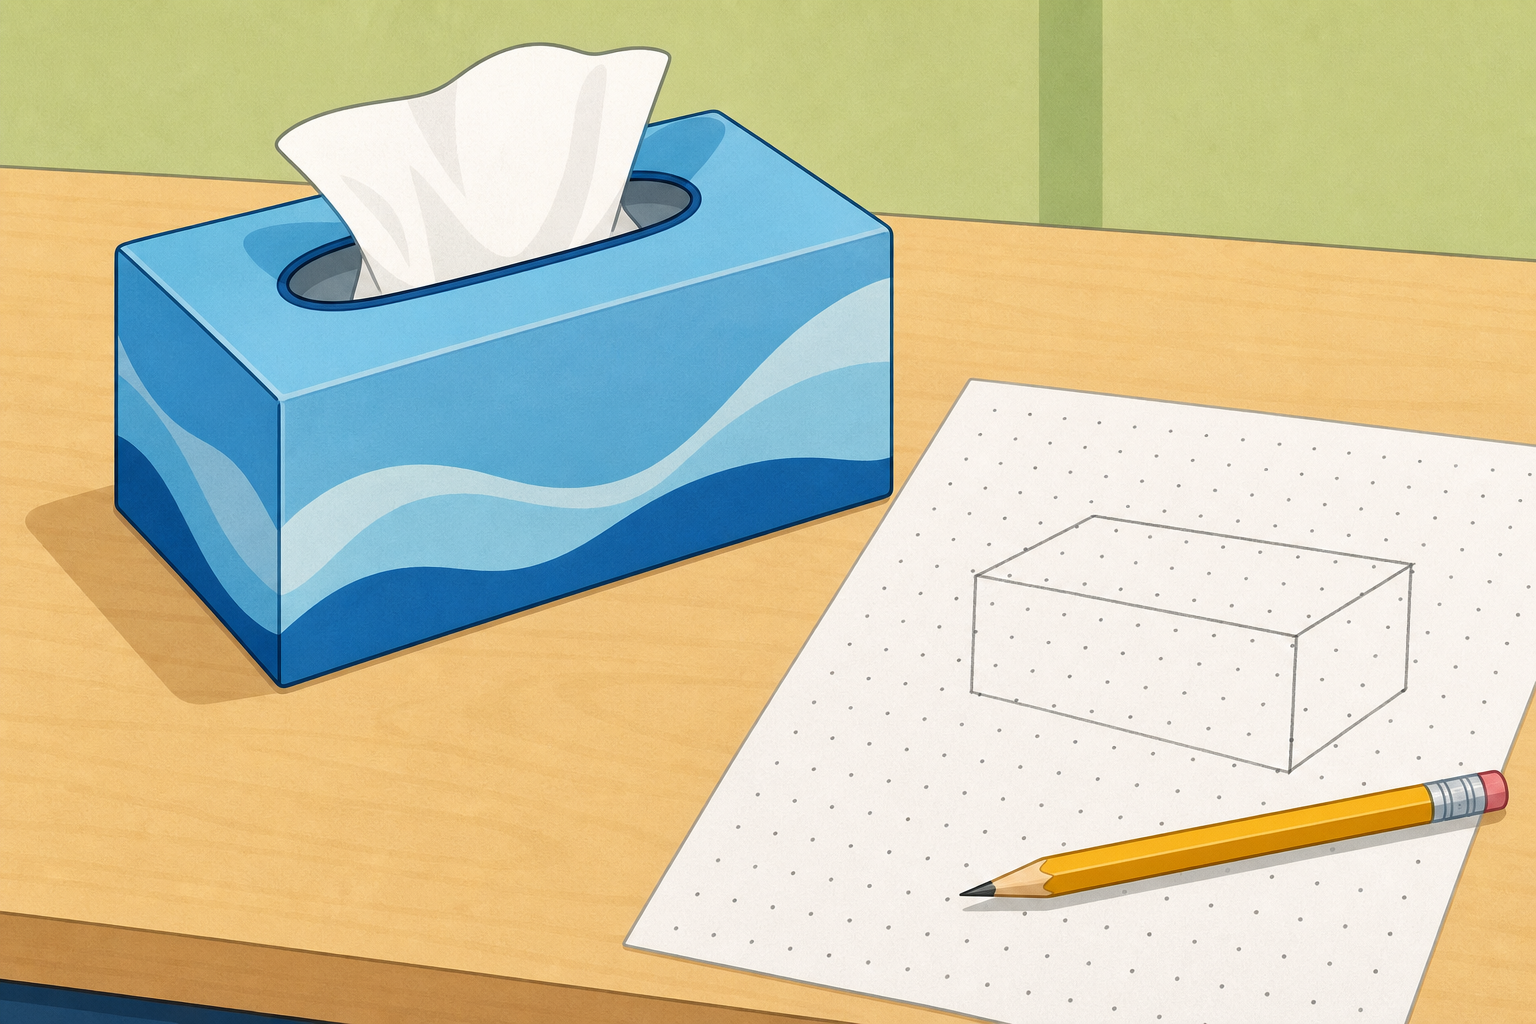
    Illustration for Getting StartedHere is a real tissue box, and next to it a drawing of the very same box on dotted paper.

    Key point

    How does flat, dotted paper let us draw a solid box you could pick up? And look at the lines running back into the page: why do they all lean the same way?

    2 - Watch and Notice ~9 mins

    Look at the cuboid on the dot paper.

    First comes the front face. That is the side facing you, with its upright lines staying upright and its base lines following the dots. Next come the depth lines: these are the lines that run back into the page along the slanting dots. The way they lean is called the slant. Last, the back corners join up to close the box.

    Once the box is closed you can see three faces: the front, the top and the side. Look closely at the depth lines, and be ready to say what stays the same about every one of them.

    3 - Try It Together ~7 mins

    Now we draw one on the board together. Today we build a 4 wide by 3 tall by 2 deep cuboid, edge by edge. First we draw the front face, 4 wide and 3 tall. Then we draw the depth lines back for a depth of 2. Last we join up the back corners.

    While one pupil taps at the board, the rest of us point in the air which way each depth line will lean before it is drawn. Watch that every depth line lands on the same slanting run of dots. Watch too for the top face and the side face appearing as the box closes.

    Draw the 4 by 3 by 2 cuboid

    4 - Draw the Cuboid in Your Copy ~3 mins

    COPYBOOK MOMENT

    On the dot paper in your maths copy, draw a 4 × 3 × 2 cuboid.

    Draw the front face first — 4 wide and 3 tall. Then draw the depth lines back along the dots for a depth of 2, keeping every one at the same slant. Finally, join up the back corners.

    Label the front face, the top face and the side face.

    5 - Class Challenge ~9 mins

    Now one pupil at the board builds each cuboid to match a target size, and the rest of us predict the size and confirm the answer. We start with the 4 × 3 × 2 box we already know. Then we build a 2 × 2 × 2 cube. Next comes a wider 5 × 2 × 3. Finally we build a 3 × 4 × 2 to check that the front face can be tall or wide.

    For each one, the pupil at the board sets the size and presses Check, and the class watches for the match. Four boxes is the full set, but two is a fine place to stop if time is short.

    Build the cuboid to match

    Pupil practice
    Module 6 · 2D and 3D Shape, Angles, Symmetry Shape & Space
    Lesson 82 · Drawing a Cuboid on Dot Paper
    Download Activity Book page (PDF)
    123learn · Online learning platform

    Unlock the full learning experience

    You're previewing this lesson. Get full access to this lesson and hundreds more — each one ready to teach, with interactive activities, printable resources and pupil progress tracking built in.

    Hundreds of curriculum-aligned lessons
    Interactive activities in every lesson
    Printable resources & progress tracking
    Copyright Notice
    This lesson is copyright of Coding Ireland 2017 - 2025. Unauthorised use, copying or distribution is not allowed.
    🍪 Our website uses cookies to make your browsing experience better. By using our website you agree to our use of cookies. Learn more
