Look at Version 1 first. Who is on the beach, and is it busy? Then look at Version 2.
| Version 1 | Version 2 |
|---|---|
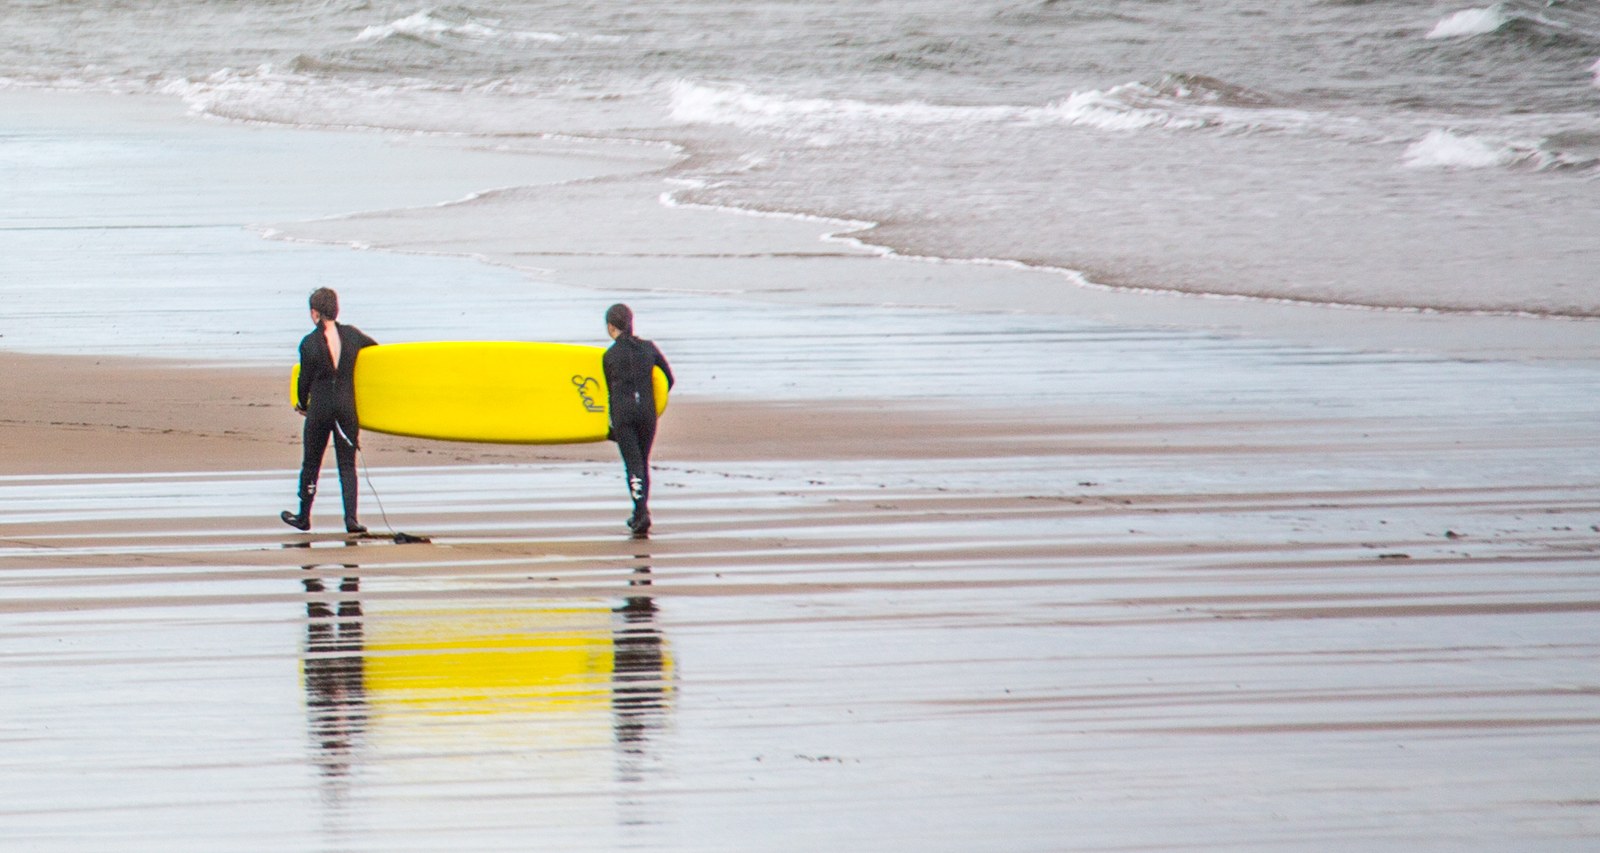 | 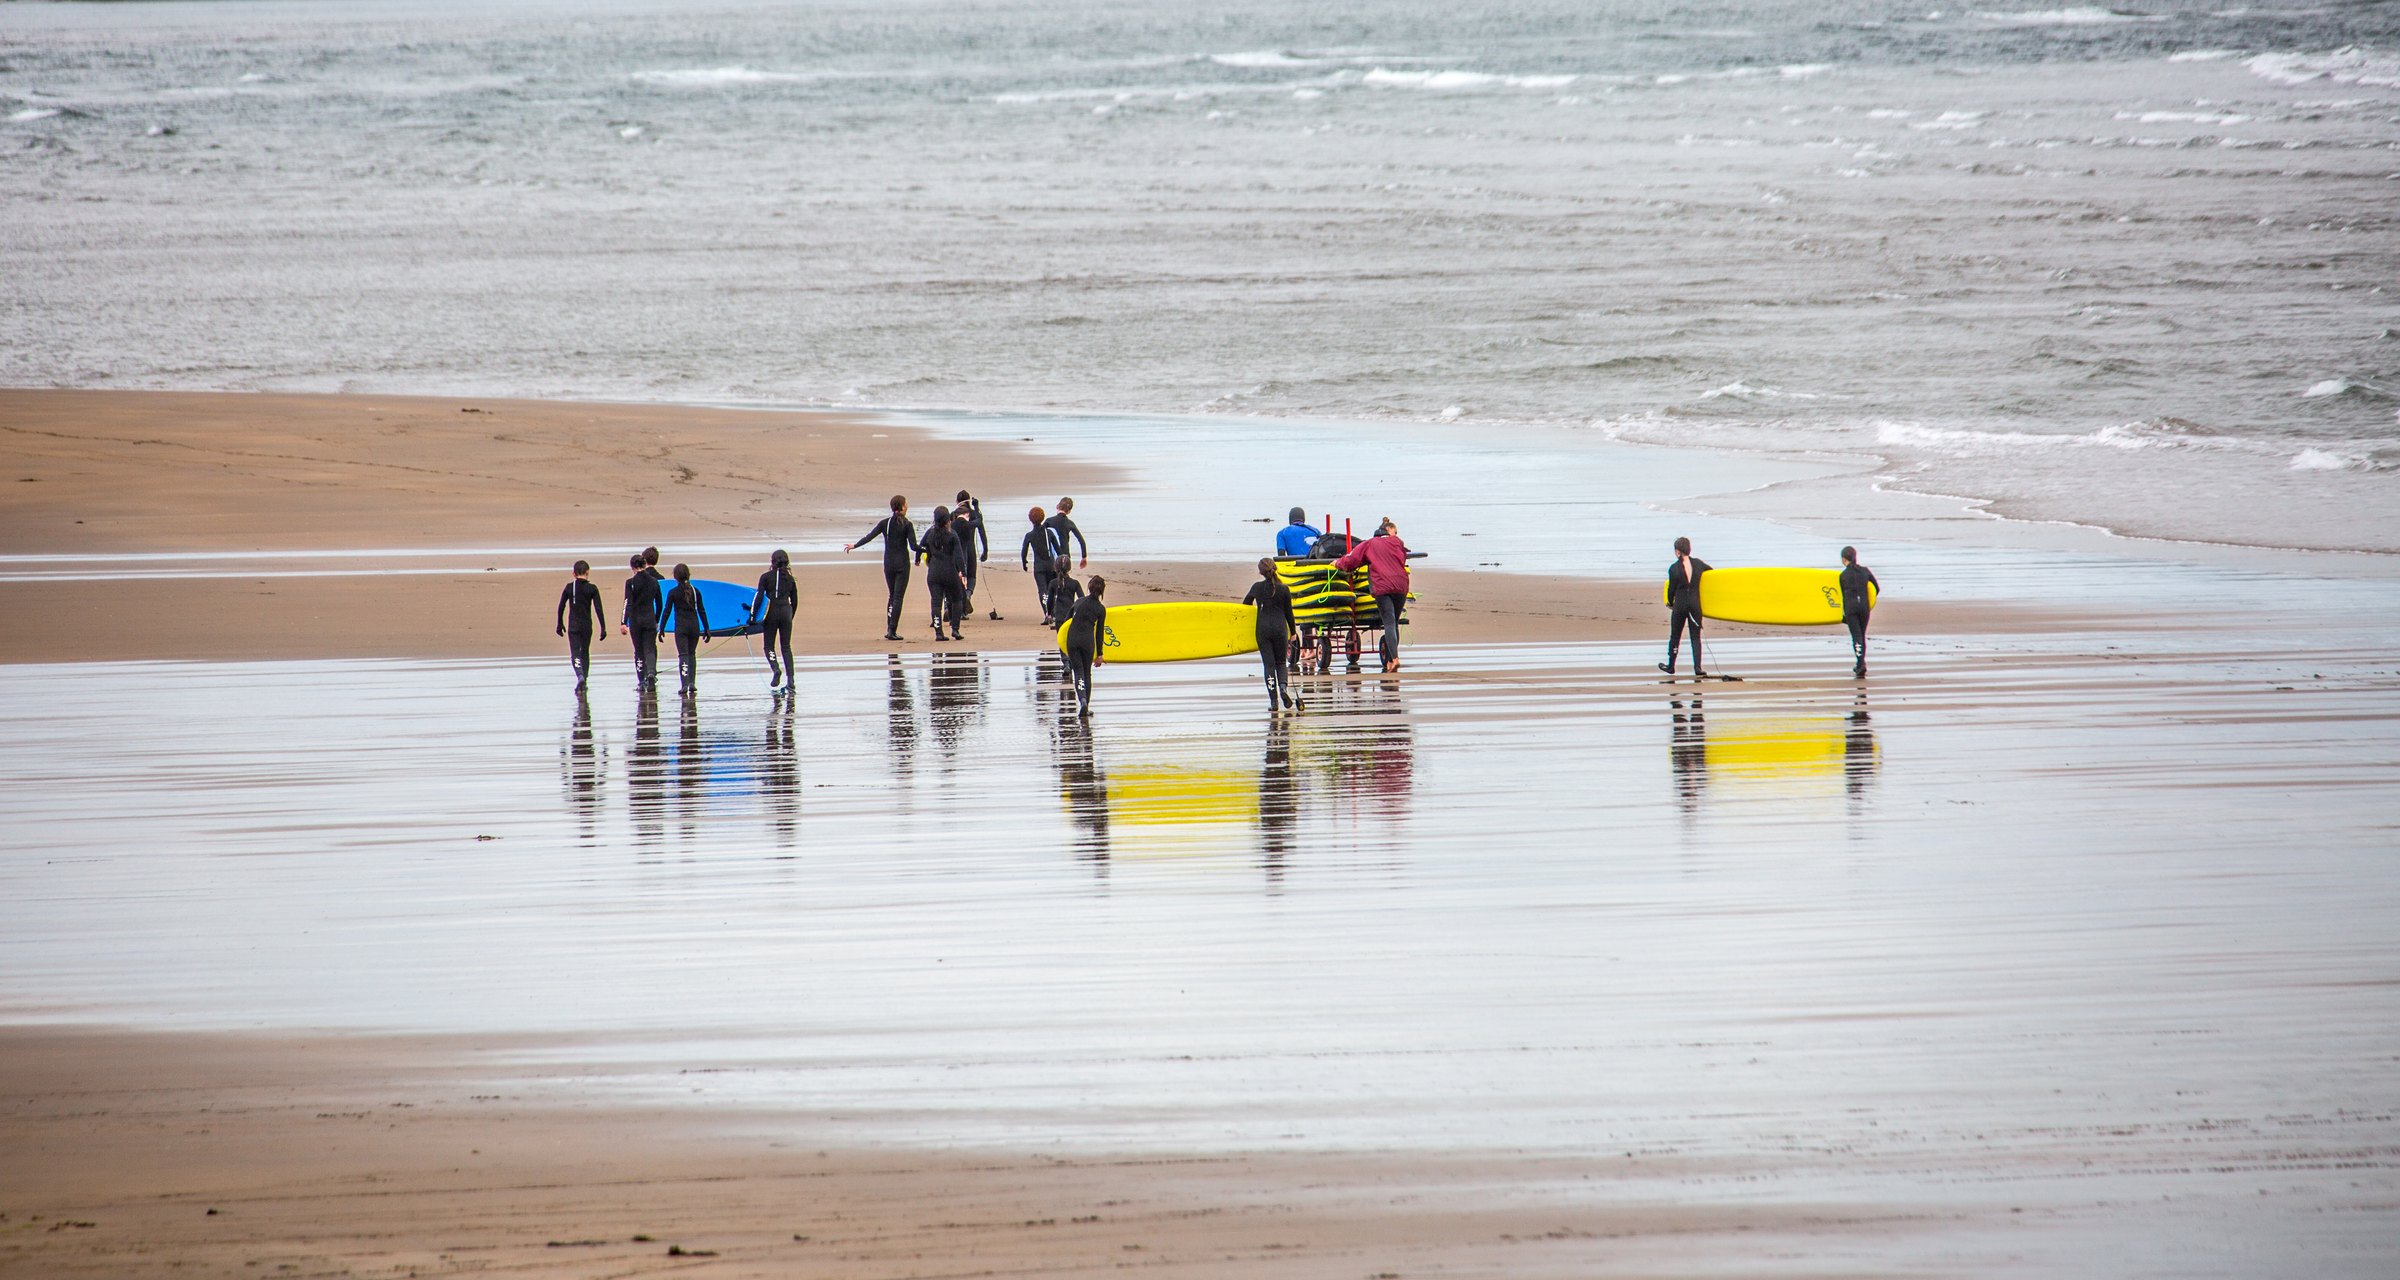 |
Photo: "Strandhill, County Sligo, 2016 08" by serrini, public domain, via Wikimedia Commons.
Nothing was added or faked. Version 1 is part of Version 2 with the rest of the class cropped out, and that changes the story.
Open the practice photo, which is Version 2. Then right-click it and choose Save image as.
You will meet these words in image editors.
| Word | What it means | For example |
|---|---|---|
| Pixels | The tiny squares of colour that a digital picture is made of. More pixels means more detail. | The practice photo is 2400 pixels wide and 1280 pixels high. |
| Resolution | How much detail a picture has, which depends on how many pixels it has. More detail makes a bigger file. | A tiny part of a photo, stretched to fill a big screen, looks blurry, because it has too few pixels. |
| Cropping | Cutting away the parts of a picture you do not want people to see. | Version 1 on the first step is the practice photo cropped down to two surfers. |
| Layers | The parts of a design, stacked on top of each other. You can move each one on its own. | A heading on a photo is one layer, and the photo under it is another. |
| Exporting | Saving your design as a picture file you can use outside Canva. | Choose JPG for a photo, or PNG for sharp edges or a see-through background. |
Canva runs in your web browser. You need a free Canva account, signed up with your school email. If you do not have one yet, tell your teacher now rather than sorting it out alone.
When you are signed in, follow the steps below to crop the practice photo so it shows what you want it to show.
A filter changes the mood of an image in one click. Brightness and contrast help when an image is too dark or looks flat and dull.
Both change how people feel about a picture without changing what is in it.
Everything you add to a Canva design sits on its own layer, stacked in the order you added it. That is why a heading can sit on top of a photo and still be moved on its own.
When you are finished, export it as a picture file, because a design that stays in Canva cannot be used anywhere else.
Unlock the full learning experience
You're previewing this lesson. Get full access to this lesson and hundreds more — each one ready to teach, with interactive activities, printable resources and pupil progress tracking built in.
This lesson is copyright of Coding Ireland 2017 - 2026. Unauthorised use, copying or distribution is not allowed.