How does a quiz-show buzzer know when to sound? What must happen in the wires for it to ring only at the right moment?
Hands up: what job do you think a switch does in a circuit?
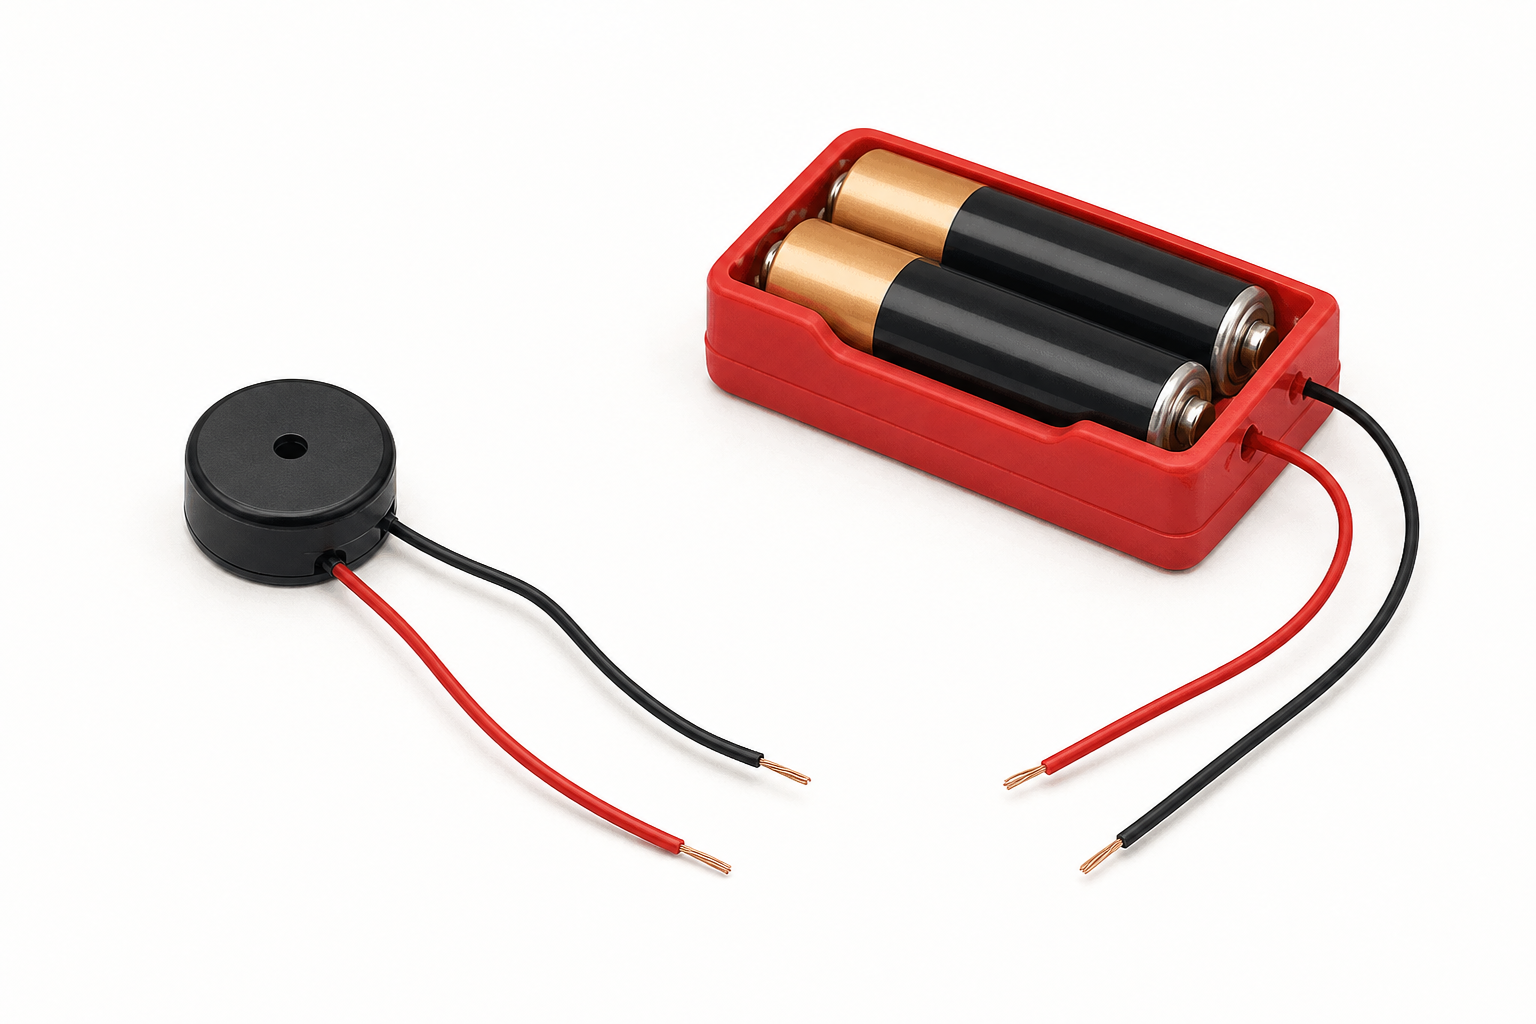
Keep this light. Hold up a simple battery–buzzer kit or a homemade foil switch if you have one ready, but do not build yet. The aim is curiosity about a circuit that does a job, not a full set-up.
Key question: When should the buzzer stay silent, and when should it sound?
Link briefly to what pupils can already do: they can build a simple loop with a battery and bulb. Today that loop gets a job.
How could two pieces of foil act as a switch for a quiz buzzer?
A switch opens or closes a gap so electricity can flow or stop. Without a complete path, nothing works.
A closed loop is a full path from one side of the battery, through the parts, and back again with no gaps.
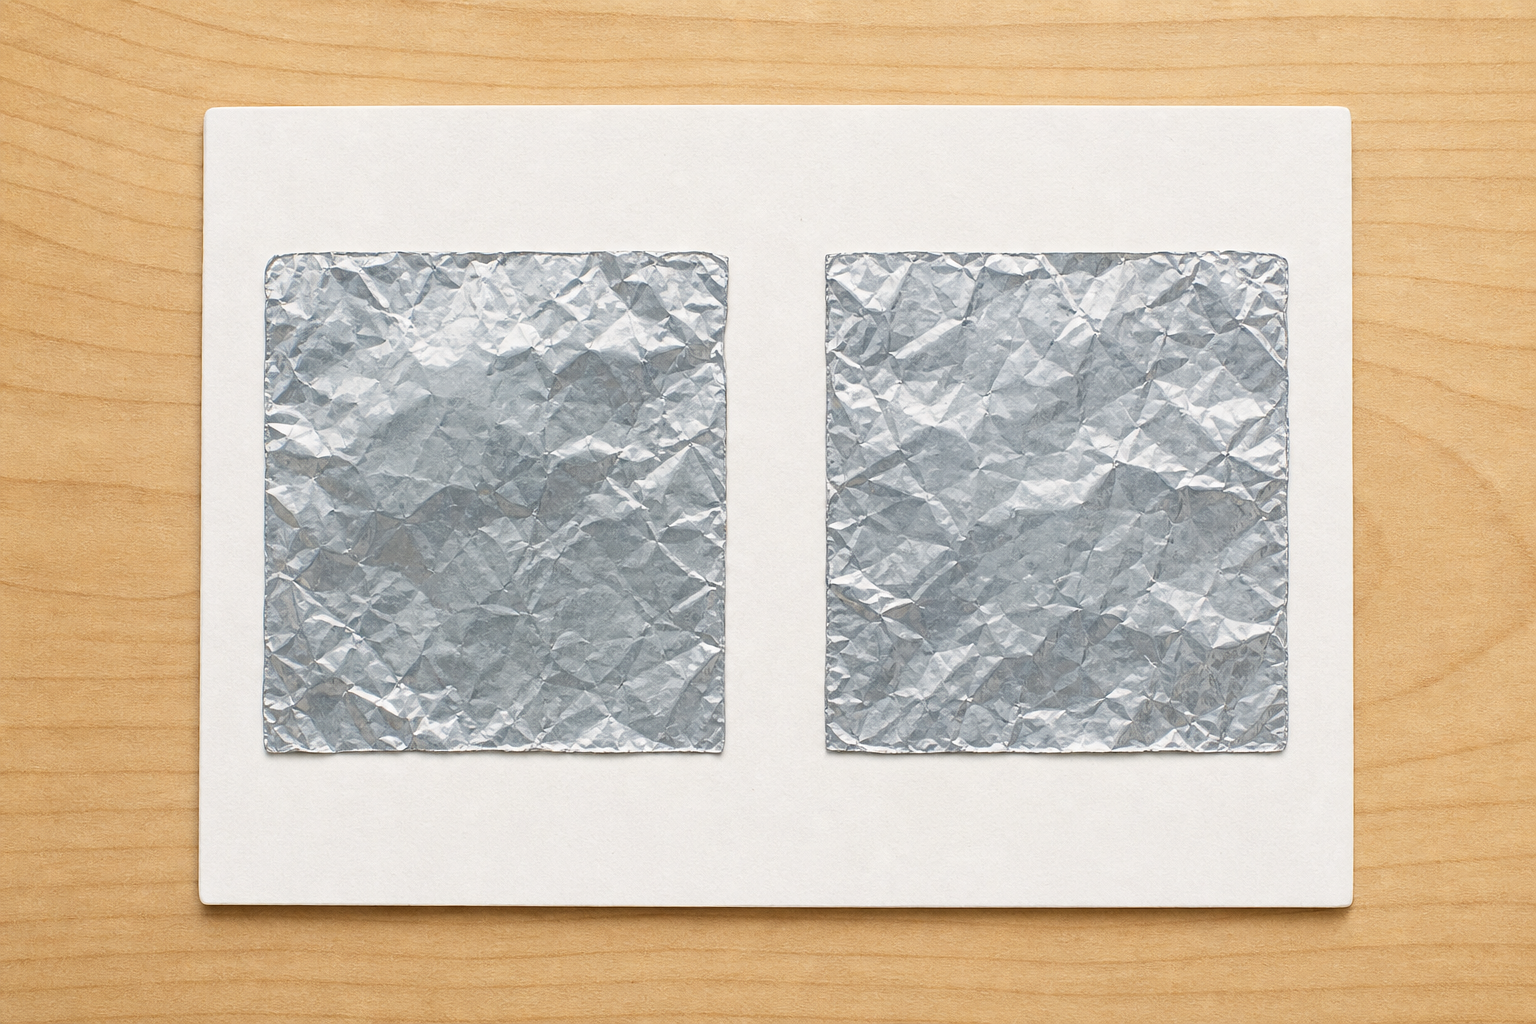
Look at the foil (or the kit if your teacher holds it up). Those metal surfaces can be contact points: they touch only when you want the circuit on, and that touch is the switch.
| Concept | Why it matters | Example |
|---|---|---|
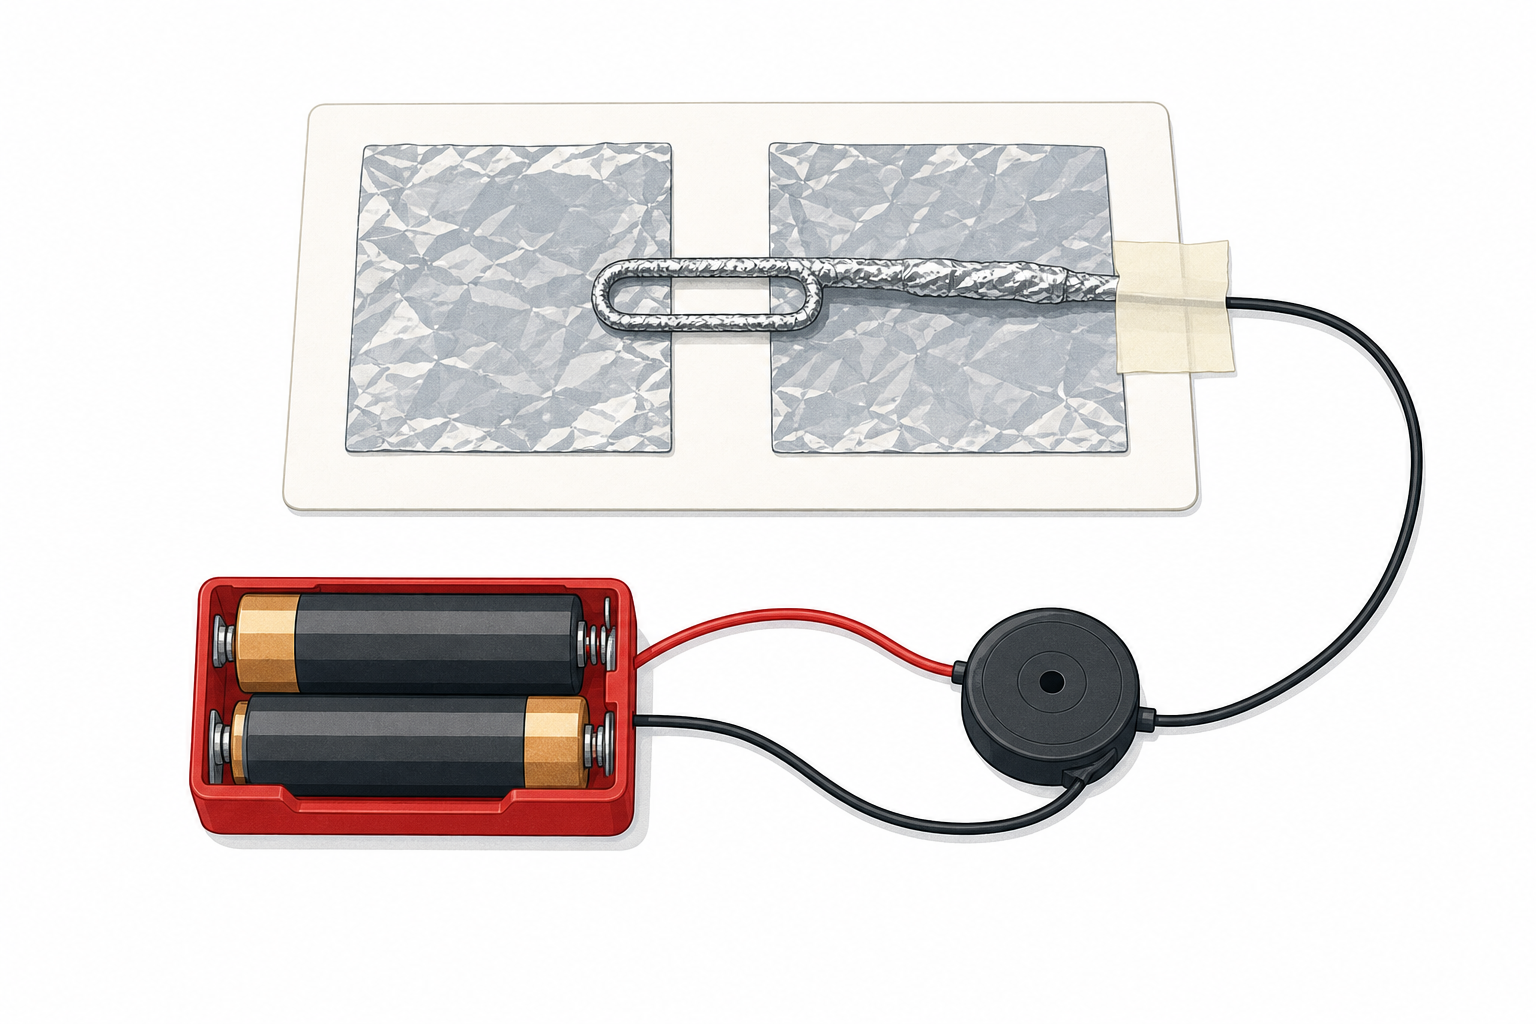
| Switch — a part that opens or closes a gap in a circuit so electricity can flow or stop | Without a switch, a bulb or buzzer would stay on all the time and waste the battery | Closing a paperclip onto foil pads completes the loop and the buzzer sounds |
| Closed loop — a complete path from one side of the battery, through the parts, and back again with no gaps | If the loop has a gap, nothing works; completing the loop is how every simple circuit does its job | When two foil pads touch through a conductor, the loop closes and the output works |
| Contact points — two metal surfaces that touch only when you want the circuit to work, acting as a simple touch switch | This is how quiz buzzers and steady-hand games decide when to sound without a shop-bought switch | A quiz buzzer sounds only when the answer wand touches the correct foil pad |
Misconception to head off: pupils may think electricity “waits” in the wires or that the buzzer makes its own power. Power comes from the battery; the switch only completes or breaks the path.
Nature of STEM: designing a circuit to do a job is what electrical engineers do — they match the loop to a real need.
Hold up foil pads or a paperclip wand while you name contact points so the third idea is seen, not only heard.
Model one short cycle aloud before groups plan: I wonder if foil pads can act as a switch. I predict the buzzer will sound only when the wand touches both pads through metal. I will test by touching and lifting. I observed it sounded on contact and stopped when I lifted. I think the loop only closes when the contact points touch.
On the board we will build a loop that includes a battery, a buzzer and a switch. Call out where each part should go so the buzzer sounds only when the switch is closed.
What happens if we open the switch?
Drive the circuit-builder interactive on the IWB in explore mode. Palette parts: battery, wire, corner, buzzer, switch, bulb. Start with an empty or partial grid and invite pairs to suggest the next piece.
Spell out what appears: pupils drag battery, wires, corners, buzzer and switch onto a 5-by-5 grid. Tap parts to rotate them. A complete loop with the switch closed should make the buzzer respond; opening the switch breaks the loop.
Prompts: Where must the switch sit so it can break the loop? Could we swap the buzzer for a bulb? Could foil contact points do the same job as this switch?
Use this as the plan beat before the real kit comes out. Keep batteries and wires in trays until the build step.
Differentiation: less confident pairs name only battery, buzzer and one gap; confident pairs add a second output or argue where the switch must go.
Before the kit comes out, put these build steps in a sensible order on the board. Call out which should come first, then next:
When you build, use this order as your checklist. If the buzzer never sounds, which step is probably missing? If it never stops, which step fails?
Teacher-led board talk only. No second interactive. Write or project the five steps and let the class reorder them if needed until the sequence matches a working touch-switch build.
Frame it as engineers writing clear steps so a circuit job can be repeated and debugged. Keep trays closed until the next step so this stays a plan beat, not a build.
After the class agrees the order, leave it visible on the board or side of the IWB during the build so groups can walk their real circuit against it.
Prompts: Why must the battery go in before you test the contacts? What is the deliberate gap for?
In your group, build a circuit that does a job. Choose a quiz buzzer or a steady-hand game.
Quiz buzzer: stick two foil pads on card so they sit as a gap in the loop. One pad links toward the battery path and the other toward the buzzer. A foil-wrapped paperclip wand closes the loop only when it touches both pads at once. Wrong pads stay open (no path).
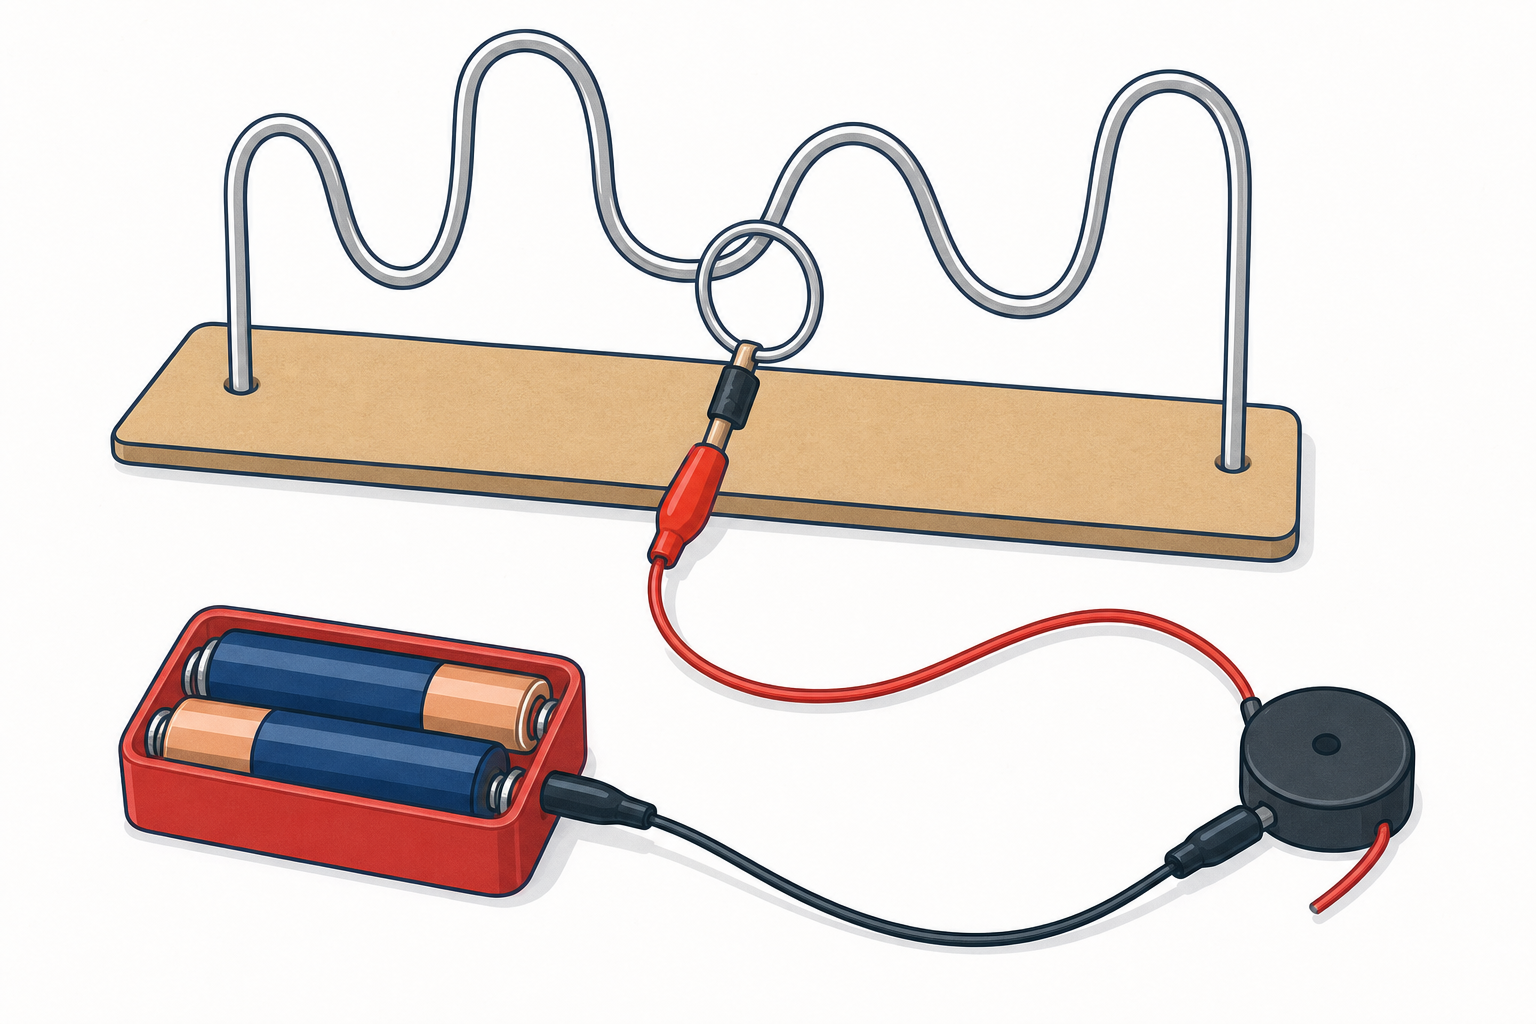
Steady-hand: a bent paperclip or wire track is one side of the gap; a looped wand is the other. When the wand touches the track, the loop closes and the buzzer sounds.
Your circuit must use a battery, wires, a buzzer or bulb, and two contact points that touch only when you want it on. Use the ordered steps on the board as your checklist while you build and test.
If your circuit will not work, rebuild it on the board planner first and find the break in the loop, then go back to the kit.
Quiz buzzer: stick two foil pads on card for “correct” contact; one pad links toward the battery path and the other toward the buzzer so touching both with a foil-wrapped paperclip wand closes the loop. Wrong pads stay open (no path).
Steady-hand: a bent paperclip or wire track forms one side of the gap; a looped wand is the other. Contact between wand and track closes the loop and the buzzer sounds.
Groups choose which design to build — that is their design decision. Circulate and ask: Where is the gap? What closes it? Is the battery the right way round? Which board step are you on?
Safety: low-voltage batteries only — never mains. No batteries in mouths. Adult help with fiddly clips. Wipe any foil scraps off the floor.
If a group’s circuit will not sound: check the loop is complete, the battery orientation, loose clips, and whether the foil is under the clip (not just near it). Point them back to the ordered steps on the board.
You're previewing this lesson. Get full access to this lesson and hundreds more — each one ready to teach, with interactive activities, printable resources and pupil progress tracking built in.