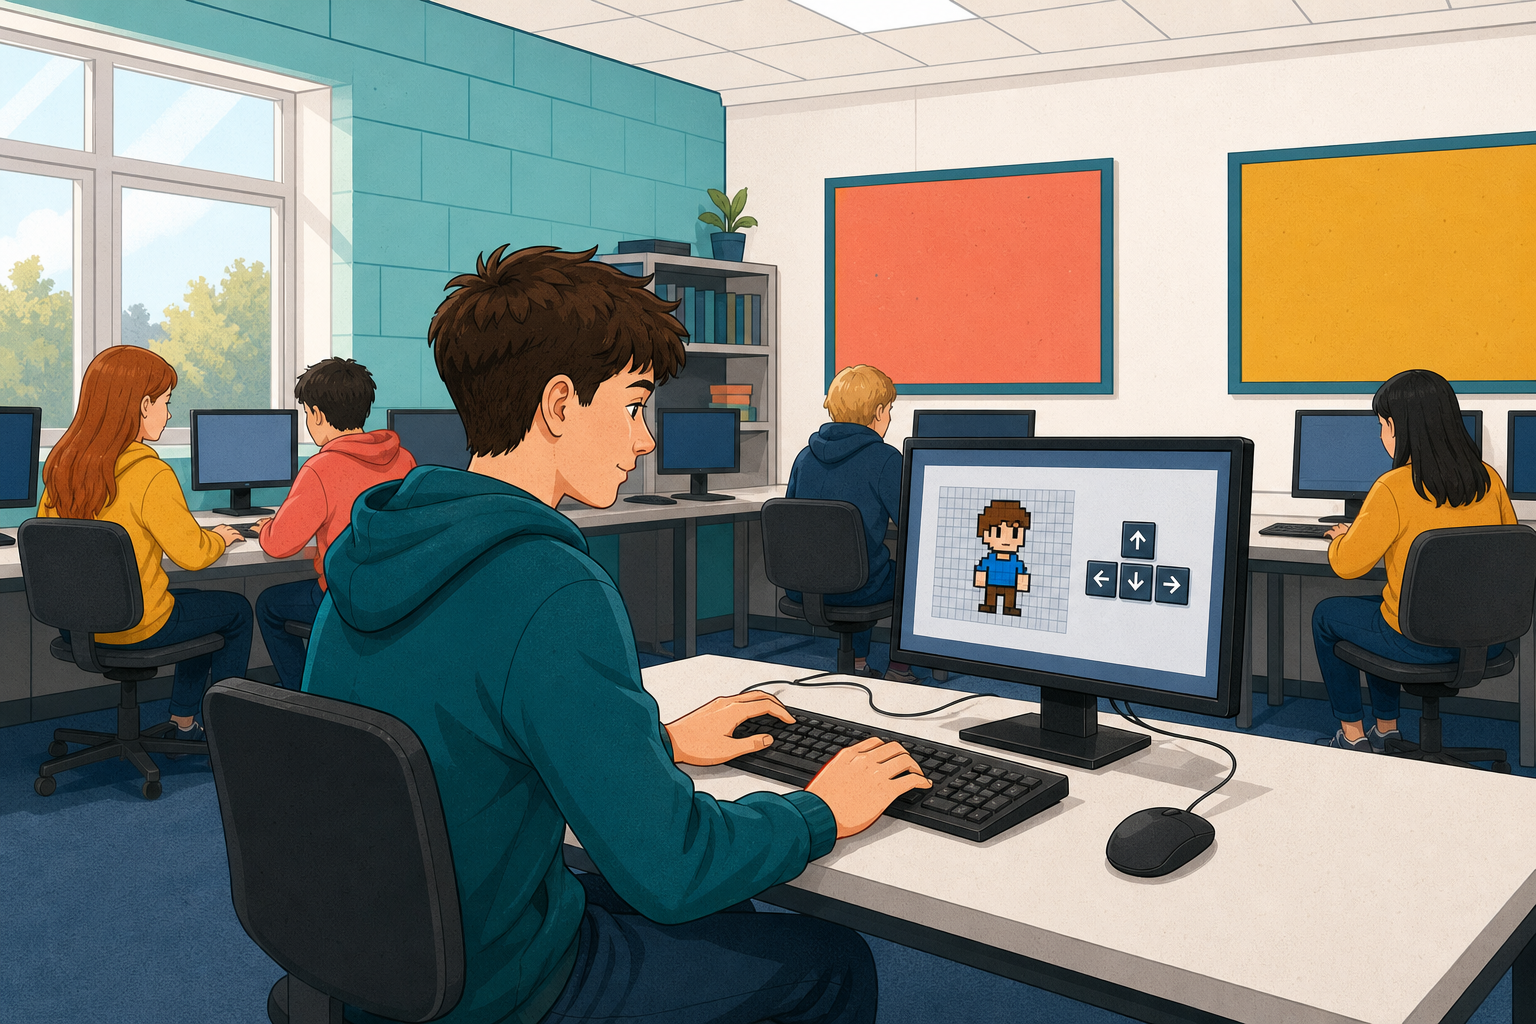
 Today you are working in MakeCode Arcade on a new project from scratch.
You will craft your own pixel character, make it move with the arrow keys, run it in the simulator, and take a first look at how the same project reads in the JavaScript text view.
Before you build, think: what do you expect to see when a sprite is created and the controller is told to move it?
Start by creating a new project on MakeCode Arcade. You can do this by going to the MakeCode Arcade website here and clicking on 'New Project'.
Build it in blocks first. A new project opens in the Blocks view, and that is where you start. From Sprites, drag in set mySprite to sprite of kind Player and draw your character in the pixel editor that opens when you click the grey square.
Now look at what you just made. At the top of the editor click the JavaScript toggle. Your block has not gone anywhere, it is the same program written as text:
let mySprite = sprites.create(img`...`, SpriteKind.Player)
Read it against your block and match the pieces up: set mySprite to became let mySprite =, sprite became sprites.create, your drawing became the img`...` part, and of kind Player became SpriteKind.Player. Nothing new has happened. The same instruction is just written a second way.
Flip back to Blocks. Still there. You can move between the two views as often as you like.
Back in the Blocks view, add move mySprite with buttons from Controller. Run it, and your character moves with the arrow keys.
Flip to JavaScript again and find the line your new block became:
controller.moveSprite(mySprite)
Same pattern as before. The block's name became controller.moveSprite, and the sprite you chose in the dropdown became the mySprite in the brackets. Predict before you look: if you had two sprites, what would you expect to change in that line?
Stay in the JavaScript view for this. First you will write something the long, clumsy way, then you will spot why it is clumsy, and then you will fix it the way a programmer would.
Add three rocks to your game. Type it the long way first, exactly like this:
let rock1 = sprites.create(img`. . . . .`, SpriteKind.Food)
rock1.setPosition(20, 20)
let rock2 = sprites.create(img`. . . . .`, SpriteKind.Food)
rock2.setPosition(60, 40)
let rock3 = sprites.create(img`. . . . .`, SpriteKind.Food)
rock3.setPosition(100, 60)
Read it back. The same two lines appear three times and the only thing that changes is the position. That repetition is the signal. If you wanted ten rocks you would type twenty lines, and if you wanted to change how a rock is made you would have to remember to change it in every copy.
A function is how you say the repeated part once and give it a name. The bits that change become its inputs:
function makeRock(x: number, y: number) {
    let rock = sprites.create(img`. . . . .`, SpriteKind.Food)
    rock.setPosition(x, y)
}

makeRock(20, 20)
makeRock(60, 40)
makeRock(100, 60)
Six lines became three calls and one definition, and the game runs exactly the same. Now add a fourth rock. One line. That is what you gained.
Flip back to Blocks and find your function there. It is in the toolbox under Functions, with the same name you gave it.
Unlock the full learning experience
You're previewing this lesson. Get full access to this lesson and hundreds more — each one ready to teach, with interactive activities, printable resources and pupil progress tracking built in.
This lesson is copyright of Coding Ireland 2017 - 2026. Unauthorised use, copying or distribution is not allowed.