Intermediate
60 mins
Teacher/Student led
+90 XP

Inserting Images: Phone, Licensed Stock, or AI

Learn to insert one image into your proposal from a file on the computer (phone transfer, licensed stock, or AI with disclosure). Resize and wrap text, manage heavy phone files, and complete an Image Source Log on 03_proposal_draft.

Teacher Class Feed

Load previous activity

    1 - Introduction ~5 mins

    Welcome

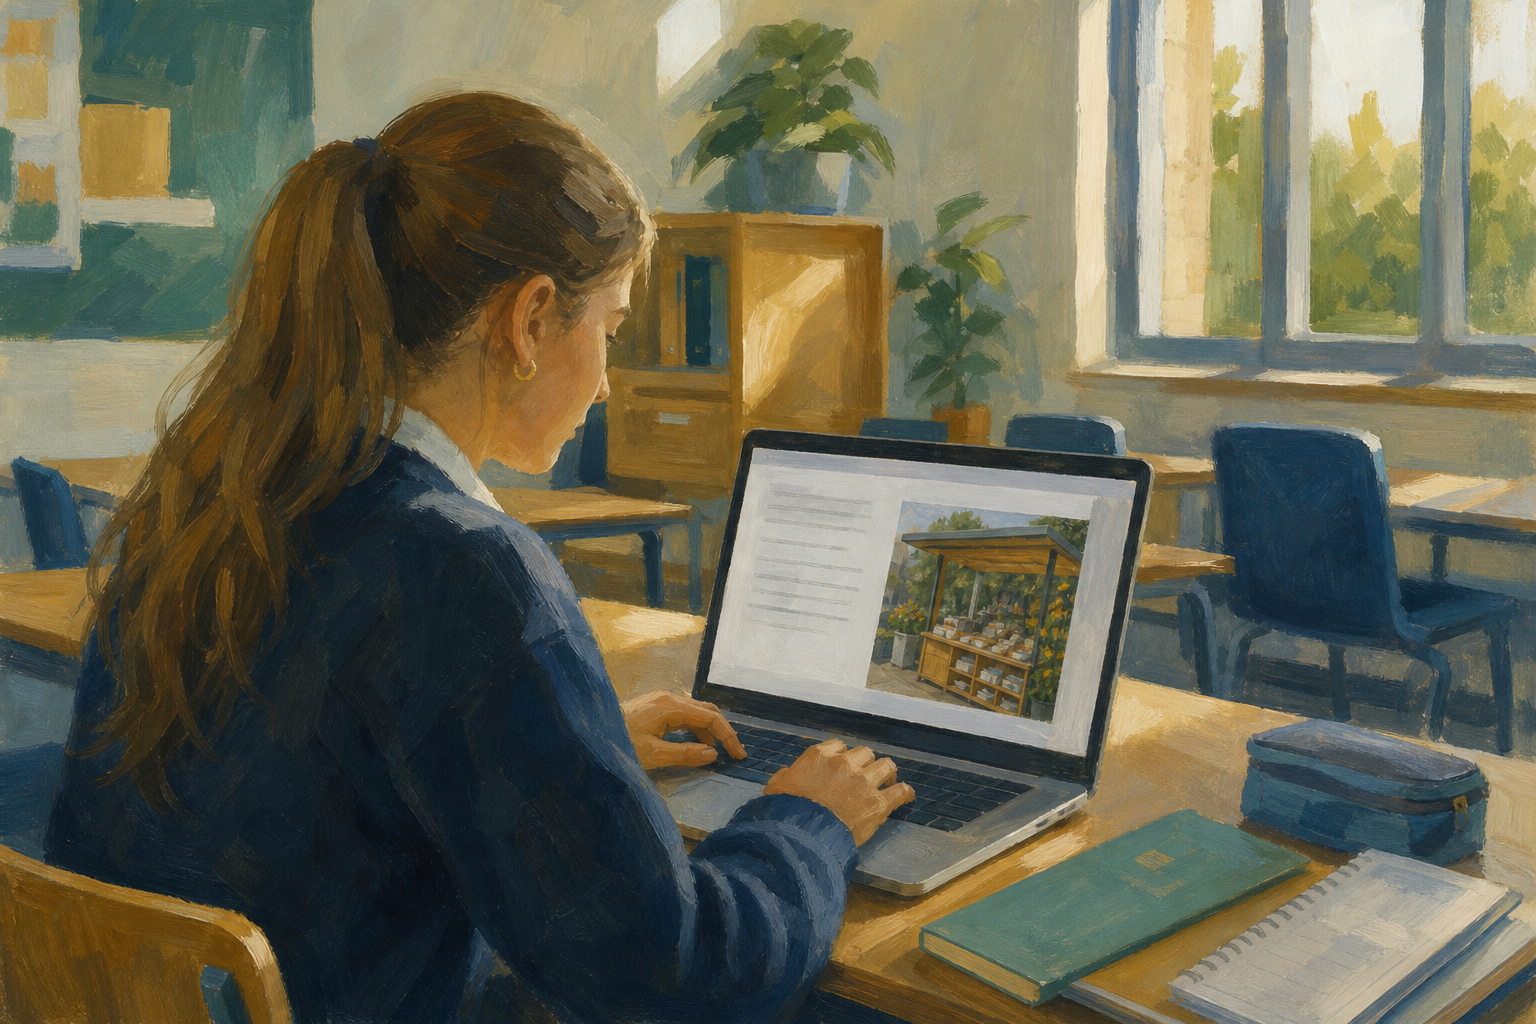
    Illustration for IntroductionYour proposal already has headings, paragraphs, spacing and a header. Today you add one image that earns its place. The picture might come from your phone, a free stock library with a clear licence, or an AI tool you disclose honestly. Done well, it helps a real reader (a supervisor, a club treasurer, a placement mentor) grasp your Something Real project in seconds.

    Before you start

    Timed start (about 2 minutes): make sure one image file is on this computer (Downloads, USB, or school cloud). A phone photo emailed or saved from OneDrive / Google Photos is ideal. Your teacher will open the labelled class sample-photo bank on the projector now — if you have no project photo, download or copy one sample straight away. If {{code:03_proposal_draft}} is missing, follow the whole-class stub save: open the short stub (title plus three paragraphs), save it as {{code:03_proposal_draft}} in {{code:03_documents}} before independent practice.

    By the end of this lesson, you will be able to:

    • Insert one image from a file already on the computer
    • Size, position and wrap text cleanly around an image
    • Recognise common phone photo formats (.jpg or .heic) and keep the proposal light to open
    • Add one relevant image to {{code:03_proposal_draft}} and complete a four-line Image Source Log

    Warm-up

    Think of one picture that would help someone understand your Something Real project in under three seconds. Is that picture already on this machine, still only on a phone, or would you need a licensed stock download or an AI image with a clear disclosure line?

    2 - Key Concepts ~6 mins

    Three honest routes into a document image. Layout skills (resize, wrap) come next in the hands-on task.

    ConceptWhy it mattersExample
    Phone photo — a picture you took, then moved to this computer (email, cloud photos, cable or wireless transfer) Your own photo is usually the strongest proof for Work Experience, a club event or a product you actually made A clear photo of your stall setup, kit bag or finished craft piece for a community or enterprise proposal
    Licensed stock image — a free photo library with a clear licence (for example Unsplash, Pexels, or Wikimedia Commons). Read that site's licence before use; only some works are Creative Commons You avoid stealing someone else's work; some licences need credit, some allow commercial use, some do not A free market-stall photo in a fundraiser proposal, with the site name and licence type written in your Image Source Log
    AI image with disclosure — a picture made by an AI tool, used only when you state that clearly and avoid real people or copyrighted characters Readers (and teachers verifying Key Assignments) need to know what is real photography and what is generated A simple illustration of a stall layout, with a one-line note that it is AI-generated and not a photo of a real person

    Worked samples: Image Source Log (all three routes)

    In the step-by-step you rehearse layout on a short practice file. Use the matching log model for the route you choose later. Most of the class will use the phone model (or the honest class-sample model if you used the sample bank).

    1. Phone (default model)

    • Source route: Phone photo
    • What it shows: Tray of sample buns from a practice bake
    • Licence or disclosure: Own photo; no licence needed
    • File note: Phone export as .jpg; resized on the page so the proposal stays easy to scan

    2. Licensed stock

    • Source route: Licensed stock (Pexels)
    • What it shows: Empty market stall tables outdoors
    • Licence or disclosure: Pexels Licence; free to use; credit not required on this photo (still name the site in the log)
    • File note: Downloaded medium size before insert

    3. AI with disclosure

    • Source route: AI-generated image
    • What it shows: Simple illustrated layout of a bake stall (not a real place)
    • Licence or disclosure: AI-generated image; not a photograph of a real person or real shop
    • File note: Exported as .jpg from the tool; used only as a sketch of the idea

    Copy the four line labels into your own document. Fill them for your image and route.

    File format tip

    Phone photos are often .jpg. Some phones (especially iPhones) save .heic instead. If the insert dialog will not accept the file, export or share a .jpg copy from the Photos app first. Huge multi-megabyte files slow cloud open/save; if the file is several MB, export a smaller copy before you insert. Dragging a corner on the page mainly fixes layout and may not slim the saved document much.

    3 - Step-by-step Task ~15 mins

    Follow the steps for your word processor. Everyone works in a practice file called {{code:03_image_practice}} in {{code:03_documents}} (open the class stub if it is already there — three short paragraphs are already typed). Do not open {{code:03_proposal_draft}} until Independent practice. Insert a sample image, resize it, wrap text cleanly, and write an honest Image Source Log for the file you actually inserted so you see the finished standard before you edit your own proposal.

    4 - Common Issues ~4 mins

    Common Issues

    Tip

    Use this table only if you get stuck — find the matching row and try the fix.

    IssueSolution
    The image is huge and pushes all my text down the page That is normal for a phone shot. Click the image and drag a corner handle to about one-third page width first. Then set wrap (Square in Word Online; Wrap text in Google Docs) so text can sit beside it.
    I cannot find Insert Pictures / Insert Image Look on the Insert tab or Insert menu. In Word Online use Pictures; in Google Docs use {{menu:Insert -> Image -> Upload from computer}}. Widen the browser window if the ribbon is collapsed. If Insert is missing entirely, check you are not in view-only mode.
    The file will not insert, or it is named .heic Some phones (especially iPhones) save .heic. Export or share a .jpg copy from your phone Photos app (or ask your teacher for a sample .jpg). Then use Insert again.
    The document feels slow or the file seems very large Prefer one clear image. If the original is several MB, export a smaller copy before insert. On-page corner-drag mainly fixes layout and may not slim the saved file much.
    Text sits on top of the picture or leaves awkward gaps Select the image, set Square / Wrap text, then nudge the image left or right. Keep a little clear space between the photo edge and the words.

    5 - Choose Your Image Route ~3 mins

    Before you edit your real proposal, pick one route you can finish today. Default for the whole class: phone photo or class sample. The layout steps are the same for every route: insert from a file on this computer, corner-resize, wrap, then log.

    Phone or sample (default): Email, OneDrive, Google Photos, cable or wireless phone transfer the shot to this machine, download it if needed, then Insert from that file. Log: Own photo; no licence needed. No project photo? Use one class sample image and log it honestly as a sample stand-in, then note what real photo you would use next time.

    Licensed stock (only if your teacher releases this route and you already have a downloaded file): Use one image from a class-allowed library (for example Unsplash, Pexels, or Wikimedia Commons). Read the licence on the page. Copy the site name and licence type into your log before you insert. Credit the creator if the licence asks for it.

    AI with disclosure (only if your teacher releases this route today): Generate a simple image; never fake real people or copyrighted characters. Save or export a .jpg to this computer, insert it, and your log must include a line such as: "AI-generated image; not a photograph of a real person."

    30-second check before you open your proposal: point to the actual image file you will insert (Downloads, school cloud, or sample bank). If you cannot point to a file on this computer, grab a sample from the class bank now.

    123learn · Online learning platform

    Unlock the full learning experience

    You're previewing this lesson. Get full access to this lesson and hundreds more — each one ready to teach, with interactive activities, printable resources and pupil progress tracking built in.

    Hundreds of curriculum-aligned lessons
    Interactive activities in every lesson
    Printable resources & progress tracking
    Copyright Notice
    This lesson is copyright of Coding Ireland 2017 - 2025. Unauthorised use, copying or distribution is not allowed.
    🍪 Our website uses cookies to make your browsing experience better. By using our website you agree to our use of cookies. Learn more