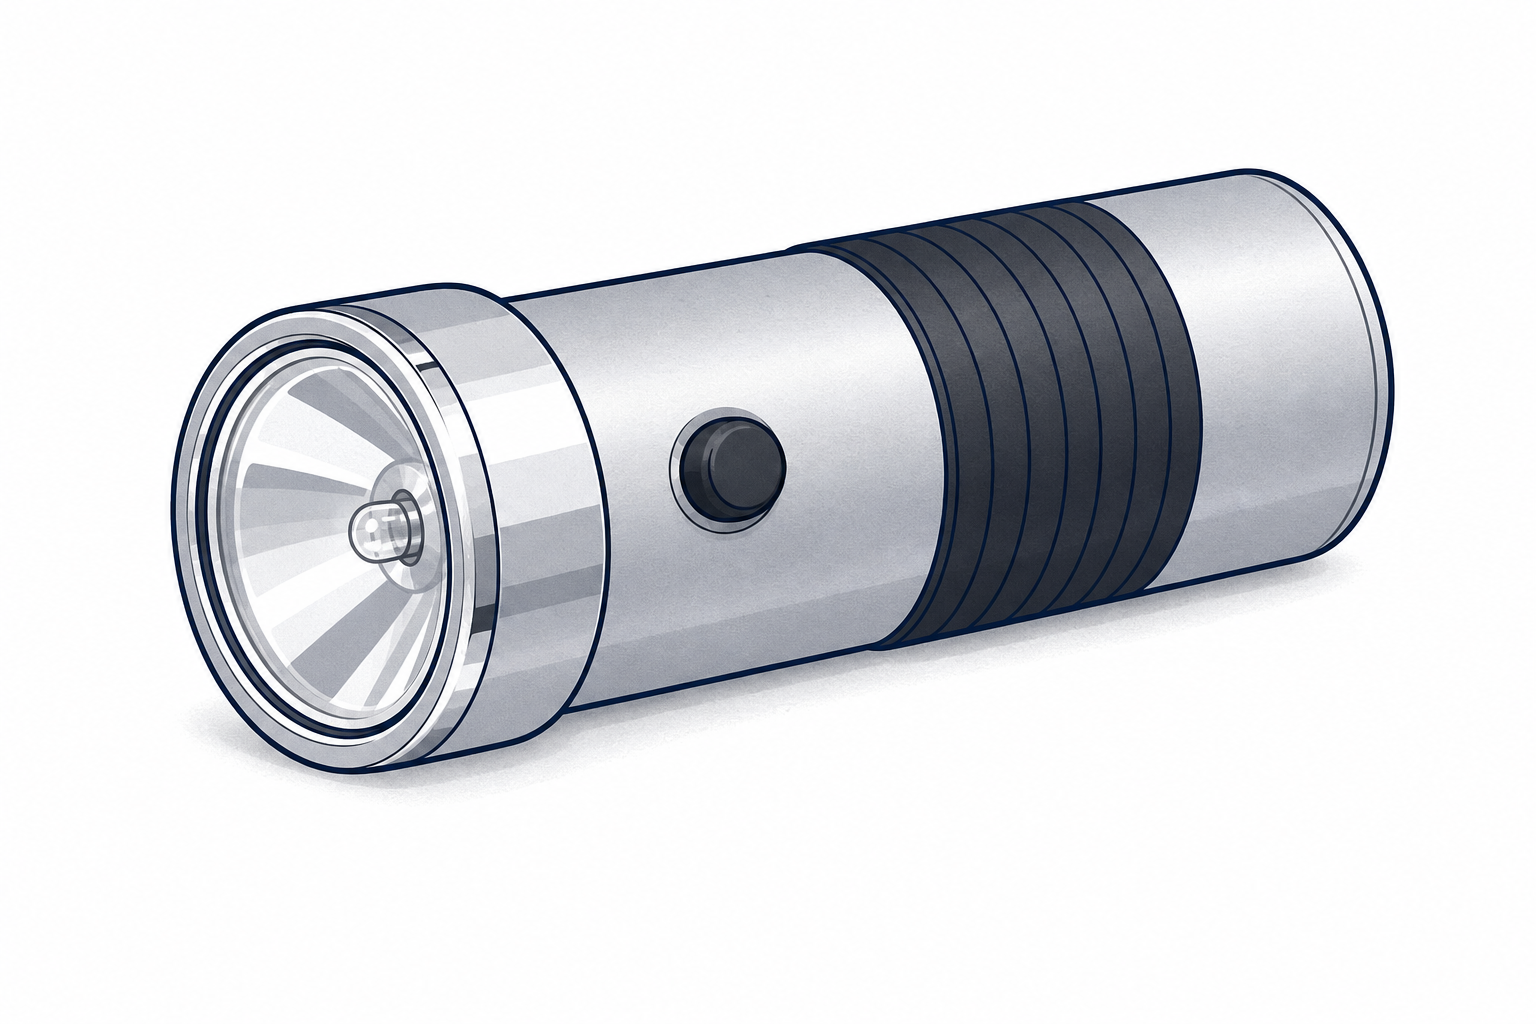
You already know that devices take inputs, do something, and give outputs. Today we look inside one safe, simple system. What parts do you think are hiding inside a torch, and what job does each one do?
Hold up a simple handheld torch (switched off). Do not open it yet. Ask for quick guesses about the parts inside and pin three or four ideas on the board or wall. Keep this light: curiosity only. The full examination comes in the explore step, using adult-prepared opened torches or labelled internal photo sheets so groups can really see the parts.
Link to prior capability: pupils already map everyday devices as input, process and output. Today they connect real parts to those three jobs.
Nature of STEM weave: technologists open or examine systems carefully so they can name the parts, see how they connect, and later fix or improve them. That careful look is the start of understanding many systems, including the digital devices pupils use at school and home.
Every part inside the torch has a job. We call each part a component: a part that does one clear job.
You already know systems take an input, run a process, and give an output. In a moment you will look inside and decide which part starts things, which parts do the middle work, and which part gives the light. Ready to find out?
Keep this board beat short so groups reach the opened torch or photo sheet quickly. Project only the short version above. Component is the one new word; treat input, process and output as a one-line reminder, not a full re-teach. Do not lock battery or casing placements yet — those wait until after the hands-on look.
Brief bridge into groups (say aloud, about 30–40 seconds): I wonder which parts handle input, process and output. I predict the switch is what I press, power and a path do the middle job, and the bulb gives the light. I test by looking carefully at a safe opened torch or labelled photos and matching each part to its job. Off you go.
Use the table below as your teaching reference while you talk; do not project the full table.
| Concept | Why it matters | Example |
|---|---|---|
| Component — a part inside a system that does one clear job | Naming the parts helps you understand, fix or improve a device instead of treating it as one mysterious box | A torch's main components are usually a switch, a battery, contacts or wires, a bulb or LED, and a casing |
| Input — what goes into the system to start or control it | Inputs are how people (or sensors) tell a system to begin | Pressing or sliding the torch switch is the input from you |
| Process — what the system does once started: electricity flows along a complete path so energy can reach the output | The process is often invisible, so we look for a complete path and the parts that make that flow possible | When the switch is on, electricity flows from the battery along the contacts to the bulb |
| Output — what the system produces that we can notice | Outputs are the useful result we designed the system for | Light from the bulb or LED is the torch's output |
Misconception to head off lightly only if it surfaces now: pupils may say the battery is the input because it "goes into" the torch. Park a full settle until step 5; for now say you will check that idea against what they see inside.
If you briefly compare a keyboard later in the lesson: keys are the input; the keyboard's circuitry turns each press into a signal (process); that signal sent to the computer is the keyboard's output. Letters appearing on screen belong to the computer system, not the keyboard alone. Keep the torch as the system the class maps today.
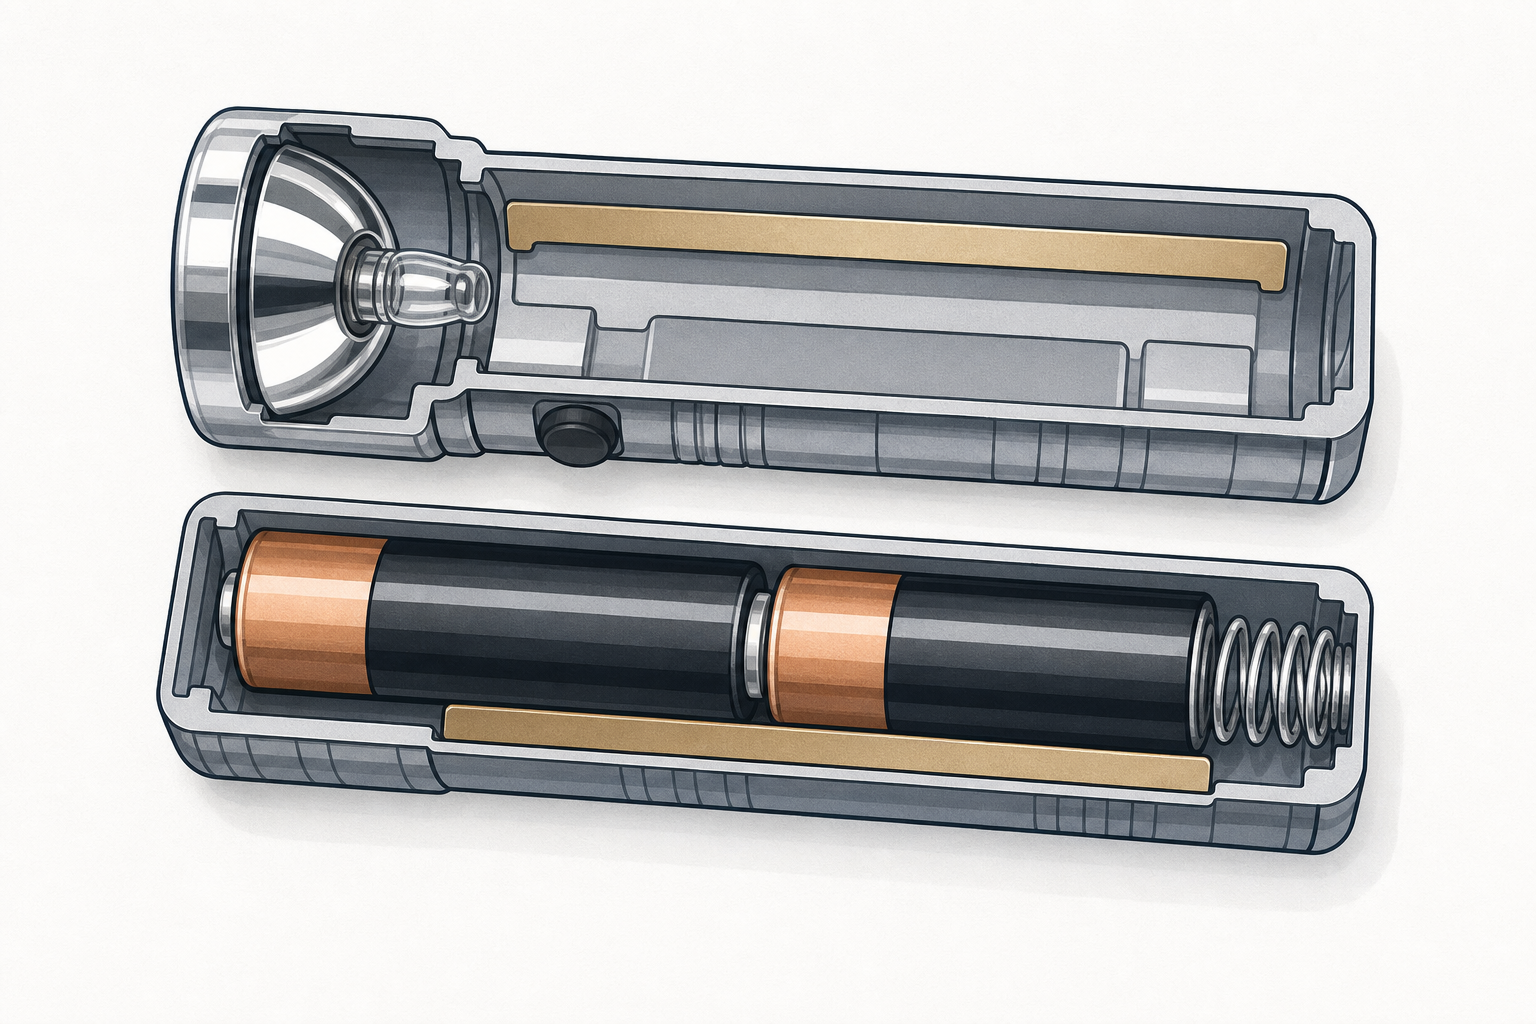
Be detectives: which hidden part is doing which job? In your group, examine one safe system where you can see inside: an adult-prepared opened torch, or the labelled internal photo sheet on your table. Look carefully. Find the main components. Match each component card to the part it names (or skip a card if your torch design is different). Talk about the job each part seems to do. Do not force anything open that an adult has not approved.
Circulate and ask: What can you press or slide? Where is the power stored? What gives out light? How might those parts connect? If a group finishes early, ask them to sketch a quick arrow path from switch to bulb on scrap paper.
Card A — Switch: The part you press or slide. It opens or closes the path so electricity can start or stop flowing.
Card B — Battery: The power store. It holds chemical energy that can become electrical energy for the circuit.
Card C — Contacts or wires: The path that joins the parts so electricity can travel from the battery toward the bulb when the switch is on.
Card D — Bulb or LED: The part that gives out light when electricity reaches it. This is what we notice when the torch works.
Card E — Casing: The outer shell that holds the parts in place and protects them. It is not the light, but without it the parts would not stay connected.
Groups may lay cards beside the matching real part (or photo). They do not need every card if their torch design differs slightly; the aim is careful looking, not a perfect match race.
Look again, more slowly, at the opened torch or labelled photos. Can you find the moment the path is broken or complete? Trace a path with your finger: from the switch, to the power, along the contacts, to the light. Tell your group one sentence: which parts touch or join, and what would happen if one part was missing.
This is the careful observation beat, using the same visible system from step 3 (opened torch or labelled internal photos). Ask groups to point as they speak so the path is physical, not vague. Key look-fors: pupils notice the switch interrupts or completes the path; the battery must face a certain way; the bulb only lights when the path is complete.
Recording: this step is talk-and-point only. Do not ask for a drawn diagram here; formal drawing waits for the Investigation Journal page in the record step.
Prompts:
Common snag: some torches use the metal casing as part of the electrical path. If groups notice that, celebrate it: a component can do more than one quiet job.
These two placements fool lots of people, so use what you actually saw inside to settle them. As a class: is the battery an input, or does it help the middle job (power and a path)? And does the casing belong under process because it holds the path in place, or beside the input–process–output map as a supporting part? Either casing answer is fine if you can point to evidence. Be ready to say why.
Whole-class discussion, short and focused. Do not re-sort every card into Input, Process and Output here; that full map comes on the board interactive next. Only settle contested placements so the interactive locks in a shared answer rather than repeating the whole sort.
Focus on:
Close with one visible shared decision for casing: once the class has agreed (or you have chosen one justified option), write it clearly on the board or IWB and leave it up through the journal step, e.g. Casing = supporting part beside the IPO map or Casing = under process (holds the path). Pupils must know which choice to mark on their drawings so casing is not re-debated at desks.
Quick confirm only if needed: most groups will already agree switch = input and bulb = output from the hands-on look. Do not rebuild that agreement from scratch.
Fold everyone in: when one group offers a placement, ask the room Do you agree? What evidence did you see on the opened torch or photo?
Misconception: if pupils put the battery under input, revoice: the battery is essential power that helps the process happen; the input is usually the control action (the switch).
You're previewing this lesson. Get full access to this lesson and hundreds more — each one ready to teach, with interactive activities, printable resources and pupil progress tracking built in.