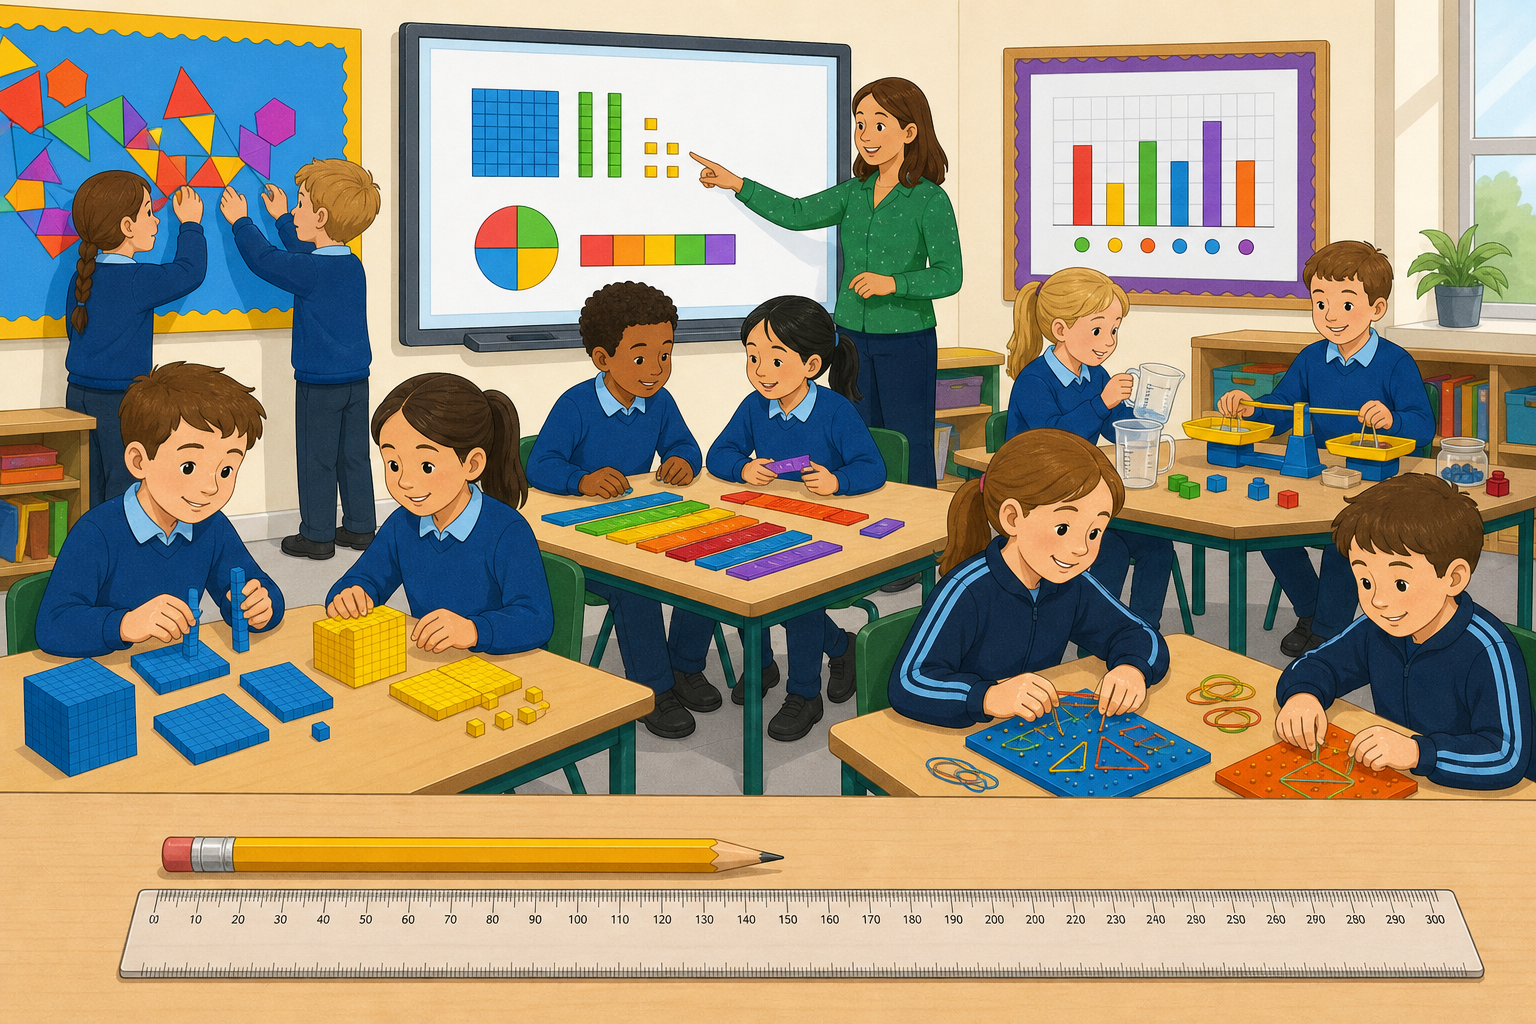
Hold up your pencil and take a good look at it. Roughly how long is it? Have a guess in your head before anyone says a number out loud.
Now look at the little dot of glue on a glue stick, or the rubber on the end of a pencil. Would you measure those tiny things in the same way as you would measure the whole desk?
Hold a pencil beside a demonstration ruler. Take three hands-up estimates for the pencil, not open call-outs. Don't reveal the real length yet — the point is the estimate.
Steer the second question toward the idea that very small things need smaller units. Don't name millimetres yet; let it surface in Watch and Notice.
We will measure four real objects with the ruler at the front. Each time, estimate first, then measure. Watch closely where the ruler lines up at each end, and notice that some lengths land between the centimetre marks.
Real ruler at the front, not on screen. Four objects, each one: estimate aloud first, then measure live.
Key move: line the 0 mark exactly with one end, then read the far end. Head off the common slip of starting from the metal end or the 1.
Parallax: keep your eye square over the far end, not off to the side.
Crayon about 6 cm. Pencil 8 cm 5 mm. Copybook edge about 12 cm. Rubber 4 cm 5 mm.
For pencil and rubber the end falls between marks, so count on: eight... one, two, three, four, five millimetres.
Awkward shapes they will meet later: flat hand, 0 at the thumb tip, read to little finger. Scissors, close them, 0 at the tip of the closed blade, read to end of handle.
Now it is your turn at your own desk. Take out your ruler. I will name an object on your desk, and you will measure it to the nearest millimetre.
Each time: write down your estimate first, then line up the zero and read the far end. We will say each reading aloud and check our measuring method. If you don't have the exact object I name, use any small object on your desk instead.
This round is for pupils to measure at their desks with their own rulers — circulate and catch alignment slips on the spot. The class reads aloud and you reconcile any disagreement as you circulate.
Have pupils write the estimate down before measuring (a quick number in the copy or on the record sheet), so the within-1 cm star-check in the next step has something to compare against. Name one object at a time (pencil, rubber, ruler edge, copybook edge). Pause after each so everyone reads before you call the agreed answer.
In your maths copy (or on your measuring record sheet), make two columns beside each object's name: your estimate first, then the measurement in cm and mm.
Before you star your own work, check one example together. Suppose the estimate for a pencil was 9 cm and the measurement was 8 cm 5 mm.
Find the gap between them: from 9 cm to 8 cm 5 mm is only 5 mm. That is less than 1 cm, so that estimate earns a star.
Now compare each of your own pairs the same way. Put a star next to any estimate that landed within 1 cm of the real measurement.
Walk the room glancing for a clear estimate-then-measure layout. This is whole-class copybook practice, not marking. The estimate column should already be filled from Try It Together.
Board the worked example first, before anyone stars: estimate 9 cm, measurement 8 cm 5 mm. Cue the gap out loud: count from one to the other. 5 mm is within 1 cm, so star.
If needed, quick counter-check on the board: estimate 7 cm against the same 8 cm 5 mm is a gap of 1 cm 5 mm, no star.
Slip to watch: pupils who ignore the millimetres and treat 8 cm 5 mm as plain 8, or who star every row without finding the gap.
The printable measuring record sheet gives ready-made object / estimate / measurement / unit columns if you are using it; otherwise pupils rule the columns themselves. Encourage them to write the unit (cm and mm) every time, not just a bare number.
Time for a measuring challenge at your desk. Estimate each one first, then measure it to the nearest millimetre and record both: your pencil, your rubber, the edge of your copybook, your ruler's width, and your handspan.
Remember the handspan from the front demo: keep your hand flat and put the zero at your thumb tip.
Stretch: when you have finished the five, can you find something on your desk that is exactly 7 cm long?
These are the practice questions — pupils measure real objects at their desks with their own rulers, recording estimate and measurement on the record sheet or in the copy. Keep the pass-on rhythm brisk; the class confirms each reading aloud at the end.
Run the five items in order, easiest first (pencil) building to the trickier handspan, which was modelled in Watch and Notice. The five core measurements are the work for this slot; the 'find something exactly 7 cm' is a clear stretch-only beat for pupils who finish the five early.
Why do we measure short things like a pencil in centimetres and millimetres, but we would measure the whole room in metres? What makes a good unit for a job?
Listen for pupils saying that tiny things need small units so the reading is exact, and big things would need a very long string of small numbers. Revoice a strong answer: 'so we pick the unit that gives us a sensible, tidy number'.
Head off the idea that one unit is 'better' than another — it depends on the size of the thing being measured.
Next we will measure longer things and decide when to use metres instead of centimetres. We will measure the door, the whiteboard and even the corridor, and choose the sensible unit each time.
For the next lesson, having a metre stick and a few longer objects (door, shelf, corridor stretch) ready helps pupils feel the jump from cm to m.
You're previewing this lesson. Get full access to this lesson and hundreds more — each one ready to teach, with interactive activities, printable resources and pupil progress tracking built in.