 You can already work with micro:bit sensors and simple programs. Today you will build a Seismic and Meteorological Station: one micro:bit reads temperature, light and shake, and three others show that data.
Before you run anything, what do you think will appear on the temperature board when the station warms up or cools down?
Open the project you saved earlier. You will predict, build, run and fix step by step at your device.
Your weather and earthquake station is four micro:bits doing four jobs, talking to each other over radio:
- The station reads temperature, light and shake, and sends those readings out.
- The temperature display shows what it receives.
- The day/night indicator shows light or dark.
- The seismic alert stays quiet until it hears a shake.
Code and test one micro:bit at a time. Later you will log the readings over time so you can look at them after the event, not only as it happens.
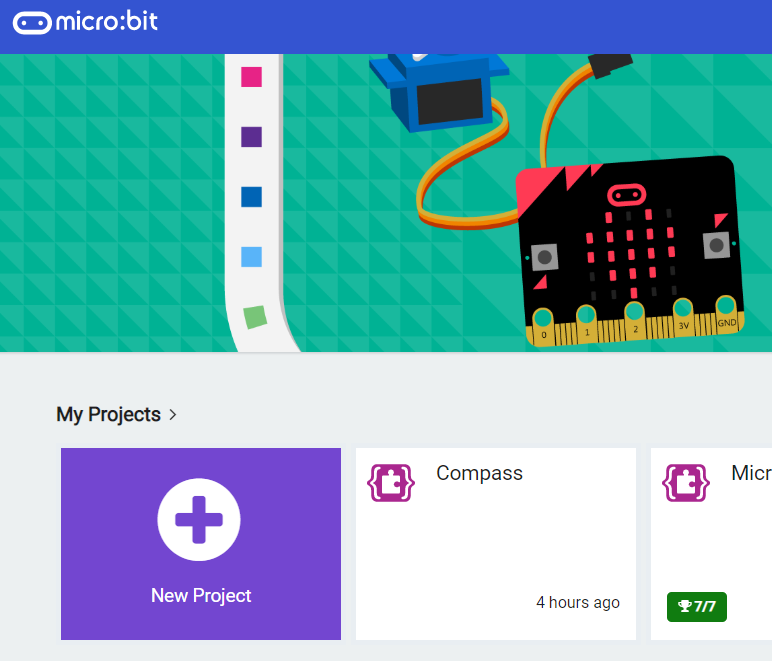
Go to the Makecode.com Microbit website using the link below and click on the 'New Project' button underneath the 'My Projects' heading.
https://makecode.microbit.org/
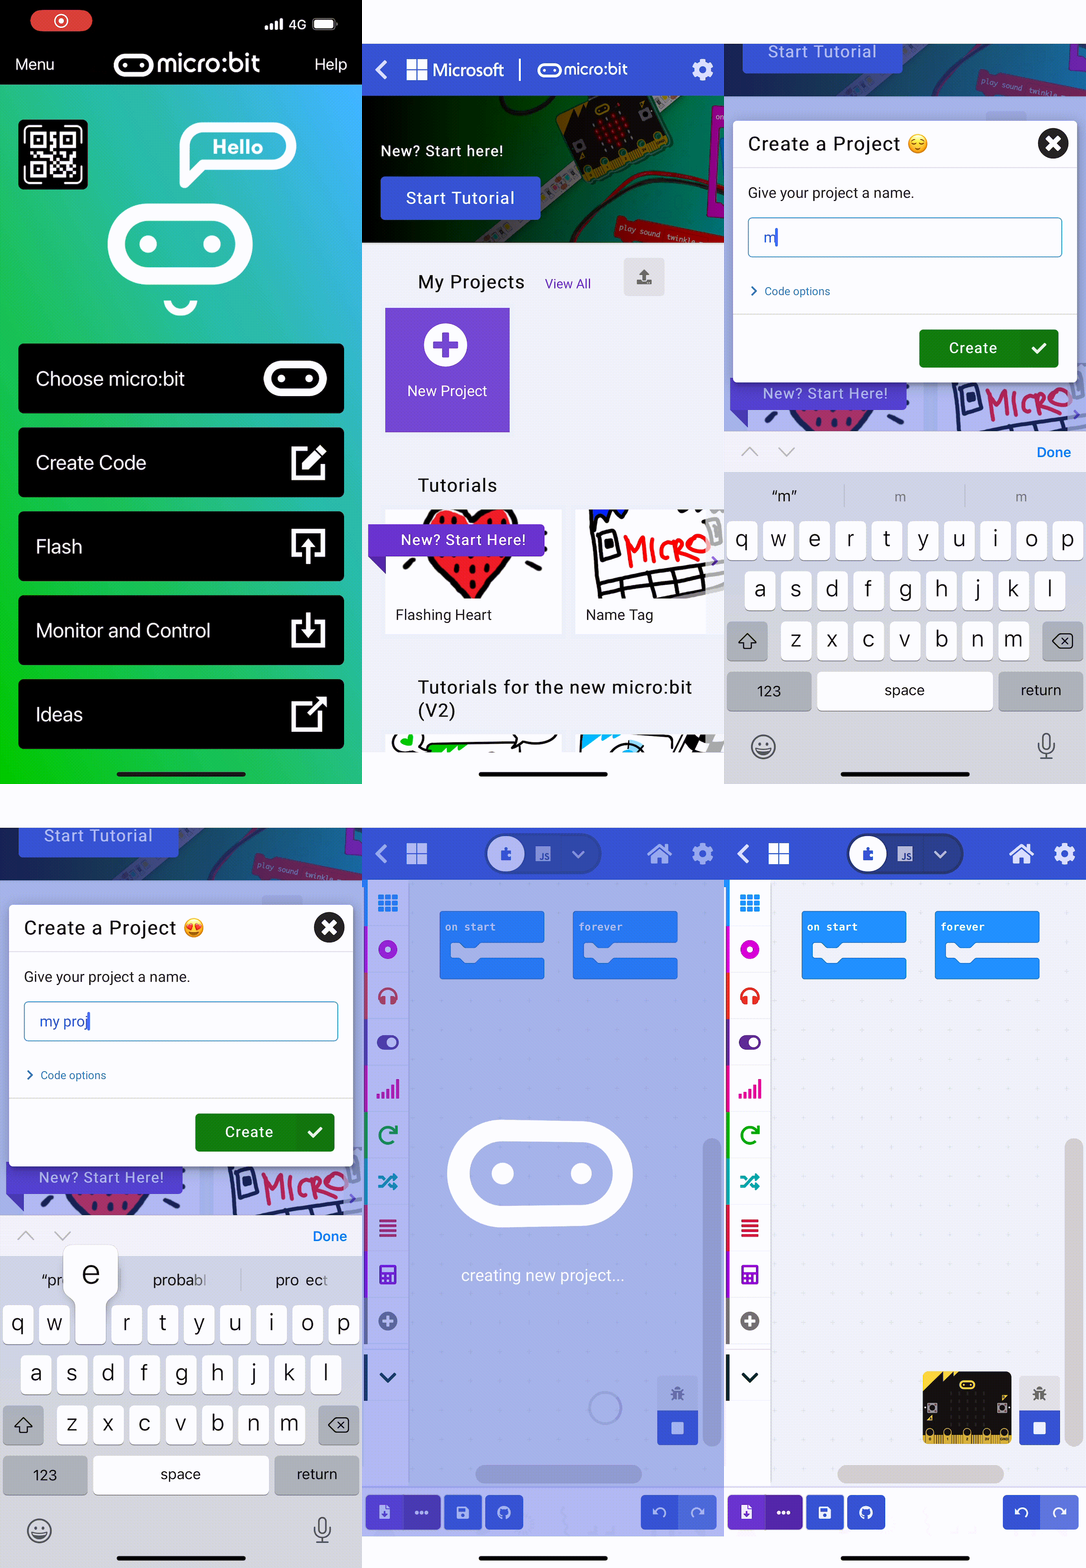
Install the micro:bit app on your iPad or tablet.
Open the app, tap 'Create code' and then create a new project.
Let's start with the 'Seismic and Meteorological Station' Microbit. This Microbit will gather and broadcast the sensor data. It will monitor temperature, light levels, and 'seismic' activity (which we simulate by shaking the Microbit).
Add the following code:
radio.setGroup(1)

basic.forever(function () {
    radio.sendValue("temperature", input.temperature())
    radio.sendValue("lightlevel", input.lightLevel())
})

input.onGesture(Gesture.Shake, function () {
	radio.sendValue("seismicactivity", 1)
})
In the code above, we're setting up the radio communication in group 1. We're also setting up an event handler for the 'shake' gesture to send a 'seismicactivity' message. In the forever loop, the Microbit constantly sends the temperature and light level values.
Once you have added the code, download it onto the Microbit that will act as the 'Seismic and Meteorological Station'.
Next create a new Microbit project and call it something like 'Temperature Display'. This will be the project for the 'Temperature Display' Microbit. This Microbit will listen for the 'temperature' radio messages and display the received value on its LED matrix.
Add the following code:
{radio.setGroup(1)
radio.onReceivedValue(function (name, value) {
    if (name == "temperature") {
        basic.showNumber(value)
    }
})}
In the code above, we're setting up the radio communication in group 1 and listening for 'temperature' messages. When such a message is received, the Microbit displays the temperature value.
Once you have added the code, download it onto the Microbit that will act as the 'Temperature Display'.
Now let's create a new Microbit project and call it something like 'Day Night Indicator'. This Microbit will listen for the 'lightlevel' radio messages and show one icon for high light levels (day) and a different icon for low light levels (night).
Add the following code:
{radio.setGroup(1)
radio.onReceivedValue(function (name, value) {
    if (name == "lightlevel") {
        if (value > 128) {
            basic.showIcon(IconNames.SmallDiamond)
        } else {
            basic.showIcon(IconNames.SmallSquare)
        }
    }
})}
In the code above, we're setting up the radio communication in group 1 and listening for 'lightlevel' messages. When such a message is received, the Microbit checks if the light level is above 128 (this threshold is arbitrary and can be adjusted). If the light level is high, it shows the small diamond icon for day; if it is low, it shows the small square icon for night. If you would rather have a sun and a moon, you can swap in any other icons from the list, as long as you know which one means day and which means night.
Once you have added the code, download it onto the Microbit that will act as the 'Day/Night Indicator'.
Unlock the full learning experience
You're previewing this lesson. Get full access to this lesson and hundreds more — each one ready to teach, with interactive activities, printable resources and pupil progress tracking built in.
This lesson is copyright of Coding Ireland 2017 - 2026. Unauthorised use, copying or distribution is not allowed.