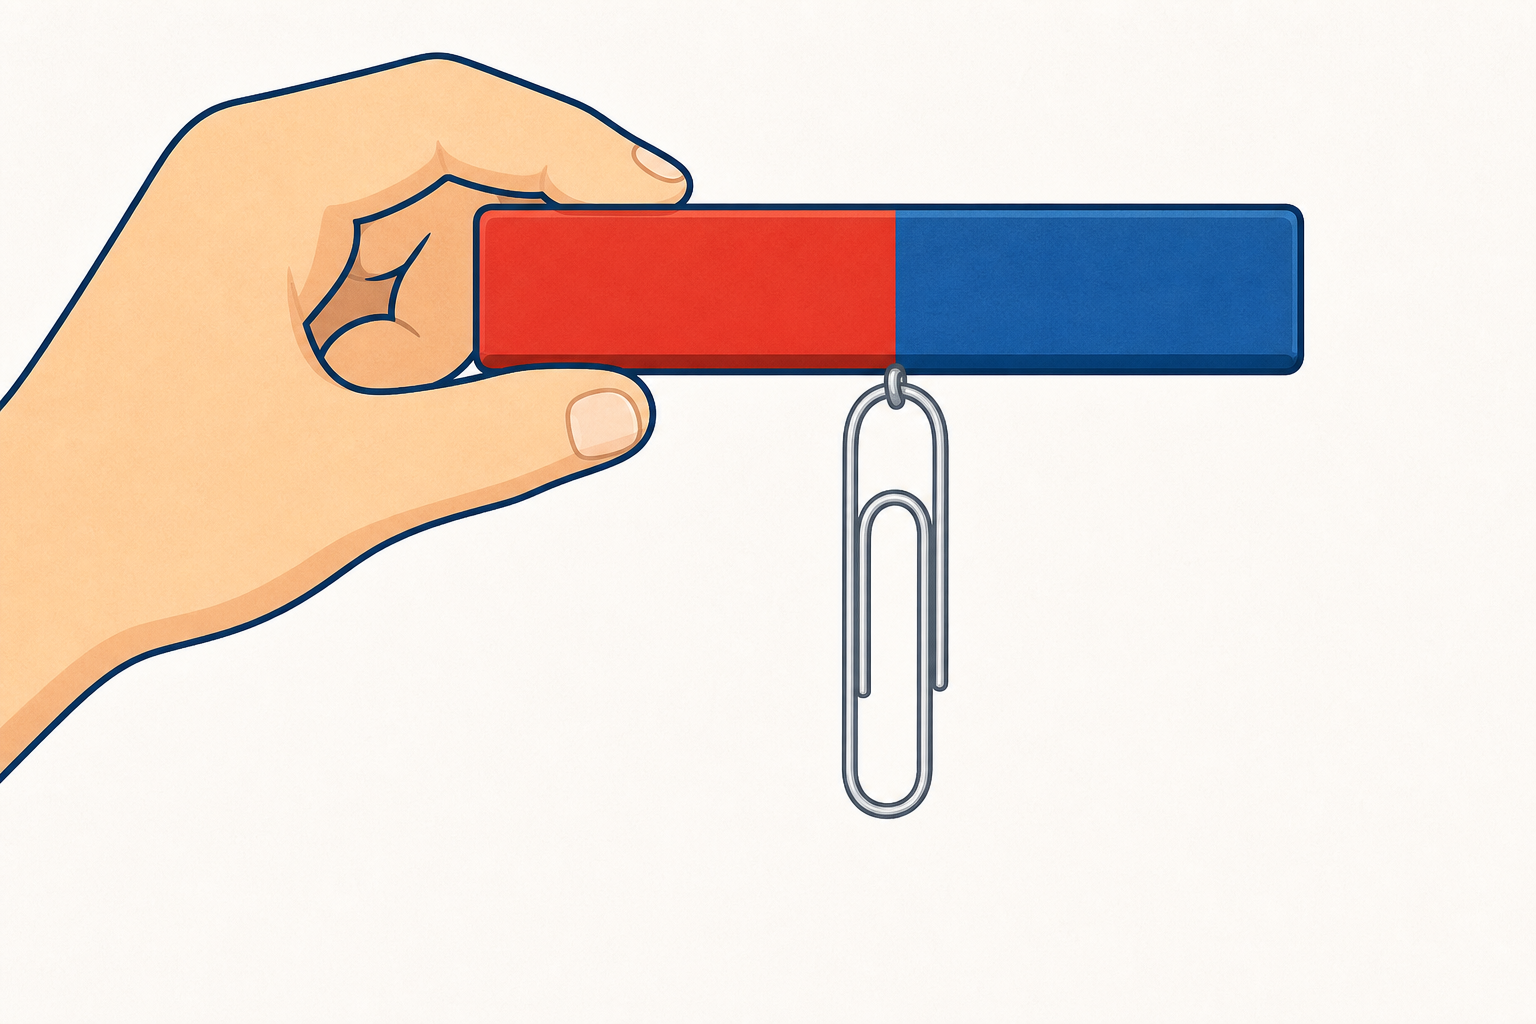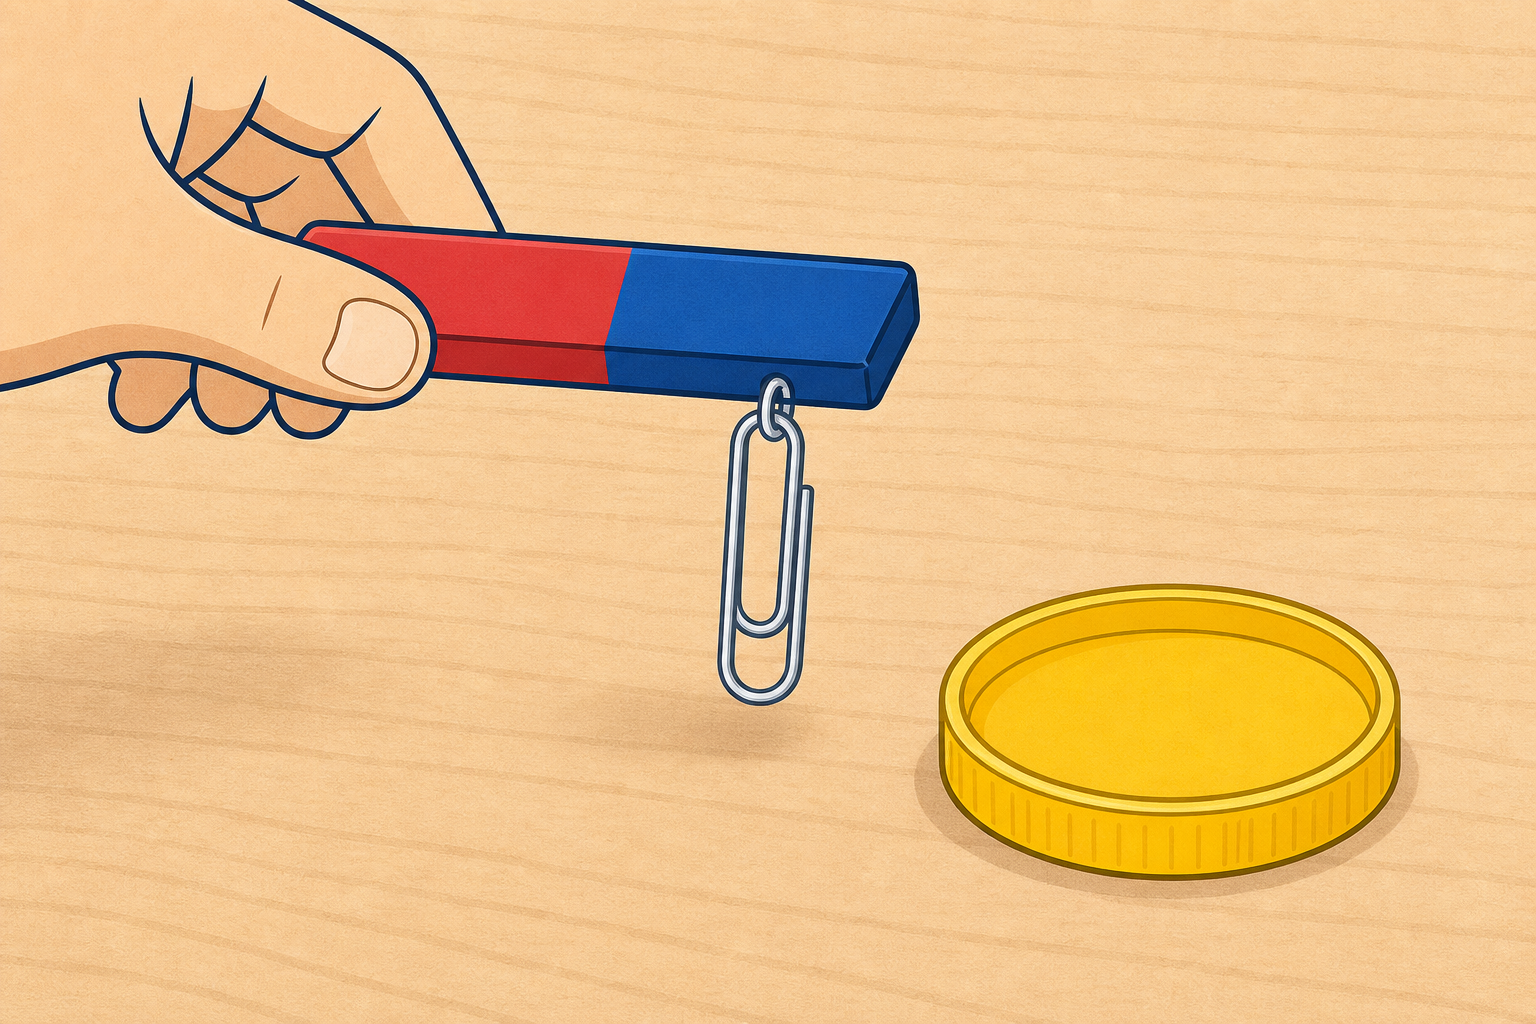
Watch this. A magnet is held near a paperclip, then near a plastic lid. What do you notice? Why might one jump and the other stay still?
That invisible pull is what we are hunting today. We will test materials with magnets, sort them into two groups, and then compare how strong different magnets are.
Hold a magnet just above a steel paperclip so the class sees it jump, then hold the same magnet above a plastic bottle lid so nothing happens. Keep the hook light: one surprise, one question. Do not hand out trays or name the fair-test variables yet.
Key question: Why does the paperclip move when the plastic does not?
Have the full magnet trays ready off to the side for the next step (each tray already holds the full kit for both practicals). Remind yourself: magnets stay away from phones, tablets, bank cards and the interactive whiteboard remote.
Two words for today's first test:
Magnetic — a material a magnet pulls toward it (like a steel paperclip).
Non-magnetic — a material a magnet does not pull (like a plastic lid).
Hands up if you think every metal is magnetic.
Project only the short board text. Save magnet and magnet strength for the strength test in step 5; use the full table below for yourself when you explain and when you correct misconceptions.
| Concept | Why it matters | Example |
|---|---|---|
| Magnet — an object that can pull on some materials without touching them, and can push or pull another magnet | Magnets are used in fridge doors, speakers, compasses and many school science kits, so knowing what they pull on helps us use them safely and fairly | A fridge magnet sticks to a steel door but slides off wood or plastic |
| Magnetic — a material that a magnet pulls toward it; everyday magnetic materials usually contain iron or steel | Sorting magnetic from non-magnetic stops us guessing from looks alone — silver-coloured metal is not always magnetic | A steel paperclip or iron nail jumps to a magnet; aluminium foil does not |
| Non-magnetic — a material that a magnet does not pull toward it | Knowing what is non-magnetic helps engineers choose materials (for example, aluminium drinks cans are light and non-magnetic) | Plastic lids, wooden pencils, copper wire and rubber erasers stay put near a magnet |
| Magnet strength — how strongly a magnet pulls; we compare it with a fair method and careful measuring | Two magnets can look the same size but pull differently; a fair test shows which is stronger | Count how many paperclips hang in a chain from each magnet, using the same method each time |
Misconception to head off: children often say "all metals are magnetic" because many kitchen tools look metallic and stick. Aluminium and copper (as wire or pure copper) do not stick. Euro 1c, 2c and 5c coins look copper-coloured but are copper-plated steel and will stick — useful as a mystery object later, not as the non-magnetic metal exemplar. Another common idea is that bigger magnets are always stronger — size helps sometimes, but the material and type matter too, which is why we measure.
Nature of STEM: physicists investigate forces we cannot always see. A magnet's pull is a force at a distance. Measuring fairly is how we turn "this one feels stronger" into evidence.
Worked model (say this cycle aloud before groups test): I wonder whether this aluminium foil will stick. I predict it will not, because not every shiny metal is magnetic. I test by bringing the magnet close without touching. I observed that the foil did not move. I think aluminium is non-magnetic.
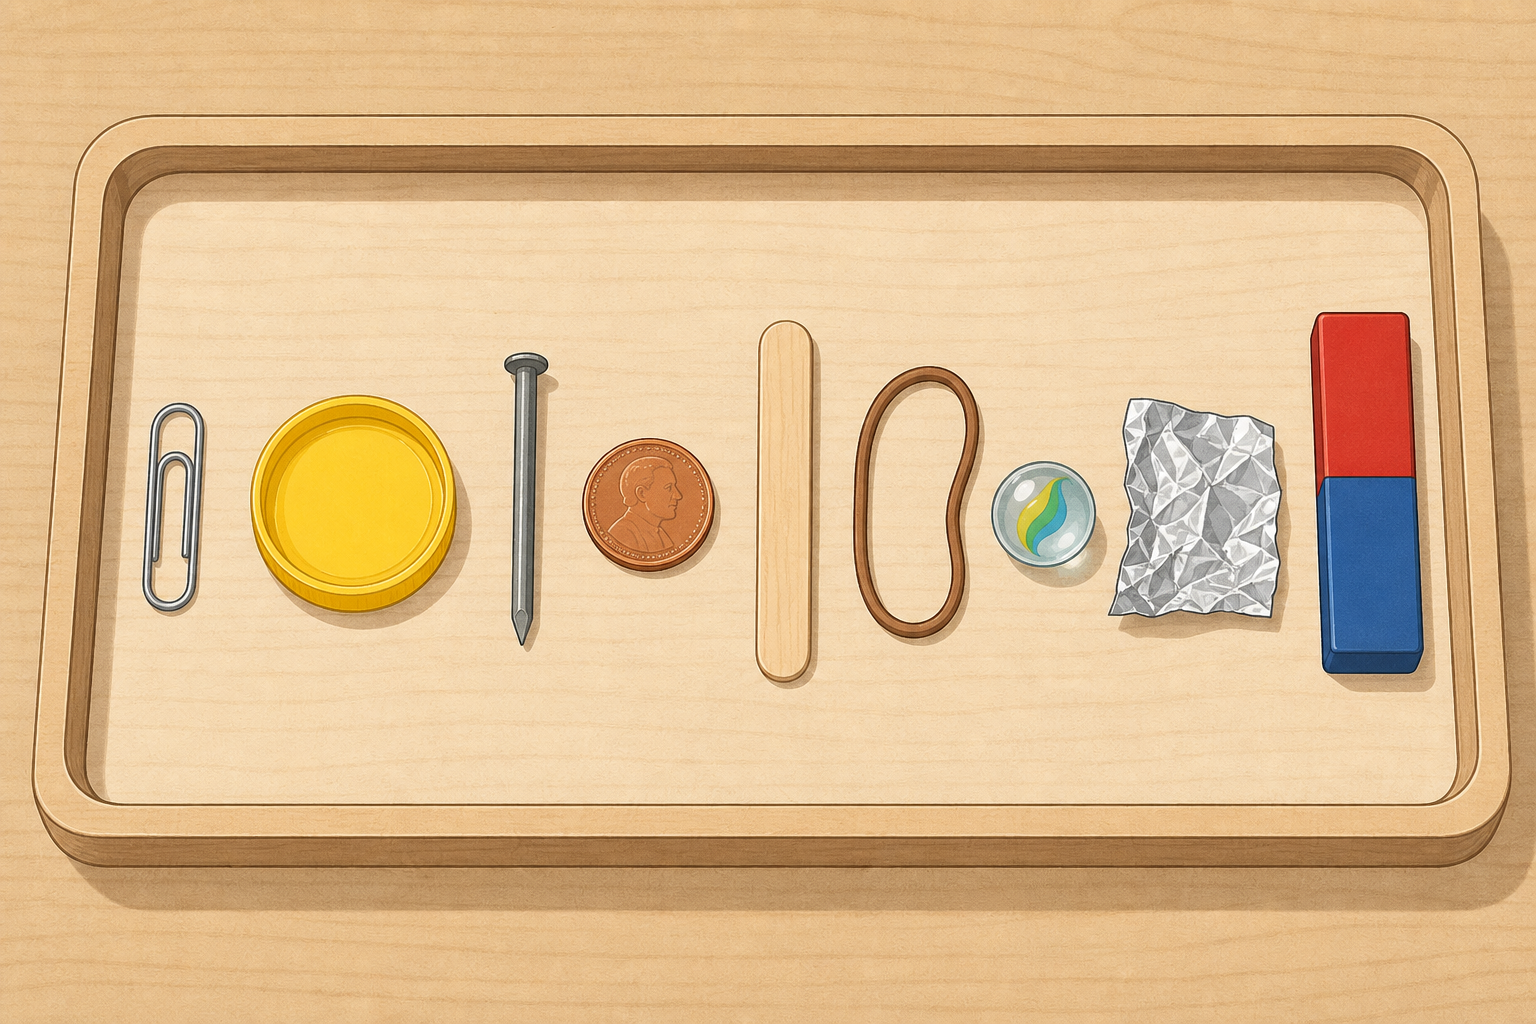
In your group, test each object with the magnet. Hold the magnet close. Does it pull the object?
Sort every object into two piles: magnetic and non-magnetic. As you sort, start your Investigation Journal page: write each material and whether it was magnetic or non-magnetic.
Talk about anything that surprises you before we check together on the board.
Hand out one magnet per group for this sort (leave Magnet B labelled on the tray for the strength test). Groups test one object at a time. Rule: bring the magnet close; do not scrape objects hard along the magnet. As they sort, prompt them to jot each material on the Investigation Journal page (name + magnetic or non-magnetic). Circulate and ask: What did you observe? Was that what you predicted?
After the tray sort, do a 30-second whole-class check on something already in the room: the steel leg of a classroom chair, a magnetic whiteboard rubber, or a metal school-gate latch if you can see one from the window. Ask: magnetic or not — and test if safe to do so.
Look-fors: pupils test before they sort; they do not guess from colour alone; they notice that some "metal-looking" items are non-magnetic; Investigation Journal page rows are begun, not left blank for later.
Differentiation: less confident groups get a shorter set of 6 clear items. Confident groups add a mystery object (e.g. a stainless-steel spoon, which may be weakly magnetic or not, or a euro 1c coin) and justify their pile with evidence.
Safety: keep magnets away from phones, tablets, bank cards and pacemakers if any adult present uses one. Paperclips are small: count them back into the tray.
Look at the interactive on the board. The items are: paperclip, steel nail, aluminium foil, plastic lid, wooden stick, rubber eraser, copper wire, card.
Call out where each belongs: magnetic or non-magnetic. Use what your group found, not a lucky guess.
Drive the sorting-tree interactive in explore mode on the IWB. Two groups appear: magnetic and non-magnetic. The yes/no guide question is: Does the magnet pull it?
Invite different pairs to decide each card. Fold the watching class in: Do you agree? What did your tray show?
Answer key for you:
Non-magnetic metals in this set are aluminium foil and copper wire only. If a group tested a euro coin and it stuck, that is correct science: many euro coins are steel underneath a copper-coloured coat. Treat that as useful talk, not an error against the board key.
If a group's real steel item behaved oddly (some stainless steel is only weakly magnetic), treat that as useful science talk: the test is what the magnet did, not the name on the object.
After the sort, pupils finish any remaining Investigation Journal page rows if they have not already.
Two magnets can look alike. Can we prove which pulls harder?
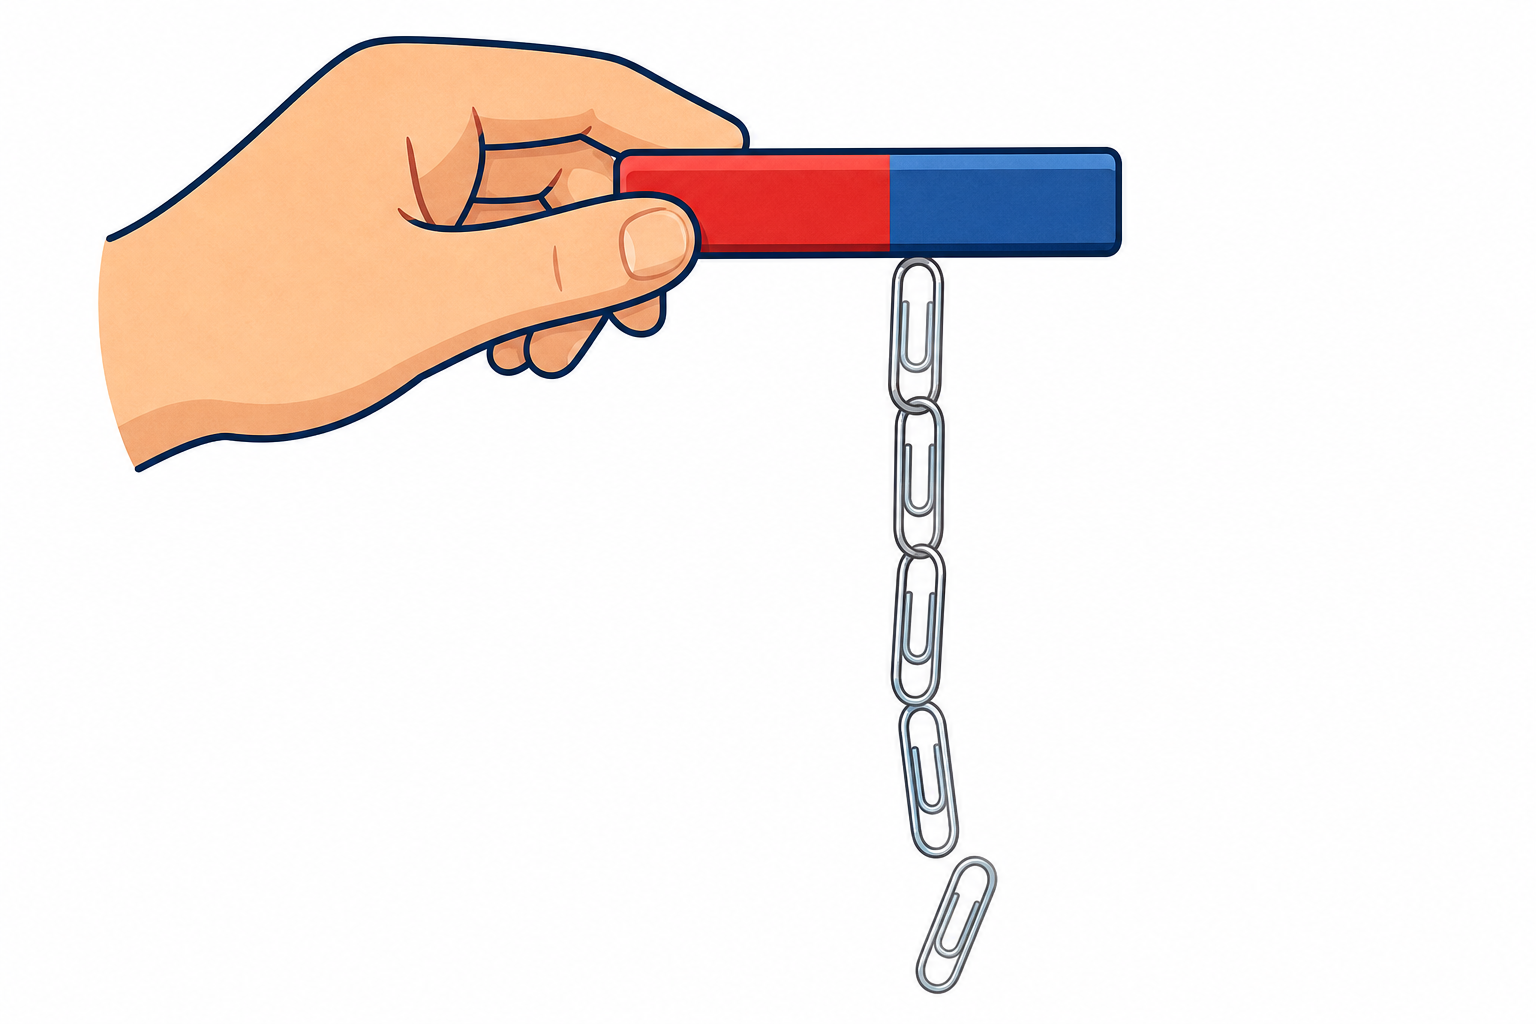
Magnet strength means how strongly a magnet pulls. Our question: Which magnet is strongest?
We change only the magnet. We keep the same: the paperclips, how we start the chain, and how we count.
Paperclip chain method:
Write each trial number on your Investigation Journal page as you go.
After three trials, put the counts in order from smallest to largest and take the middle value. Example: 5, 8, 6 → ordered 5, 6, 8 → middle value 6.
Predict which labelled magnet will win and why, then run your trials.
Two magnets only, paperclip chain only, three trials each, ordered middle value — skip a third magnet, skip polishing sentences until the journal check, and do not start through-paper. Protect the fair-test objective: change one thing, measure one thing, three recorded trials, ordered middle value.
Each tray already has Magnets A and B labelled (sticky dots or labels). If a group only used Magnet A in the sort, point them to Magnet B now. Magnets in a pair must be expected to differ (size, type or known strength). Matched identical fridge magnets will not give a useful comparison — swap one if needed.
The board shows the chain method only. That is what groups run. Reveal the board in paced chunks as you model: (1) question and fair-test rules, (2) chain method during the demo, (3) write-each-trial and middle-value rule as trials start. Spoken model covers prediction before groups begin.
Use through-paper only when a second different magnet is unavailable (one magnet, change the number of paper sheets). Do not offer groups a free choice of measure on the board — that path stalls without a shared procedure.
Through-paper procedure (teacher-directed fallback):
Model one full chain cycle at the front before groups start.
Magnet strength (say this): how strongly a magnet pulls; we compare it with a fair method and careful measuring.
Worked model: I wonder which of these two magnets is stronger. I predict Magnet A will hold more paperclips because it pulled harder on the desk. I test by hanging paperclips one by one from the same end until the chain falls, and I count how many stayed on. I keep the paperclips and the starting method the same. I write each trial on the Investigation Journal page as I go. My three trials for Magnet A were 5, 8 and 6. I put them in order: 5, 6, 8. The middle value is 6. I think Magnet A is stronger in this test if its middle value is higher than Magnet B's.
Middle-value rule (critical — say it every time): write the three trial counts, put them in order from smallest to largest, then take the middle number. Do not pick the middle trial as written on the page. (If the class already uses averages confidently, average is fine instead.)
Model a set where order matters: trials 5, 8, 6 → ordered 5, 6, 8 → middle value 6 (not 8).
Method pupils use (chain):
What we change: the magnet. What we measure: number of paperclips in the hanging chain. What we keep the same: paperclip type/size, which end of the magnet we use, how gently we add each clip, counting rule.
Agency: where more than two labelled magnets are on offer, groups may choose which two to compare. Fairness rules stay teacher-secured: one measure (chain), same method every trial, three trials, middle value from ordered counts. Confident groups who finish early may try a third magnet or (if you model it) a quick through-paper check on the stronger magnet only.
Safety: magnets away from devices; watch fingers if two strong magnets snap together; paperclips off the floor promptly.
You're previewing this lesson. Get full access to this lesson and hundreds more — each one ready to teach, with interactive activities, printable resources and pupil progress tracking built in.