1 - What We're Building ~5 mins
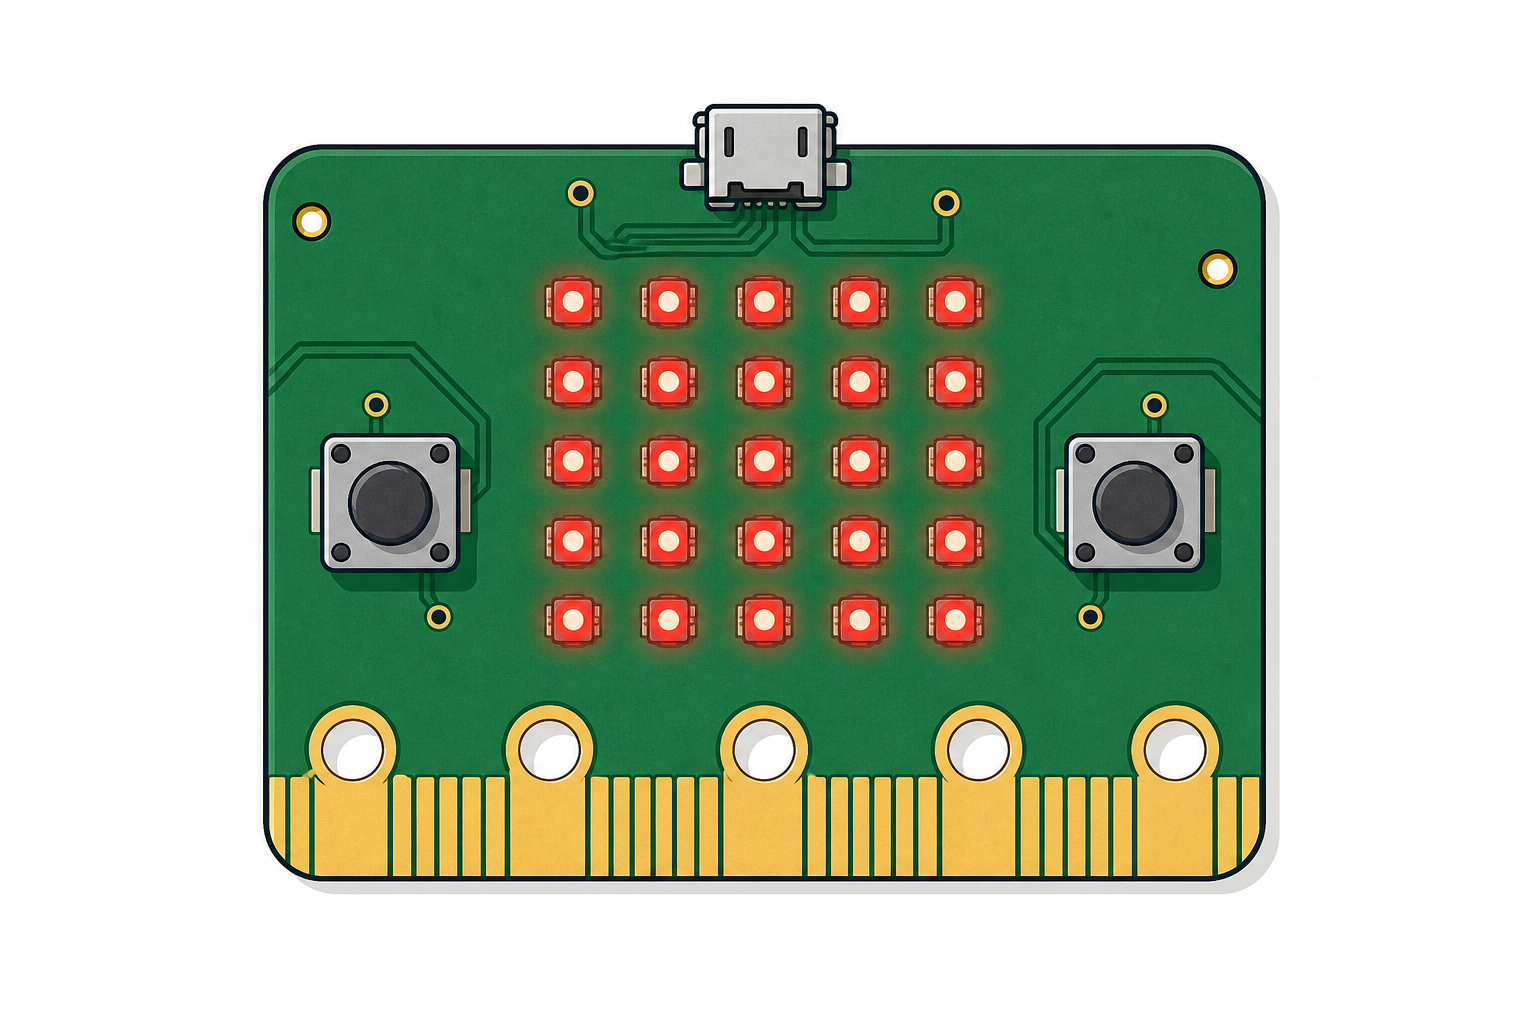 People who build technology often make devices that sense the world and react — a security light that comes on when it hears a noise, or a phone that responds when you shake it. Today you're the programmer. You'll turn your micro:bit into a clap-controlled light: clap once and the lights come on, clap again and they go off. First watch the board as each piece is built, then try it on your own device and run it to see what happens. Real programmers rarely get it perfect first time — so testing and fixing bugs is part of the plan.
2 - Create a New Project ~2 mins
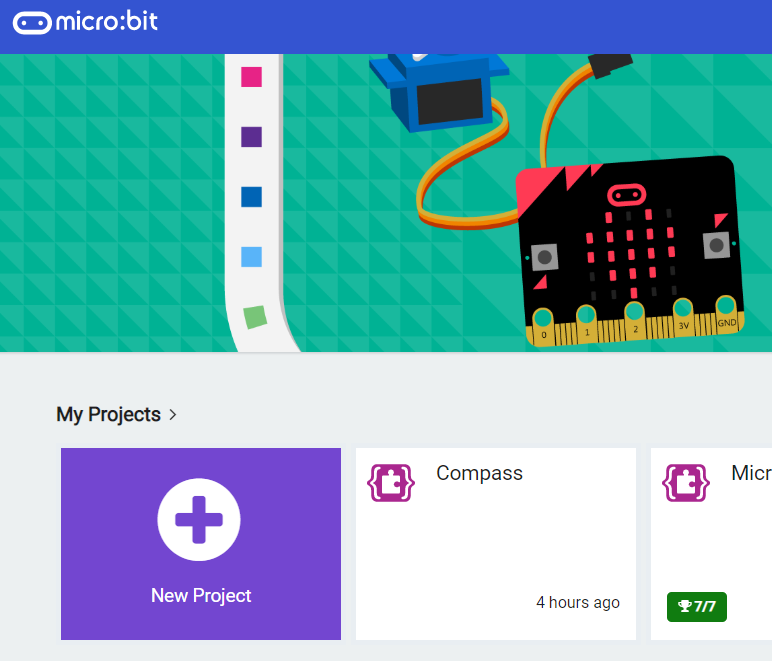
Go to the makecode.microbit.org website and create a new project.
Go to the Makecode.com Microbit website using the link below and click on the 'New Project' button underneath the 'My Projects' heading.
https://makecode.microbit.org/
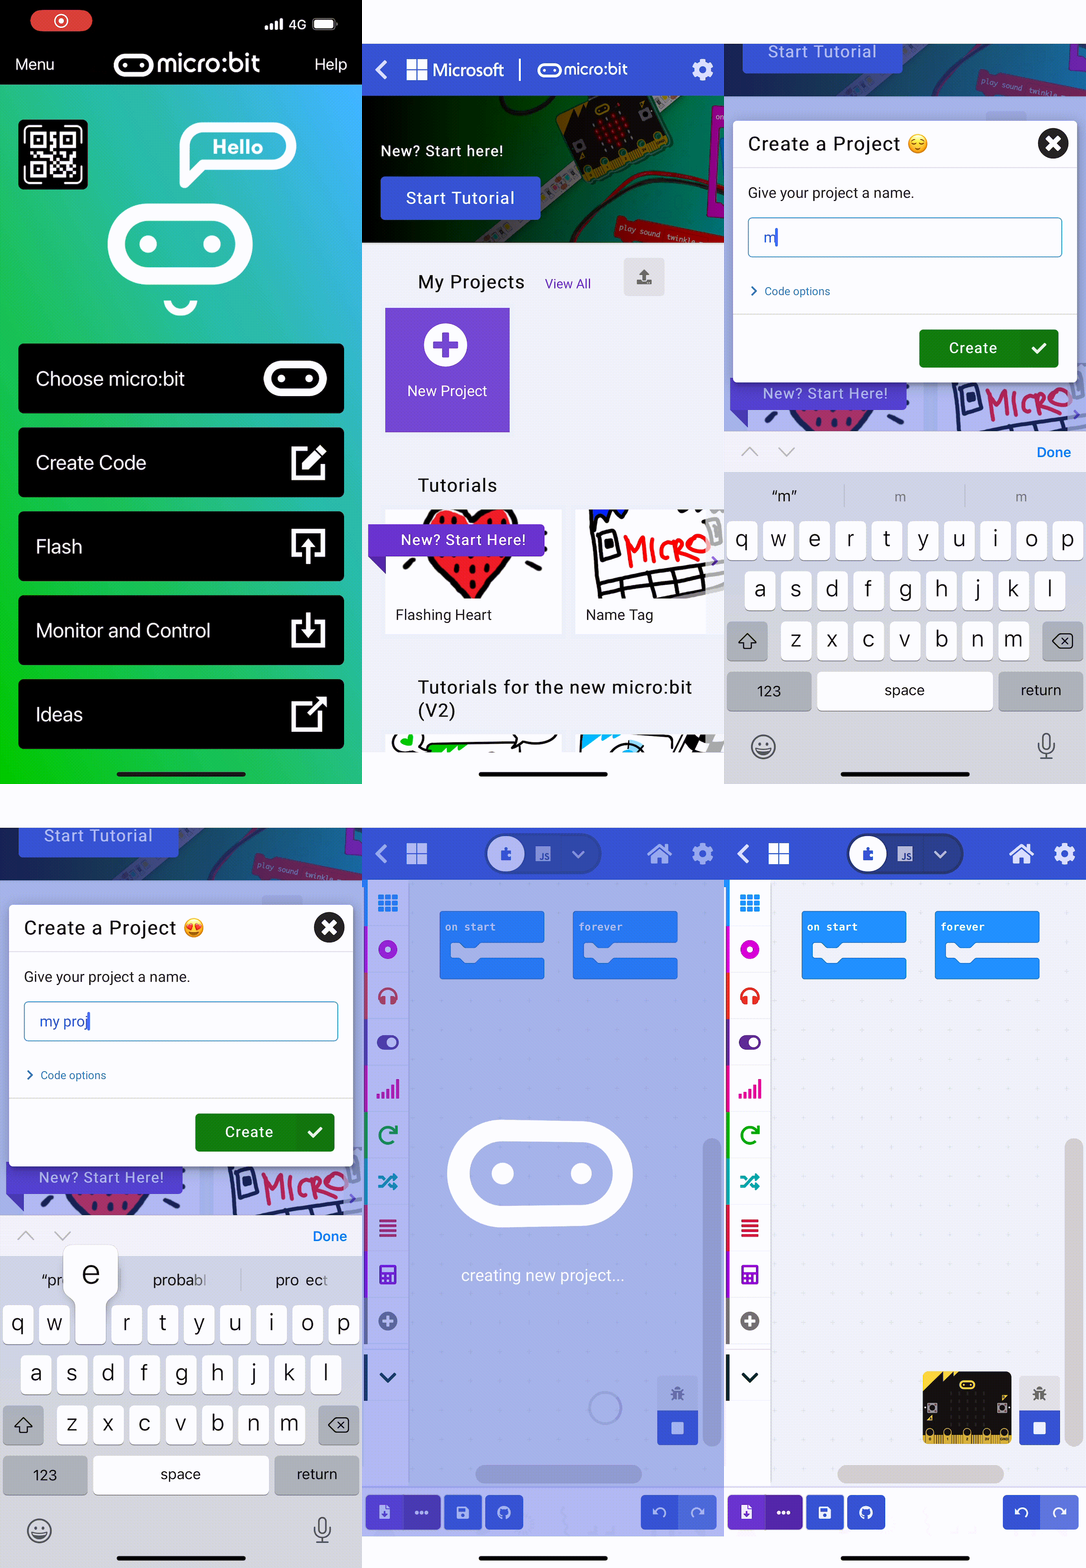
Install the micro:bit app on your iPad or tablet.
Open the app, tap 'Create code' and then create a new project.
3 - Create a Variable ~6 mins
In this project we are going to detect when you clap using the microphone in your Microbit. When we detect a clap we will turn on the LED lights of the Microbit or turn them off if they're already on.
To decide whether to turn them on or off we will need a variable to store if they are currently on or off.
Create a variable called lightOn. and then add the following code to set this variable to false at the start.
let lightOn = false
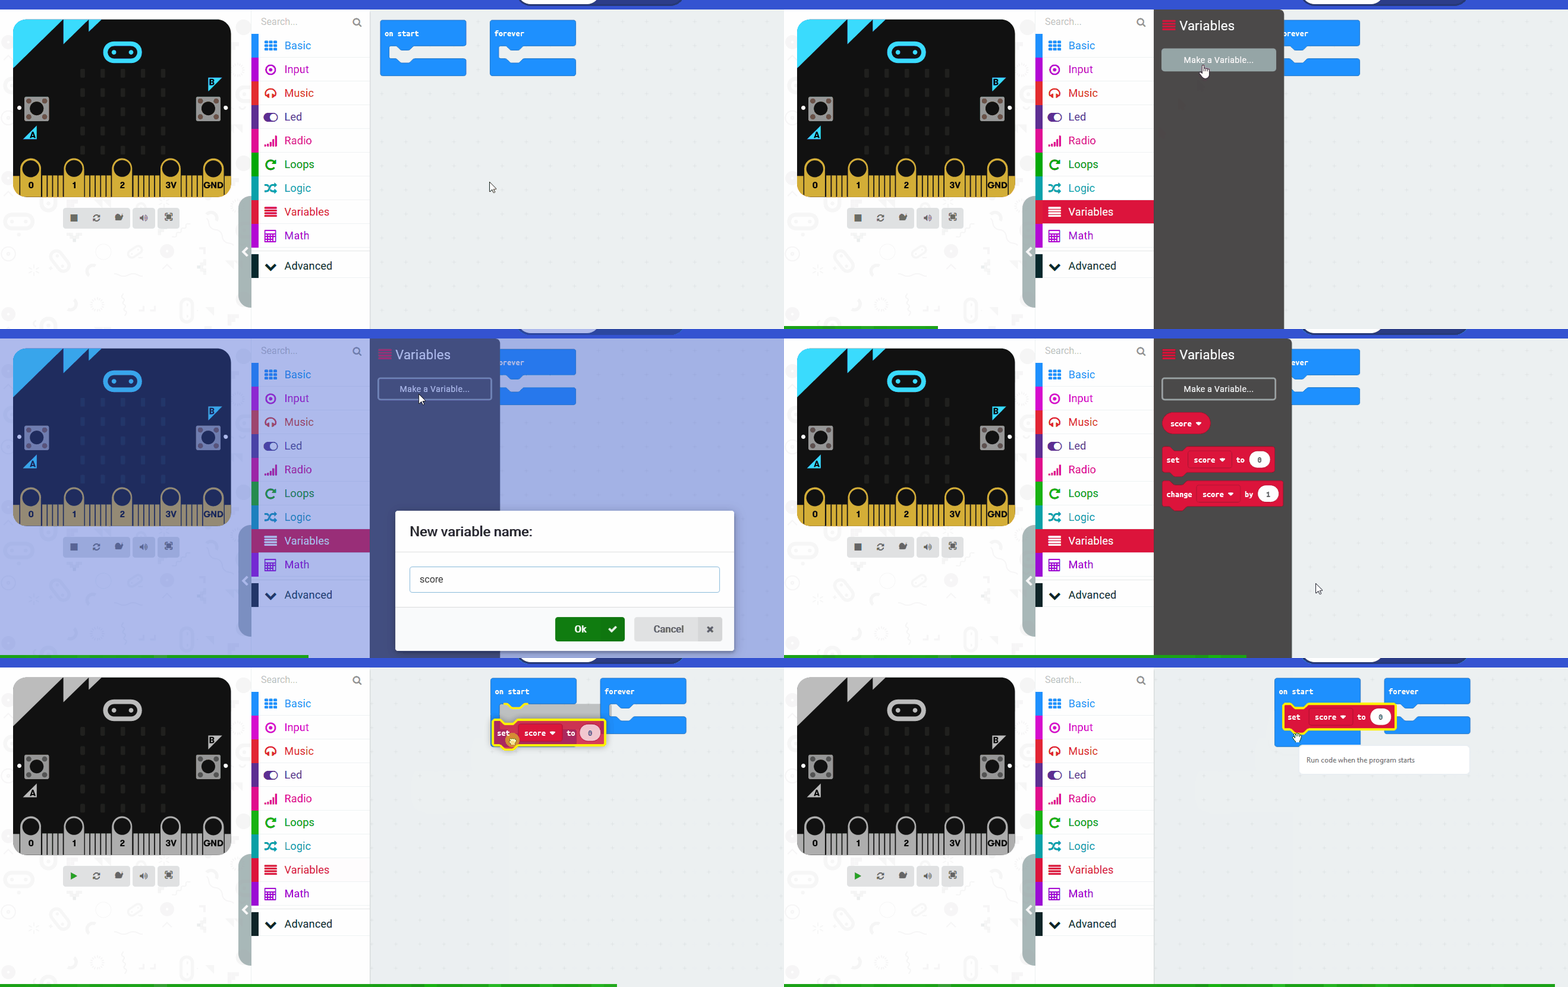
In the Variables toolbox, create a new variable by clicking the 'Make a Variable' button.
Once you click this button a box will appear asking what you want to call your variable. Give it a name that reminds you what you will be using it for. For example, if you wanted to keep track of your score in a game, you would create a variable called 'score'.
4 - Sound Threshold ~6 mins
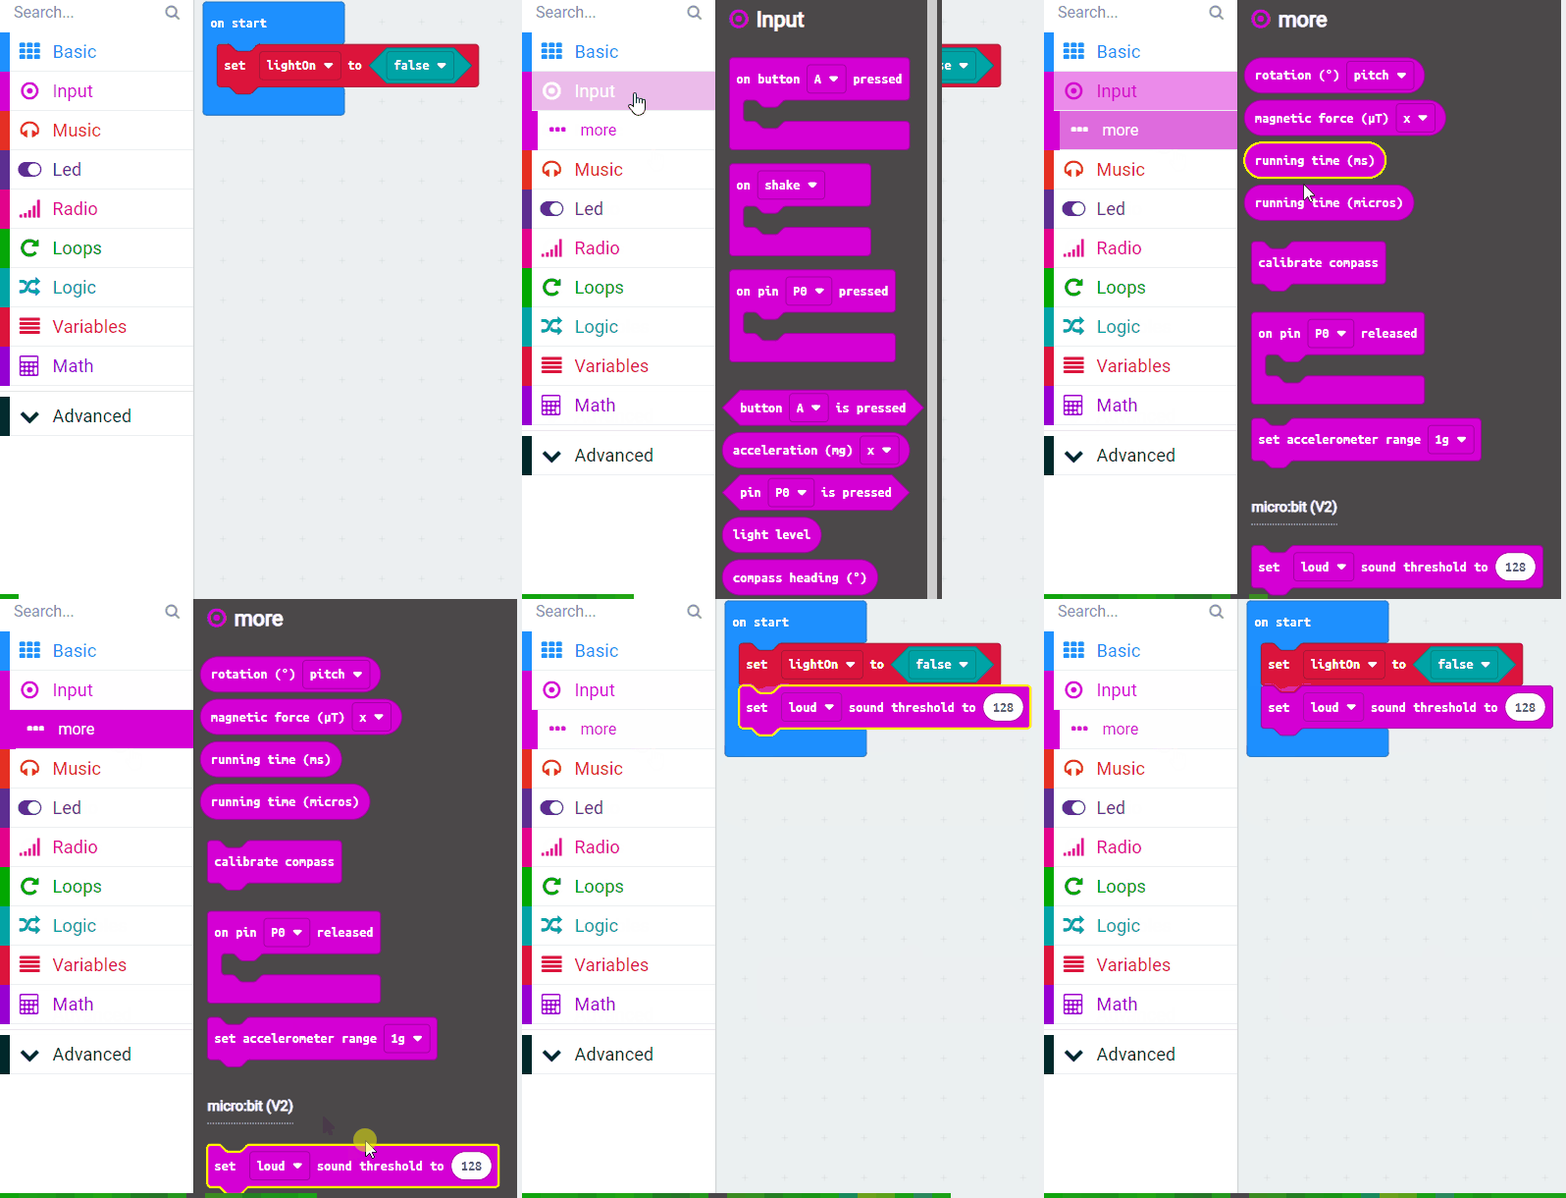
For detecting the clap, we need to set how loud a sound we need to listen for. To do this we use the set [loud] sound threshold to block.
Add this block into the on start block and set the value to 128 (the range in 0 to 255).
let lightOn = false
lightOn = false
input.setSoundThreshold(SoundThreshold.Loud, 128)
5 - Detect a Clap ~3 mins
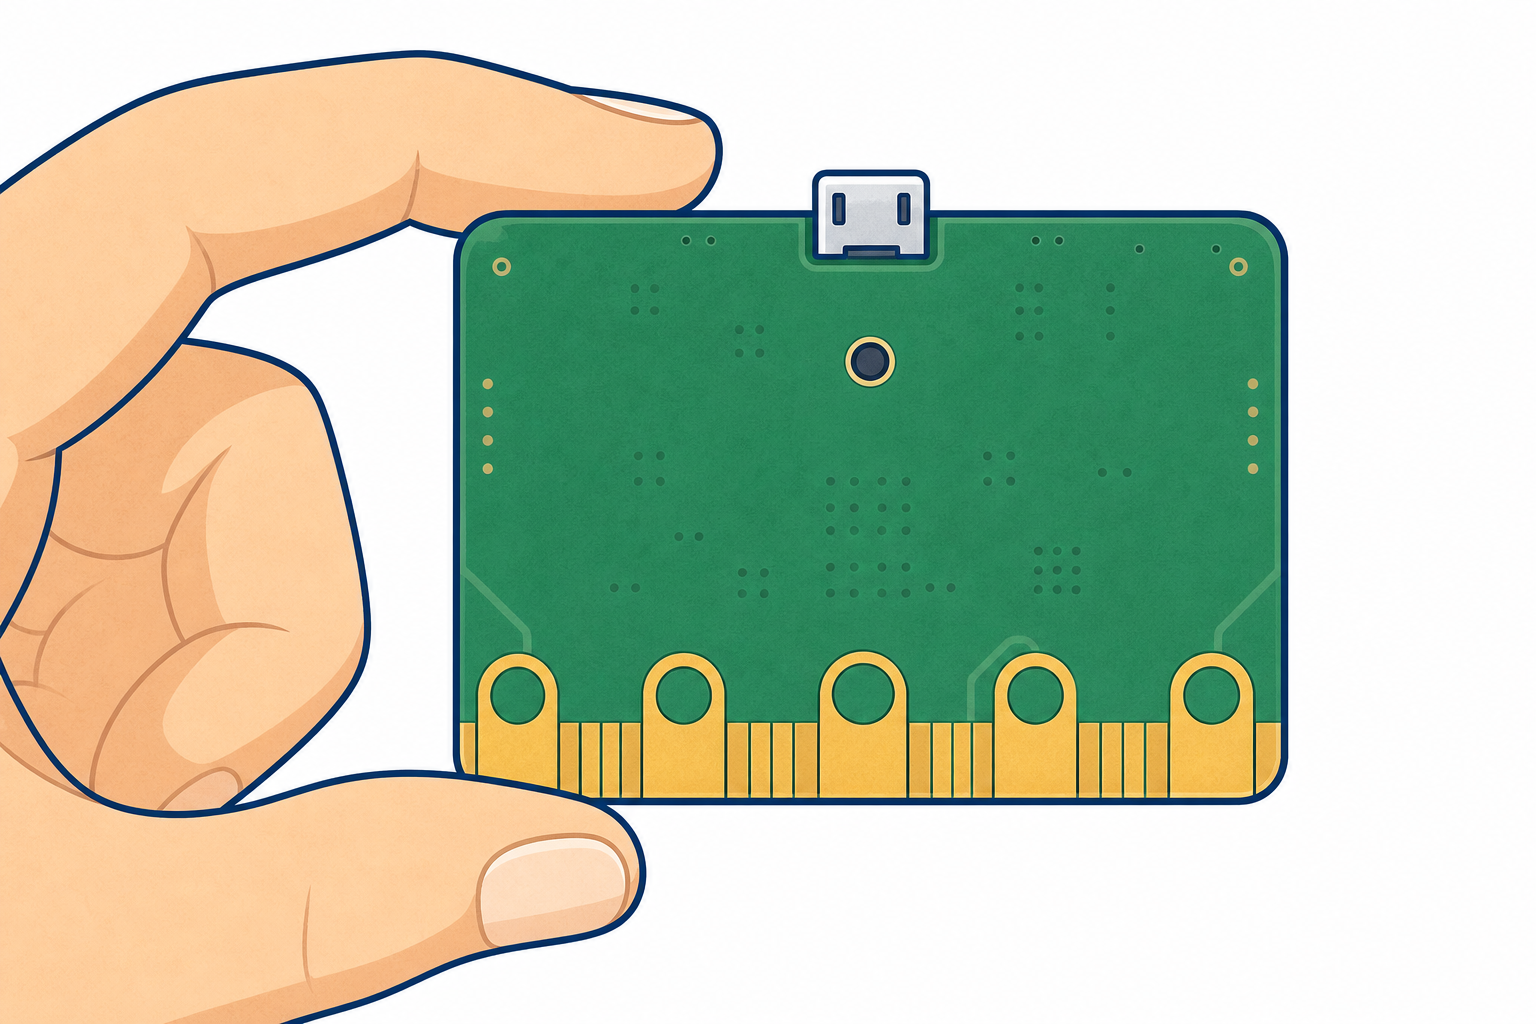 Now to detect the clap we will use the on [loud] sound block.
Add the following code.
input.onSound(DetectedSound.Loud, function () {

})
Unlock the full learning experience
You're previewing this lesson. Get full access to this lesson and hundreds more — each one ready to teach, with interactive activities, printable resources and pupil progress tracking built in.
This lesson is copyright of Coding Ireland 2017 - 2026. Unauthorised use, copying or distribution is not allowed.