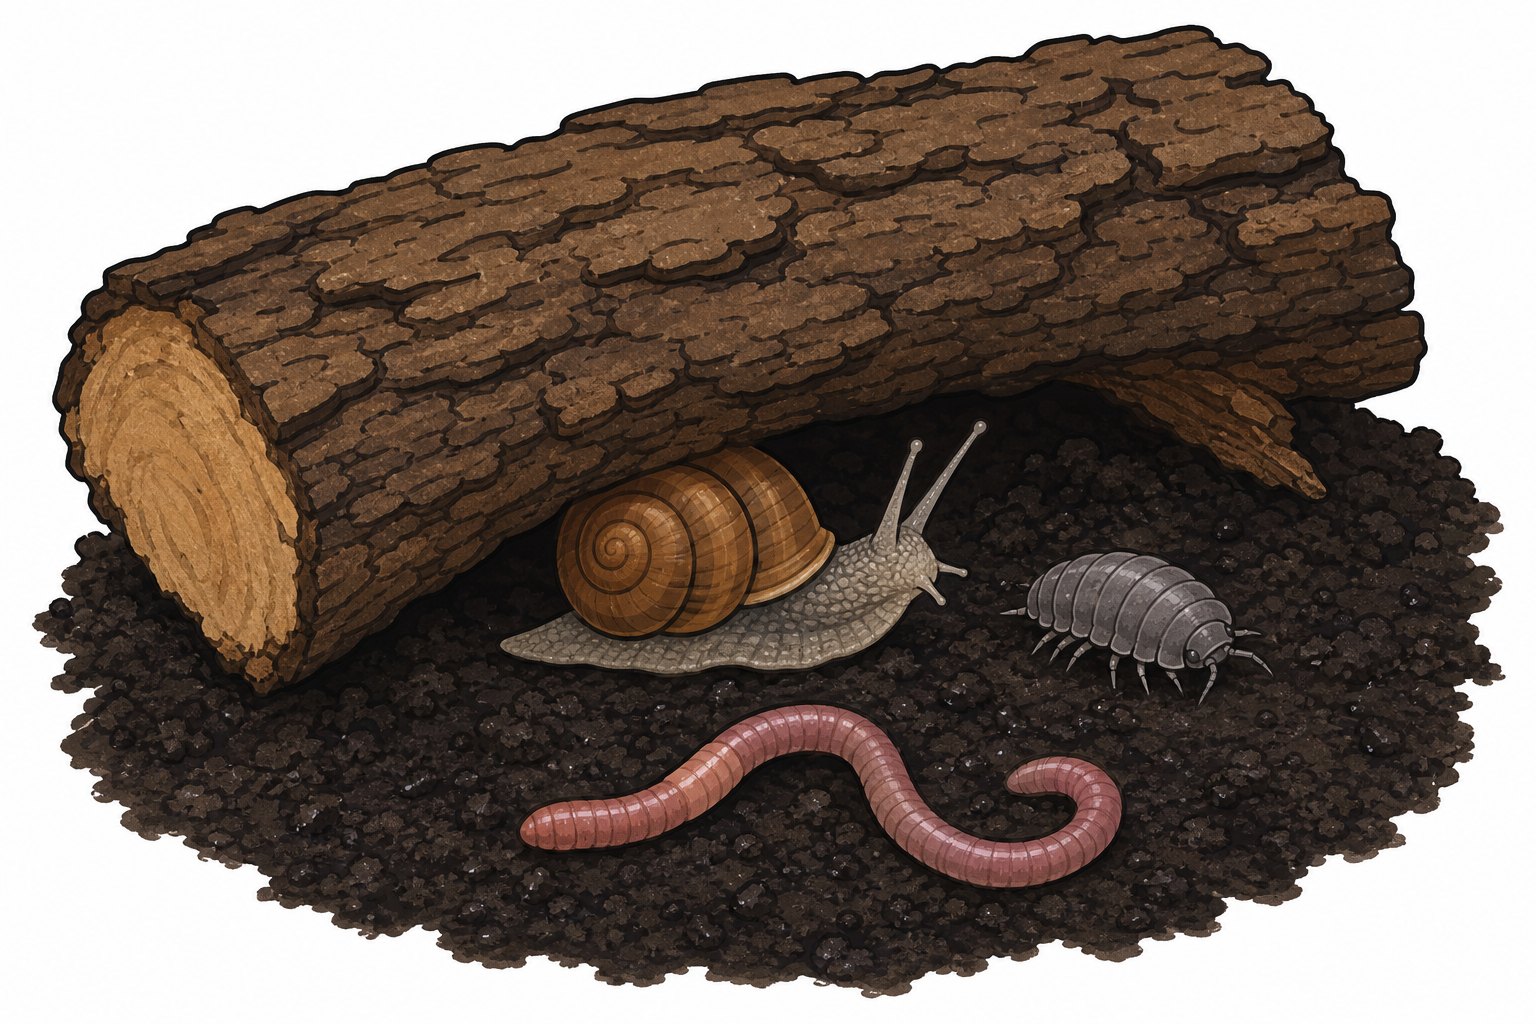
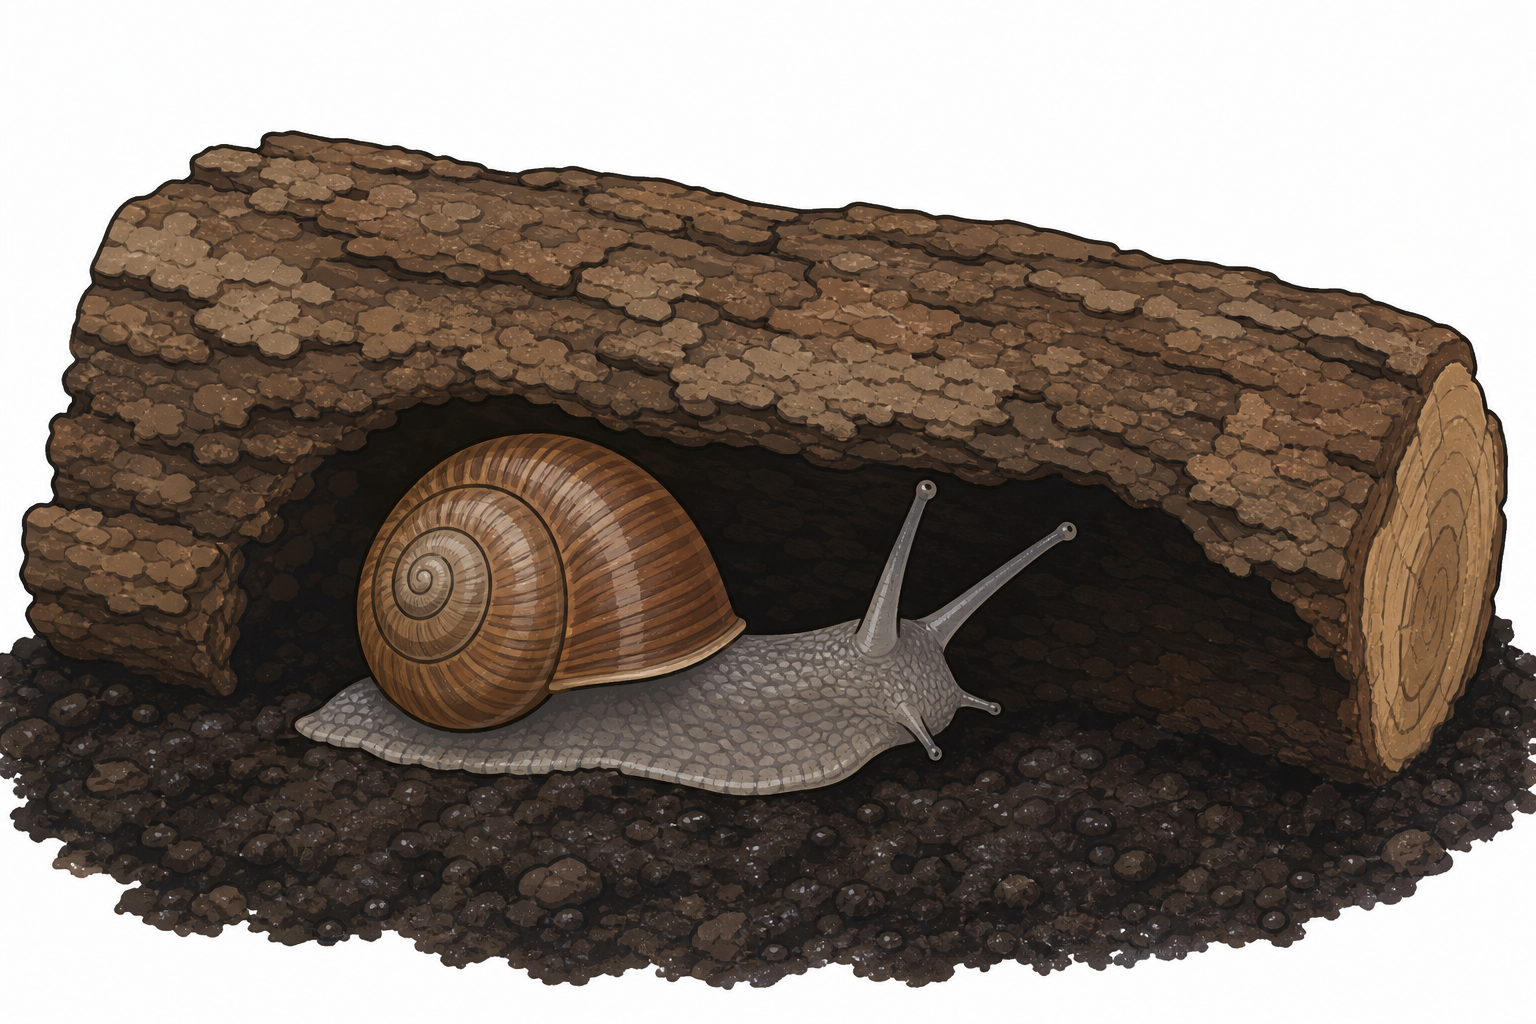
Who lives under a leaf or a log in our garden? Tiny animals we call minibeasts live there. Today we go outside to find them, look closely, and keep them safe.
Keep this beat light and curious. Hold up one magnifier and, if you have one, a clear photo of a snail, woodlouse or worm on the IWB. Ask: Where might a tiny animal hide in our garden? Take two or three quick ideas. Do not hand out kit or explain the full hunt yet. Stay on hiding places and gentle looking; save any helper-role link for the plenary.
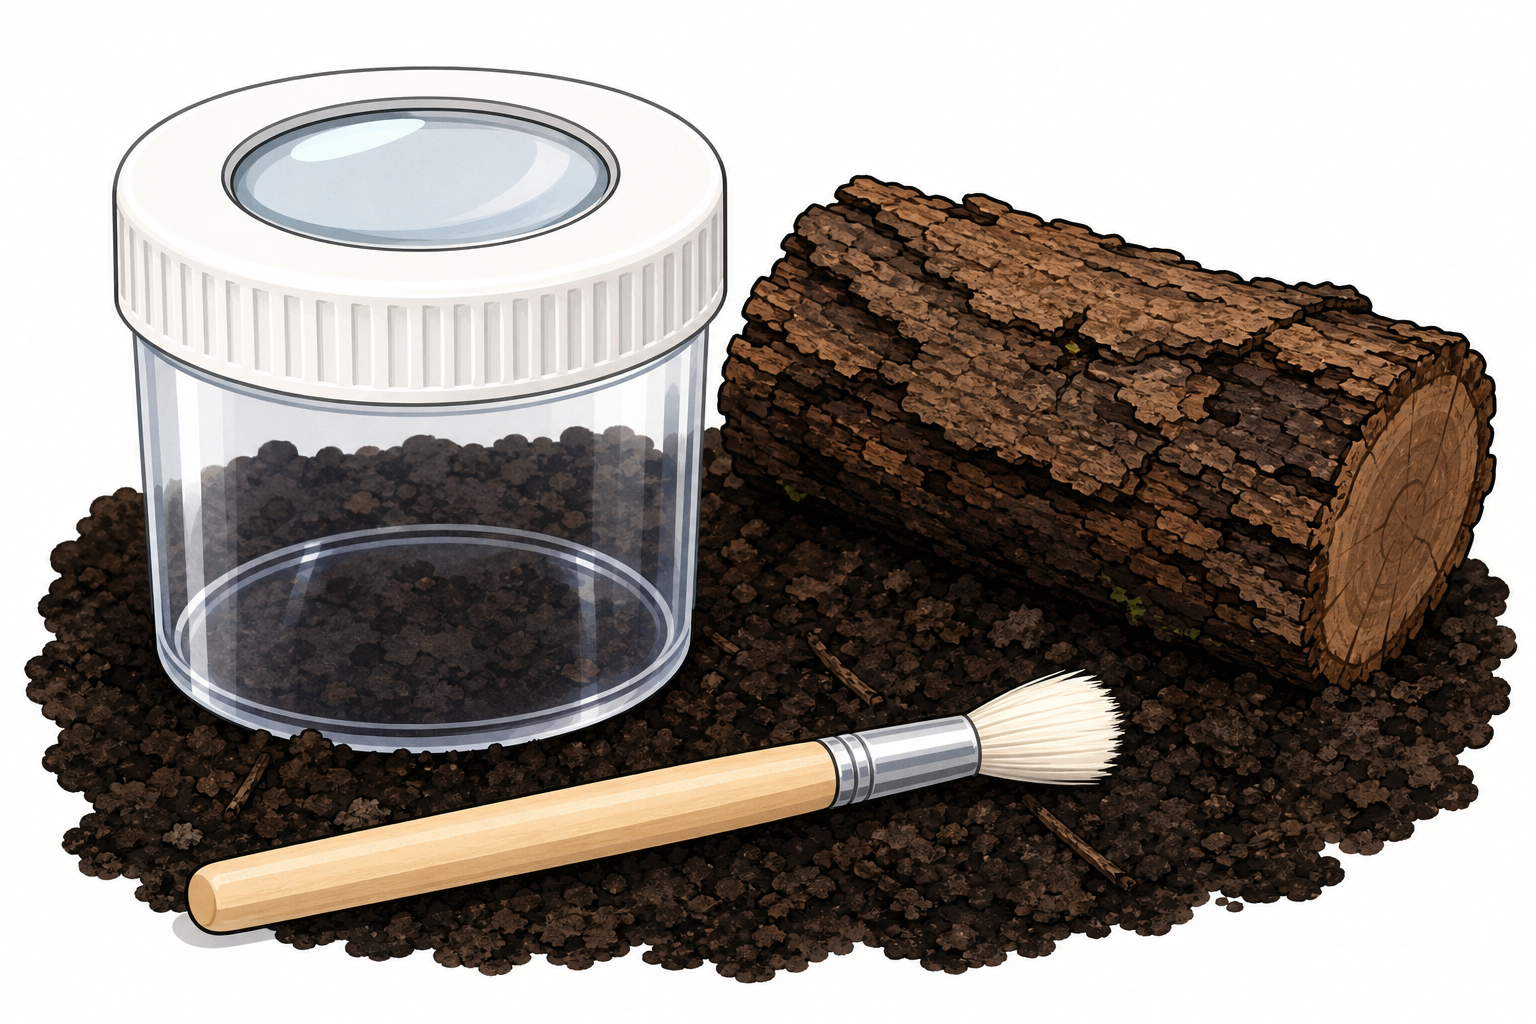
Before the lesson: check the outdoor spot (log pile, leaf litter, under pots or hedges); clear a short safe route; print the Investigation Journal page (or set out plain paper); gather magnifiers, bug pots and soft brushes; optional child garden gloves for children who prefer not to touch soil bare-handed. Wet-day fallback: bring damp leaf litter and safe finds into a tray indoors, or use the nature photo cards below, and keep the same gentle look-and-draw shape.
Nature photo cards (print one set for the class if outdoor finds are scarce or for wet days):
A minibeast is a tiny animal outdoors. A snail under a damp log is one. What do you think we might find under a log today?
| Concept | Why it matters | Example |
|---|---|---|
| Minibeast — a tiny animal that lives outdoors, such as a snail, a woodlouse or a worm | Naming minibeasts helps children notice real animals in the school garden, not only pets and big animals | A snail under a damp log, a woodlouse under a stone, or a worm in the soil |
| Look closely — use your eyes, and a magnifier if you have one, to notice small features | Looking closely is how we find out about living things without hurting them | Seeing a woodlouse's many little legs or the spiral on a snail's shell through a magnifier |
| Gentle hands — soft touch, or no touch, and always put the animal back where you found it | Living things need care; we keep animals safe while we look | Using a soft brush to guide a worm back under its leaf, then washing hands |
Modelled cycle (you do this live, one short go): Hold a leaf and the magnifier. Say: I wonder what is under this leaf. I think I might see a woodlouse. Lift the leaf slowly. I look with the magnifier and say two things you notice (dark body, lots of little legs). Bring in the words look closely and gentle hands only as you model: soft touch, put the leaf back. Children then use the same pattern outside.
Misconception to head off: minibeasts are not "dirty" or "scary". Frame them as small living neighbours we watch kindly. Avoid any frightening language.
Ask: How will our hands keep the minibeast safe?
We go outside together. Look under leaves, logs and pots with gentle hands. When you find a tiny animal, stay still and call a grown-up. We use a soft brush and a bug pot so the minibeast stays safe.
One outdoor arc with step 4: exit and set boundaries → short hunt bursts → shaded pot looks with magnifiers (step 4) → return every living thing to its spot → then come in to draw. Do not leave animals outdoors unattended between steps.
Before you leave the room (1 minute): show the route and the stop line. Issue kit: magnifiers (one per pupil or pair), bug pots and soft brushes (per group). Child garden gloves are optional support only for children who prefer not to touch soil bare-handed; wash-hands-only is the default path for everyone after the hunt.
Regroup signal: agree a simple signal now (e.g. two claps or a raised hand). When children hear or see it, they freeze, hands still, and look at you so you can move the class on without abandoning animals outdoors.
Take the class to the prepared garden spot. Work in short bursts: hunt for a few minutes, regroup on the signal, hunt again. Adults stay close; children never lift heavy logs alone.
How to hunt gently:
Likely Irish garden finds: snails, woodlice, worms, sometimes a spider or beetle. Celebrate whatever is there. If nothing appears, look at damp soil and leaf shapes, then use the nature photo cards (Card A snail, Card B woodlouse, Card C worm) so every child still has something real to notice.
Key questions while circulating: Where did you look? What did you notice first? Are your hands gentle?
Safety: stay with the class; no tasting or putting anything near mouths; return every living thing; wash hands when you come in.
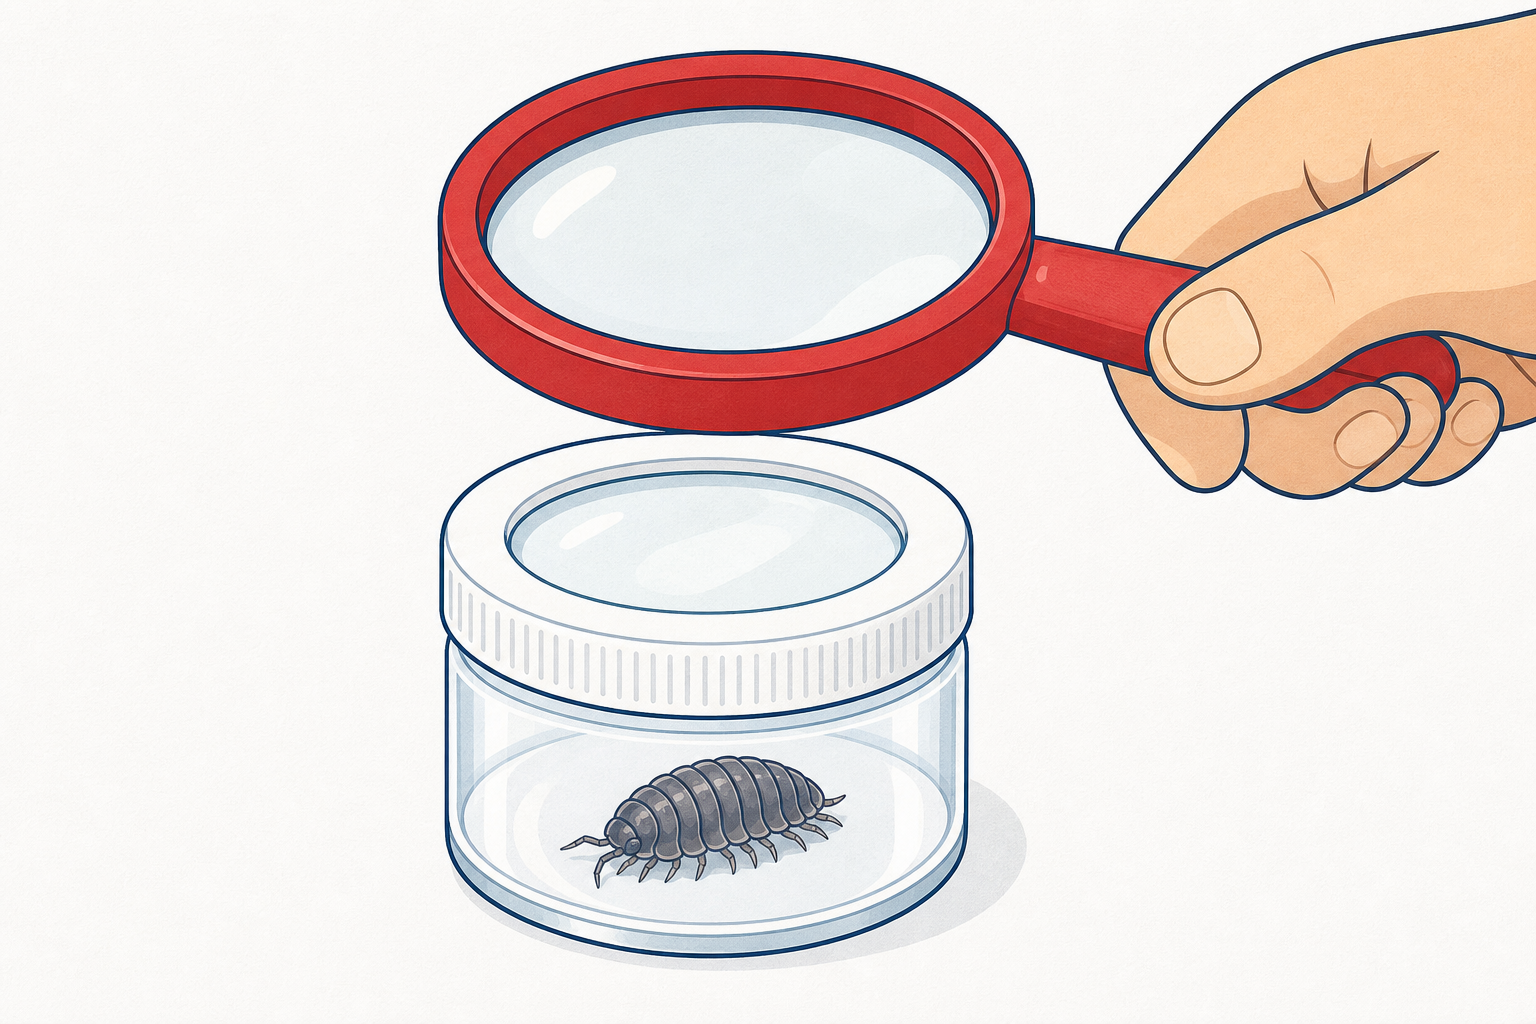
Look through a magnifier at a minibeast you found, or one a grown-up is holding for the group. What colour is it? Does it have a shell, legs or a long soft body? Say one thing you notice to a friend or a grown-up.
Still outdoors (or at the indoor tray on a wet day). This is the quiet observation burst while minibeasts are still safely held in shaded pots. Small clusters gather around adult-held pots; rotate so each child gets a real magnifier look. Looking at a friend's find or a photo card counts fully.
Sharing pattern: groups of three or four around one pot or one card. Pass the magnifier; model holding it near the eye and moving closer slowly rather than pressing it onto the animal. If a group has no live find, hand them Card A, B or C and use the same notice prompts.
Notice prompts (say two or three, not all):
Help children use simple words: shell, legs, soft body, slow, tiny. Revoice scientific names only if they fit naturally (snail, woodlouse, worm).
What to expect: snails show a spiral shell; woodlice are grey-brown with many small legs and may curl; worms are long, soft and pinkish-brown with no legs. If a child is nervous, looking without touching is full success.
Before you leave the outdoor spot: return every living thing to its home place, pack pots and brushes, then walk in for drawing. Use the regroup signal so nobody is left mid-hunt.
On your Investigation Journal page, draw one minibeast you found or looked at. Show its shape and one special thing you noticed, like a shell or lots of little legs.
Back in class (or seated outdoors if dry and calm). Hands washed first. Give out crayons and the Investigation Journal page (or plain paper if that is your plan). Children draw from memory of what they saw; they may glance at a nature photo card if their find was brief.
What this page is for: one large drawing of a single minibeast (big shape first, then one noticed feature such as a shell, legs or a long soft body). An adult may scribe a one-word label under the picture if the child wants a word (snail, worm, woodlouse). Drawing alone meets the aim. Fast finishers may add the place the minibeast lived (under a log, under a leaf) on the same page area — do not invent a second sheet.
Support: "Draw the big shape first, then add one detail."
This beat is paper only. Nothing is typed.
You're previewing this lesson. Get full access to this lesson and hundreds more — each one ready to teach, with interactive activities, printable resources and pupil progress tracking built in.