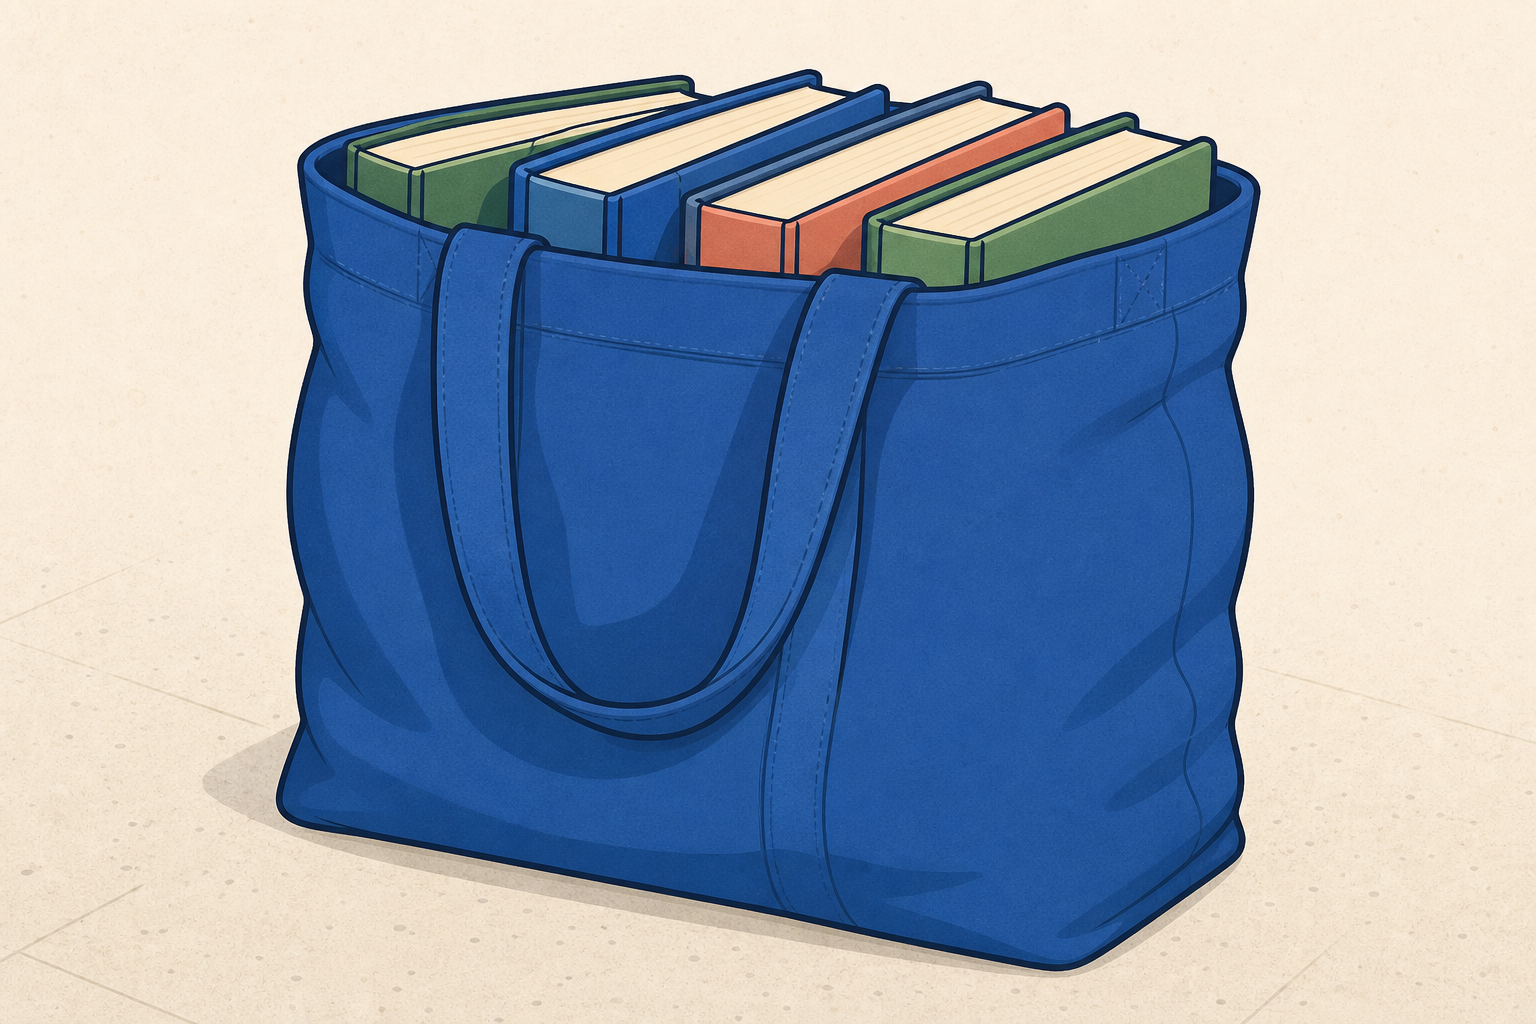
Look at this heavy bag of books. Hands up: would you rather lift it straight up with your hands, or pull a rope that goes over a wheel above it? What might change about how you pull?
Today we find out how pulleys and gears change the way a force works.
Hold up a schoolbag or a small bag of books. Pose the question once and take two or three quick answers. Do not set up the pulley yet; the apparatus comes out in the next hands-on step.
Key question: What might a wheel and a rope change about the lift?
Keep this beat light. Predictions stay open; nothing is marked right or wrong. If pupils jump to "it would feel lighter", accept the idea and park it: we will test direction and control, not claim the load becomes half as heavy.
Remember the bag of books. That bag is the load. The pull of your hand is the effort. The wheel a rope runs over to help you lift is a pulley.
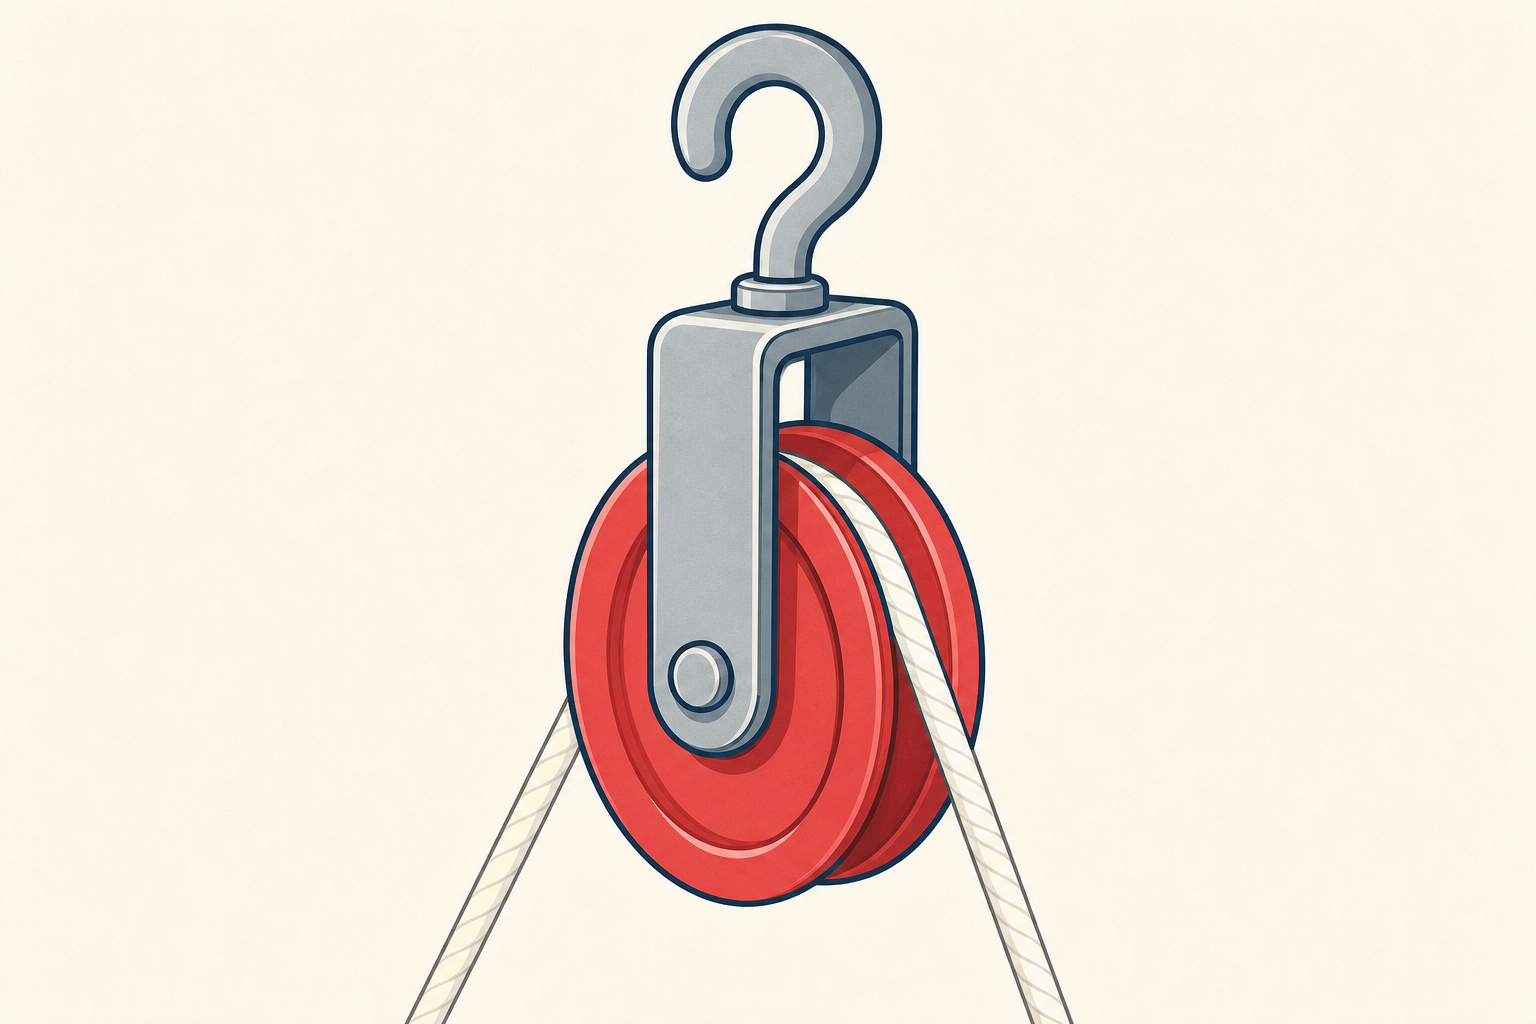
How might a single pulley change the direction of your pull?
Builders and bike makers use these same ideas so heavy things and spinning wheels can do useful jobs. We will meet gears after the pulley work.
Project only the short board text. Name load, effort and pulley from the bag hook; leave full gear talk for the gear step. Use the table below as your reference while you talk.
| Concept | Why it matters | Example |
|---|---|---|
| Pulley — a wheel with a groove that a rope or string runs over to help lift a load | It can change the direction of your pull, so you pull down to lift something up, which often feels easier to control | A flag rope over a wheel at the top of a flagpole: pull down and the flag rises |
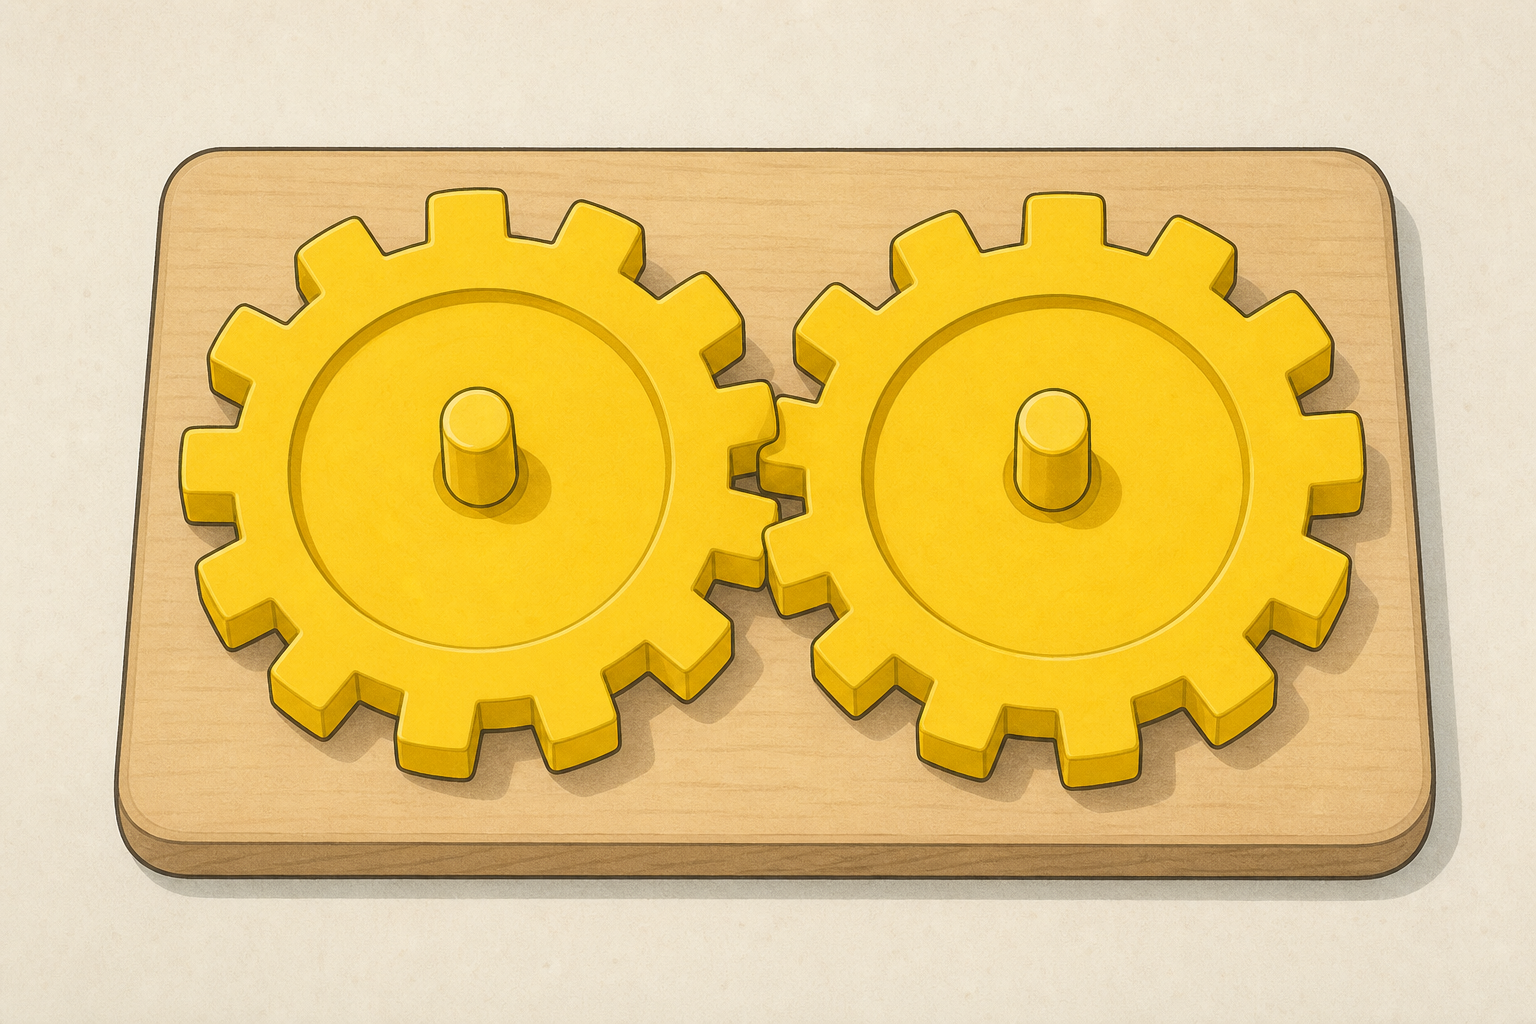
| Gear — a toothed wheel that turns another so the direction or speed of movement can change (and force can be passed along or redirected) | Linked gears can reverse direction or change how fast something turns, which is how many machines pass movement along | Bicycle gears, or two classroom gear wheels: turn one clockwise and the meshed gear turns anticlockwise |
| Effort and load — effort is the force you apply; the load is what you are trying to move | Simple machines are judged by how they change the effort needed for a load, not by magic | The bag of books is the load; the pull on the string is the effort |
Misconception to head off: a single fixed pulley does not make the load lighter in the same way a multi-pulley system can. It mainly changes the direction of the force. Pupils often say "the pulley makes it lighter". Accept that it can feel easier to pull down than to lift up, then keep the accurate idea: the direction of the effort has changed.
Nature of STEM: this is everyday Physics. Engineers use pulleys on cranes and gears in bikes and clocks so forces work in useful directions and speeds. The short pupil-facing wonder line already names builders and bike makers; you can add one Irish example if it fits (a building-site crane, a bike in the shed, the school flagpole rope).
Link briefly to Physics: forces can change size or direction when machines are used carefully.
In your group, lay a metre stick safely across two chair backs. Loop short hanging string over the middle of the stick and attach the pulley so the wheel hangs freely below. Then thread the long lift string over the groove and tie one end to the load.
Watch what happens to the bag when you pull down. Practise a gentle lift: one person pulls the free end of the string while the others watch the load rise. Keep fingers clear of the string and the hanging load.
Start-of-step gate (do not begin modelling until this is true): chairs already paired with space between groups, hang loops pre-cut, cotton-reel substitutes pre-threaded if needed, and one front rig already stable. The 14 minutes are for model + build + safe lifts only, not furniture moves or cutting string.
Proper pulley: loop a short hanging string over the middle of the metre stick, pass both ends through the pulley hook or frame, and knot so the wheel hangs freely below the stick.
Cotton-reel substitute: push a short pencil or skewer through the reel. Tie a short string to both ends of the pencil to make a stirrup so the reel can spin. Loop a second short hanging string over the metre stick and knot it to the stirrup so the reel hangs below the stick. The long 1.5 m string then runs over the reel groove (or around the reel) as the lift line.
Have one front rig already stable before groups start. Run the cycle once, live:
I wonder: will pulling down on the string lift the bag up?
I predict: yes, because the string runs over the wheel and changes the direction of my pull.
I test: hang the pulley, thread the string, attach a light bag of books, pull down slowly.
I observed: as I pulled down, the bag rose steadily; the stick stayed still when the chairs were stable.
I think: a single pulley lets me pull down to lift a load up, so the direction of the effort has changed.
Then send groups to build. Aim for roughly 10 minutes of group build and first safe lifts inside this step.
Circulate. Spot unstable chairs and overloaded sticks early. One adult should help any group whose stick slips. Keep loads light (a few books or a small bag of sand/weights from the kit). If a group balances the wheel on top of the stick, stop them and re-show the hanging-loop method.
Differentiation: less confident groups use a lighter load and a cotton reel if a proper pulley is fiddly. Confident groups try a slightly heavier load only if the set-up is rock solid.
Safety: no standing on chairs to hang gear. Keep heads and fingers out from under hanging loads. Stop any swinging of weights.
Same bag both times — only the way you lift changes. Keep the load the same so the comparison is fair.
First, lift the load straight up with your hands (careful and slow). Then lift the same load using your pulley.
In your group, choose how you will judge which felt easier to control (for example: steadier lift, less wobble, or easier to stop halfway). Talk about what changed about the direction of your pull, and agree one clear sentence your group will stand by.
Keep the load identical for both trials so the comparison is fair. Name that fair-test idea out loud: same load, same slow lift, only the method changes. Pupils judge effort by feel at this stage; they do not need force meters unless you already have them and want a stretch.
Agency inside the frame: groups keep the fair-test structure, but choose (1) how they will judge "easier to control" and (2) which one-sentence claim they will defend later. That choice is the child-led beat; the method stays safe and comparable.
Questions to ask:
What to expect: many pupils say pulling down feels more comfortable even though a single fixed pulley does not truly halve the force. Steer language toward direction and control rather than "it became half as heavy".
Agency: groups decide who lifts, who spots, how they judge control, and which sentence they will defend for the journal later.
If a set-up is unsafe, stop the group and re-seat the stick before any further lifts.
Pulleys change the direction of a pull. Gears are another way machines change how a force works: they can reverse direction or change speed, like the gears on a bicycle.
Put the pulley kit safely to one side. On your table, fit two gear wheels so their teeth push against each other (or two wheels that can turn each other).
Turn the first gear slowly. Watch the second. Does it turn the same way or the opposite way? If you have a third gear, add it and watch again. Be ready to tell the class one thing you noticed.
Budget about 2 minutes for this pack-down so 5–6 minutes remain for gear observation and sharing.
Keep this beat short and observational: one shared idea (both pulleys and gears change how a force works), then hands on the wheels. Full definitions can land in talk as groups notice opposite turns.
Use plastic gear wheels from a construction kit (minimum two, ideally three so a third gear and size/speed look-fors are possible), or thick card circles with notches if that is what you have. Linked bottle lids with rubber-band edges also work as a low-cost substitute if teeth are scarce: give each group 2–3 lids so one wheel can drive another and a third can be added.
Keeping wheels linked while they turn: rest the gears flat on the table. Fit the teeth together so they push against each other, then keep gentle fingertip pressure on both hubs (or hold a book as a soft backstop) so they stay engaged as you turn slowly. For bottle lids, press the rubber-band edges together and turn slowly without lifting them off the table. If gears still walk apart, one pupil turns while a partner steadies the second gear in place.
Look-fors:
Questions: If gear A turns clockwise, which way does gear B turn? What job might that reverse be useful for on a bike?
Fold the whole class in while groups explore: ask watchers to predict before a volunteer turns a gear on the front table.
Product of this step: a spoken notice only (one thing each group will share). Any quick sketch waits for the Investigation Journal page in the next step; do not ask for a separate diagram sheet here.
Misconception: pupils may think gears only make things faster. Name both ideas: direction can reverse, and speed can change depending on gear size.
You're previewing this lesson. Get full access to this lesson and hundreds more — each one ready to teach, with interactive activities, printable resources and pupil progress tracking built in.