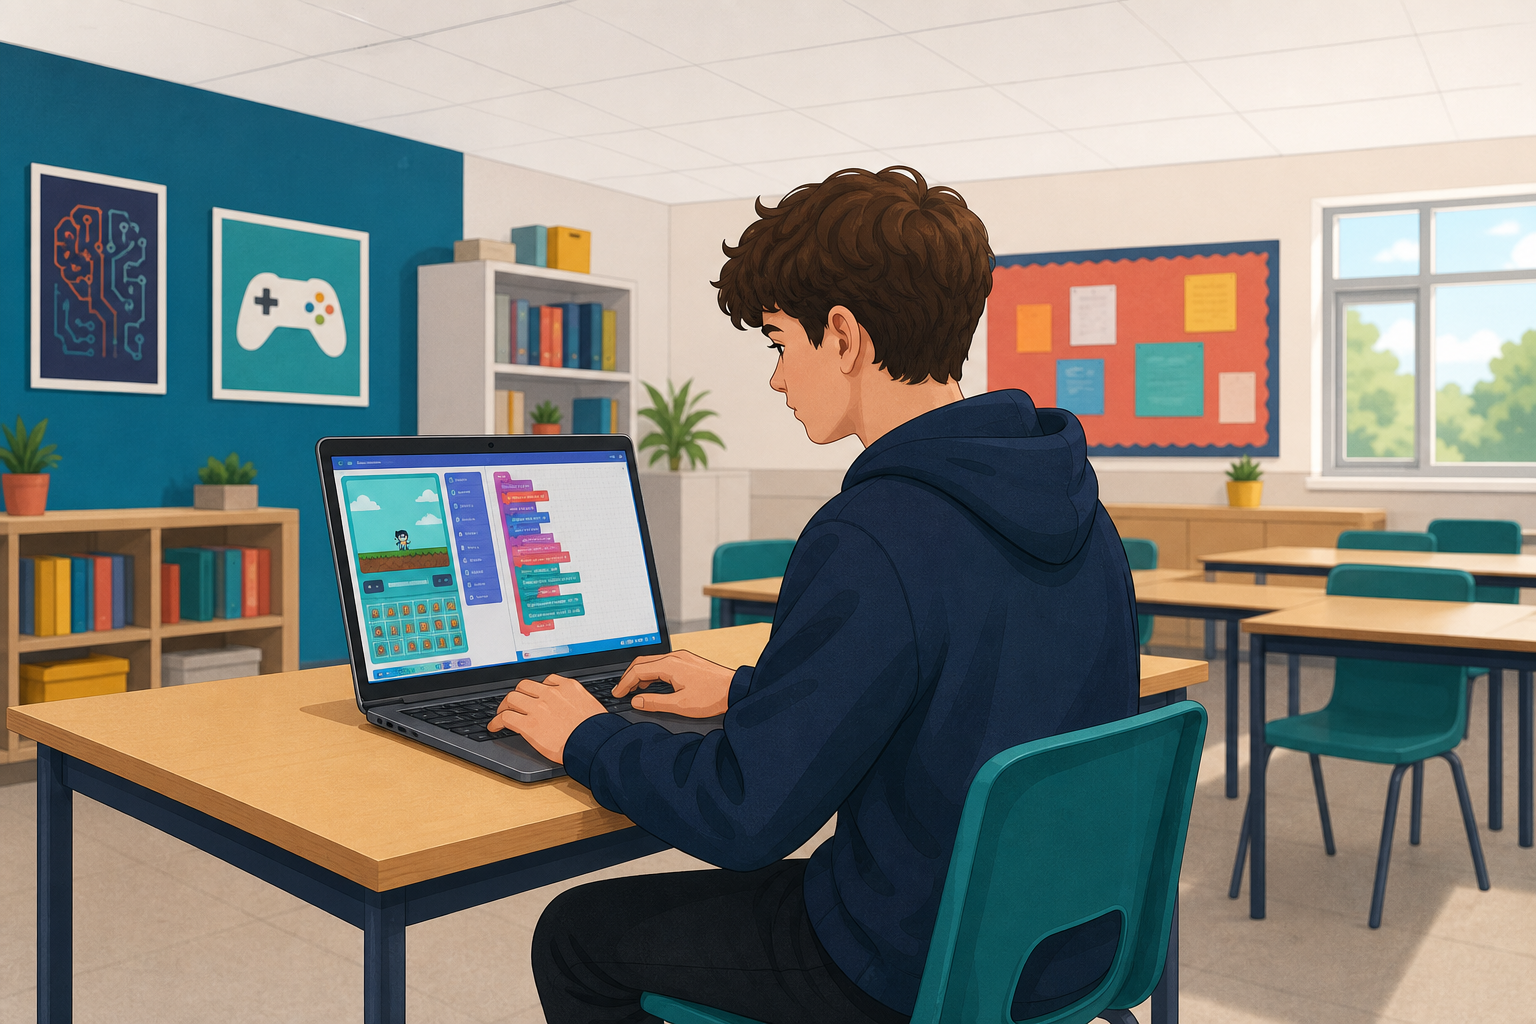
 Today we are coding in MakeCode Arcade. You will build a Hot Air Balloon game step by step at your device: predict what a section will do, run it, investigate what actually happens, then fix and document the code.
You will read the code carefully as you go, find and fix anything that does not work, and add comments so another person can follow it. You will also explain one section to a partner.
Open MakeCode Arcade and be ready to start a new project when the build begins.
Start by creating a new project. To do this, visit MakeCode Arcade and click on 'New Project'. Name your project 'Hot Air Balloon'.
Let's start by setting up the game environment. We will first set the background color of the game screen. Add the following code:
scene.setBackgroundColor(9)
This will set the background color to a sky blue, perfect for our hot air balloon game.
Now, let's create our hot air balloon, which will be the player in the game. We will use the 'spritedata.create' function to do this. Add the following code:
let player = sprites.create(img`...`, SpriteKind.Player)
You can choose your own design for the hot air balloon using the image editor.
Next, we need to control the player. We will allow the player to move left and right using the arrow keys. Add the following code:
controller.moveSprite(player, 100, 0)
This code will allow the player to move left and right at a speed of 100.
Unlock the full learning experience
You're previewing this lesson. Get full access to this lesson and hundreds more — each one ready to teach, with interactive activities, printable resources and pupil progress tracking built in.
This lesson is copyright of Coding Ireland 2017 - 2026. Unauthorised use, copying or distribution is not allowed.