Mathematics
Intermediate
40 mins
Teacher/Student led
+65 XP
Teacher-led from the board. Pupils do not need a device, but can follow on one.

What you need:
IWB/Projector/Large Screen
Weighing scales

Reading Weighing Scales

Learn to read an analogue weighing scale by working out the step size first, then reading the pointer accurately — even when it lands between two marks.
Teacher Class Feed

Load previous activity
    Your turn
    Your teacher is running this lesson on the board. Here is the part you can try yourself.
    Manipulative task
    Measurement rulers

    1 - Getting Started ~4 mins

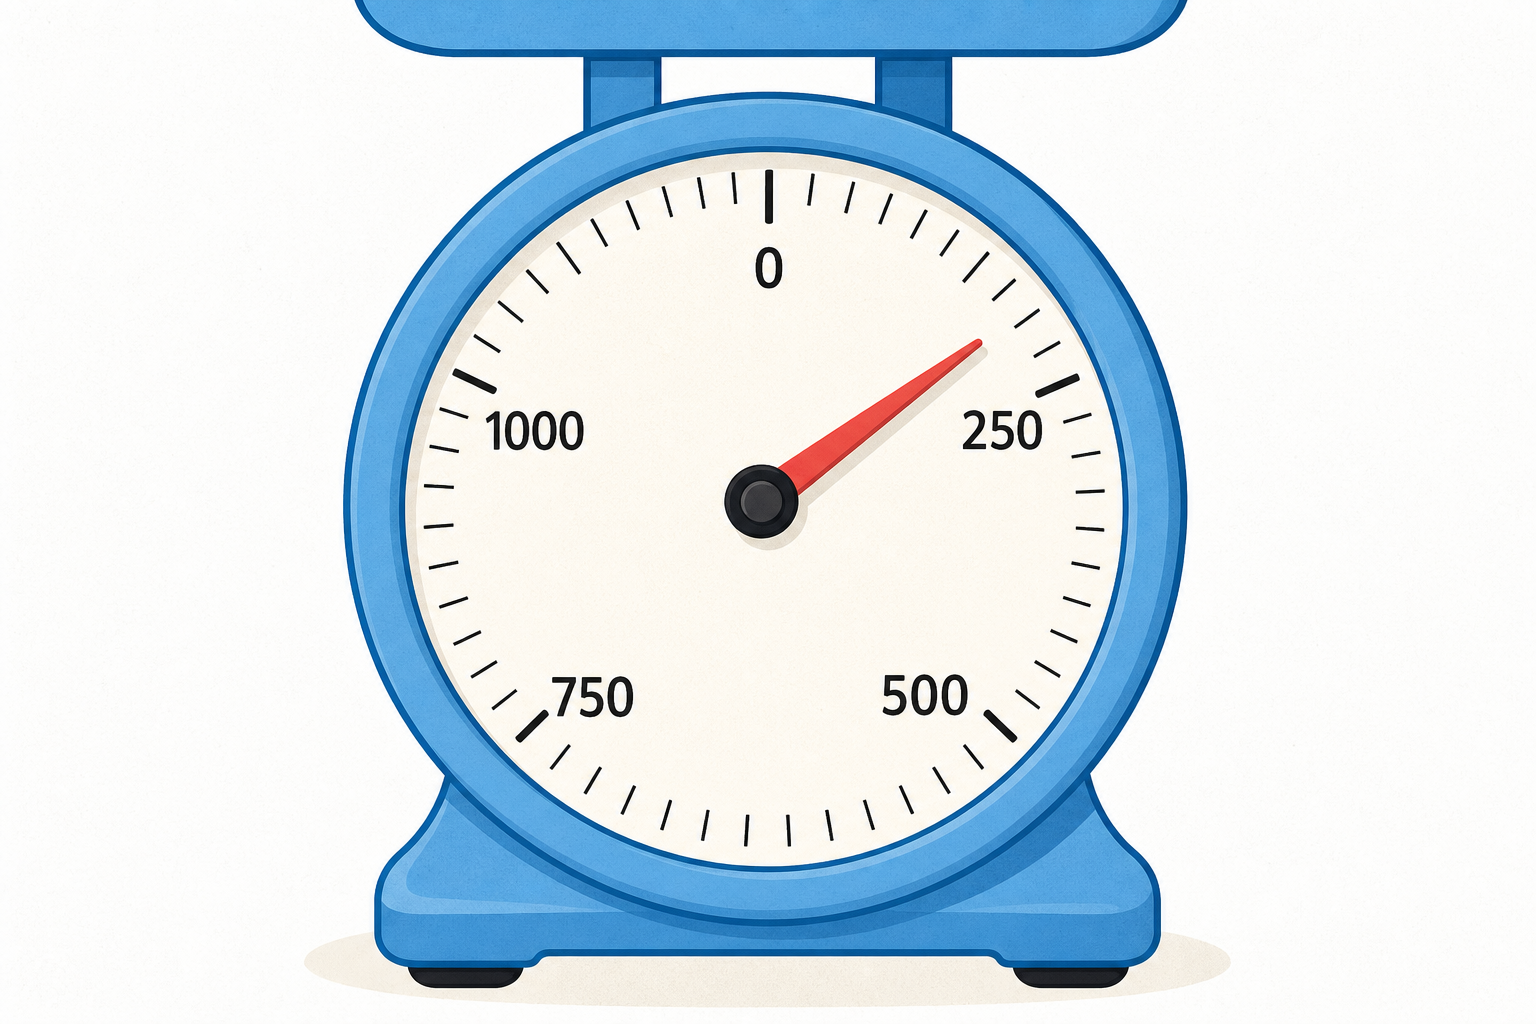
    Look at this dial. The pointer has stopped between the 200 g mark and the 300 g mark. It is past 200 but it has not reached 300.

    Is this right? A friend read it as "200 g". What would you say to them?

    2 - Watch and Notice ~8 mins

    Illustration for Watch and NoticeBefore we read any pointer, we always ask one question first: how much is each little mark worth? The step size is how much each little mark on the dial is worth. On one dial each step might be 100 g; on another dial, each step might be 50 g.

    Look at the dial on screen. Watch four readings in turn:

    • a dial in steps of 100 g, with the pointer landing right on a printed mark;
    • a dial in steps of 50 g that looks almost the same, but each little mark is worth only 50 g;
    • a bigger dial in steps of 100 g. Here the numbers pass 1000 g. We know 1000 g is the same as 1 kg, so once we count past 1000 we rename it: 1500 g becomes 1 kg 500 g;
    • a dial where the pointer stops halfway between two marks. When that happens, the weight is halfway between the two numbers too. Halfway between 700 g and 800 g is 750 g.

    Notice how two dials can look almost the same, but the same pointer position means different weights once you know the step size.

    3 - Write the Step Size in Your Copy ~3 mins

    COPYBOOK MOMENT

    Look at the three dials on the board, labelled 1, 2 and 3. In your maths copy, write down the step size and the weight for each one.

    Write each line in this shape, filling in the two blanks yourself:

    • Dial 1: steps of ___ g, pointer on ___ g
    • Dial 2: steps of ___ g, pointer on ___ g
    • Dial 3: steps of ___ g, pointer on ___ g

    Always write the step size first, then the weight.

    4 - Try It Together ~12 mins

    First we learn how to find the step size by counting the little gaps on a dial. Then we read four dials together.

    Watch this worked example on the board. Two printed numbers sit next to each other: 200 g and 300 g. The gap from 200 to 300 is 100 g in total. Count the little intervals (the small gaps) between those two printed numbers. There are 2 little intervals, so each step is worth 100 g ÷ 2 = 50 g. That is the step size. Only after we know the step size do we read where the pointer lands.

    Now we try four dials together, one at a time. For each one, find the step size first by counting the intervals. Then read the pointer and say the weight:

    • a dial with the pointer on a printed mark;
    • a dial that looks similar to the first;
    • a bigger dial where the numbers pass 1000 g, then rename the reading in kilograms and grams;
    • a dial where the pointer stops halfway between two marks.

    Hands-on Task

    5 - Class Challenge ~8 mins

    Now we work through these readings together on the board. Say the step size out loud before you read each pointer:

    • a dial, read the pointer;
    • another dial, read the pointer;
    • a bigger dial that passes 1000 g, read the pointer and rename it in kilograms;
    • a dial where the pointer stops right between two marks, read the halfway weight.

    Read the weighing-scale dial

    Pupil practice
    Module 4 · Measures: Length, Weight and Capacity Measures
    Lesson 51 · Reading Weighing Scales
    Download Activity Book page (PDF)
    123learn · Online learning platform

    Unlock the full learning experience

    You're previewing this lesson. Get full access to this lesson and hundreds more — each one ready to teach, with interactive activities, printable resources and pupil progress tracking built in.

    Hundreds of curriculum-aligned lessons
    Interactive activities in every lesson
    Printable resources & progress tracking
    Copyright Notice
    This lesson is copyright of Coding Ireland 2017 - 2025. Unauthorised use, copying or distribution is not allowed.
    🍪 Our website uses cookies to make your browsing experience better. By using our website you agree to our use of cookies. Learn more