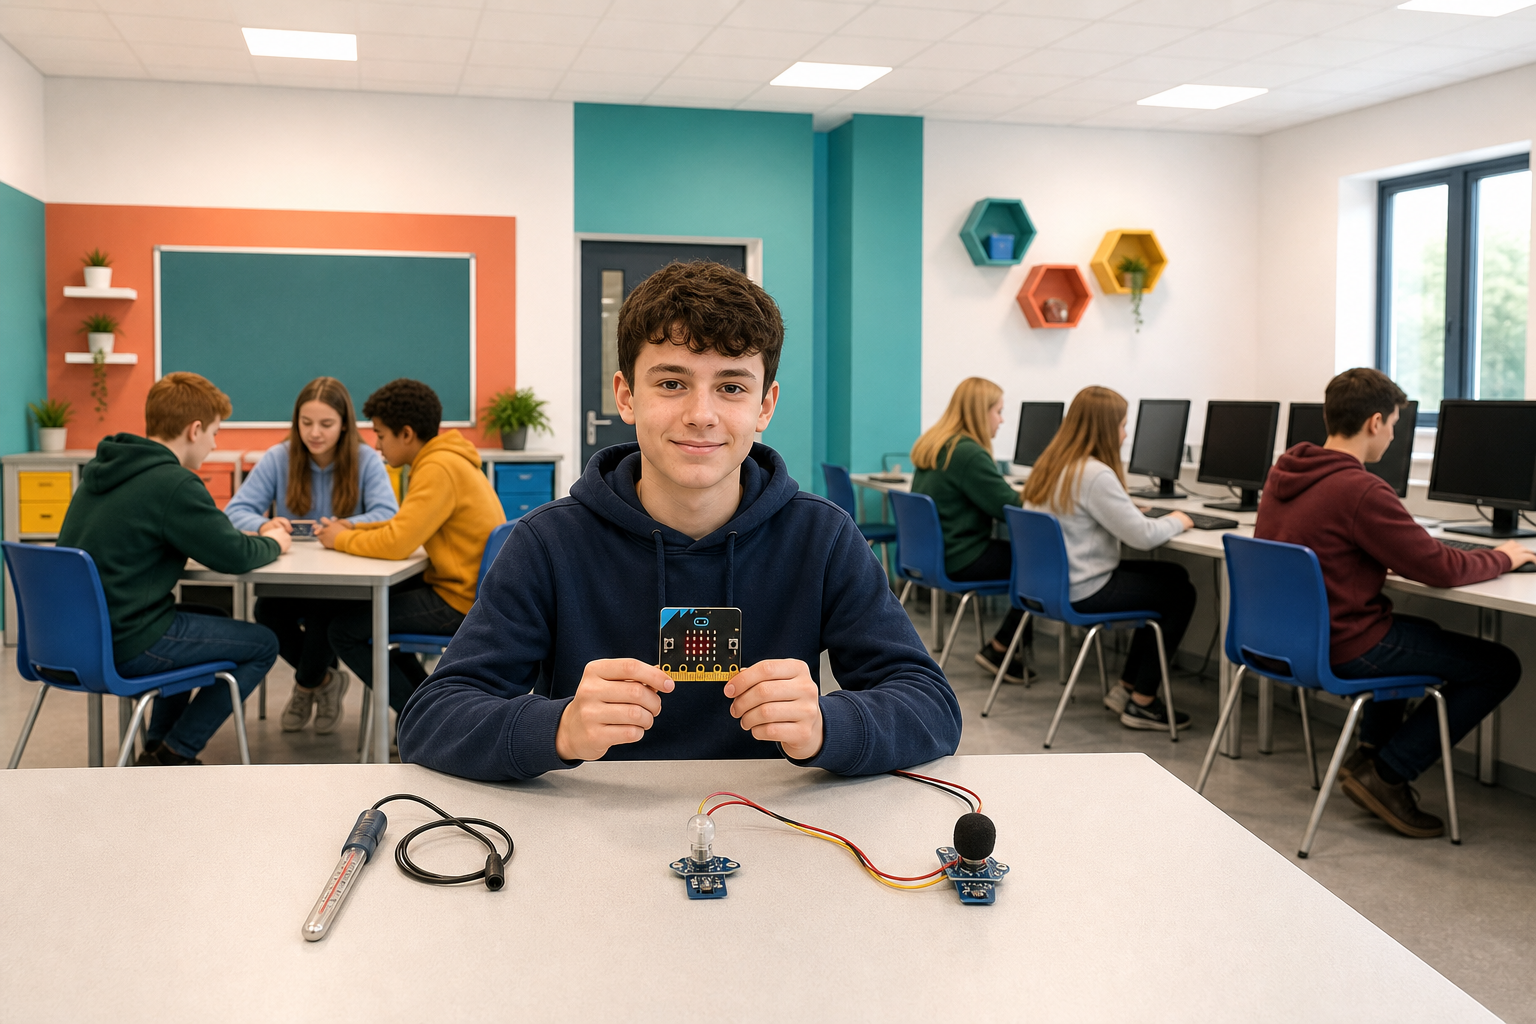
 Today you are coding with the micro:bit. You will build a small weather-station style program that reads sensors and shows the values on the LED screen.
You will predict, then build, run and fix as you go. By the end you should see temperature, light, sound and movement readings change when you press the buttons or make a loud sound.
Start by creating a new project. Navigate to MakeCode for Microbit and click on 'New Project'. Give your project a name, such as 'Weather Station'.
First, we need to declare and initialize our two main variables: 'mode' and 'reading'. 'Mode' will help us determine which sensor's data we want to display, and 'reading' will store the sensor data. Add the following code:
let reading = 0
let mode = 0
mode = 1
The following are the different modes we will have:
- Mode 1 displays the temperature (press A).
- Mode 2 displays the light level (press B).
- Mode 3 displays the sound level (press A and B together).
- Mode 4 displays movement (switches on when a loud sound is detected).
Let's start by configuring Button A. When this button is pressed, we want 'mode' to be 1. Add the following code:
input.onButtonPressed(Button.A, function () {
   mode = 1
})
Next, let's configure Button B. When this button is pressed, we want 'mode' to be 2. Add the following code:
input.onButtonPressed(Button.B, function () {
    mode = 2
})
Unlock the full learning experience
You're previewing this lesson. Get full access to this lesson and hundreds more — each one ready to teach, with interactive activities, printable resources and pupil progress tracking built in.
This lesson is copyright of Coding Ireland 2017 - 2026. Unauthorised use, copying or distribution is not allowed.