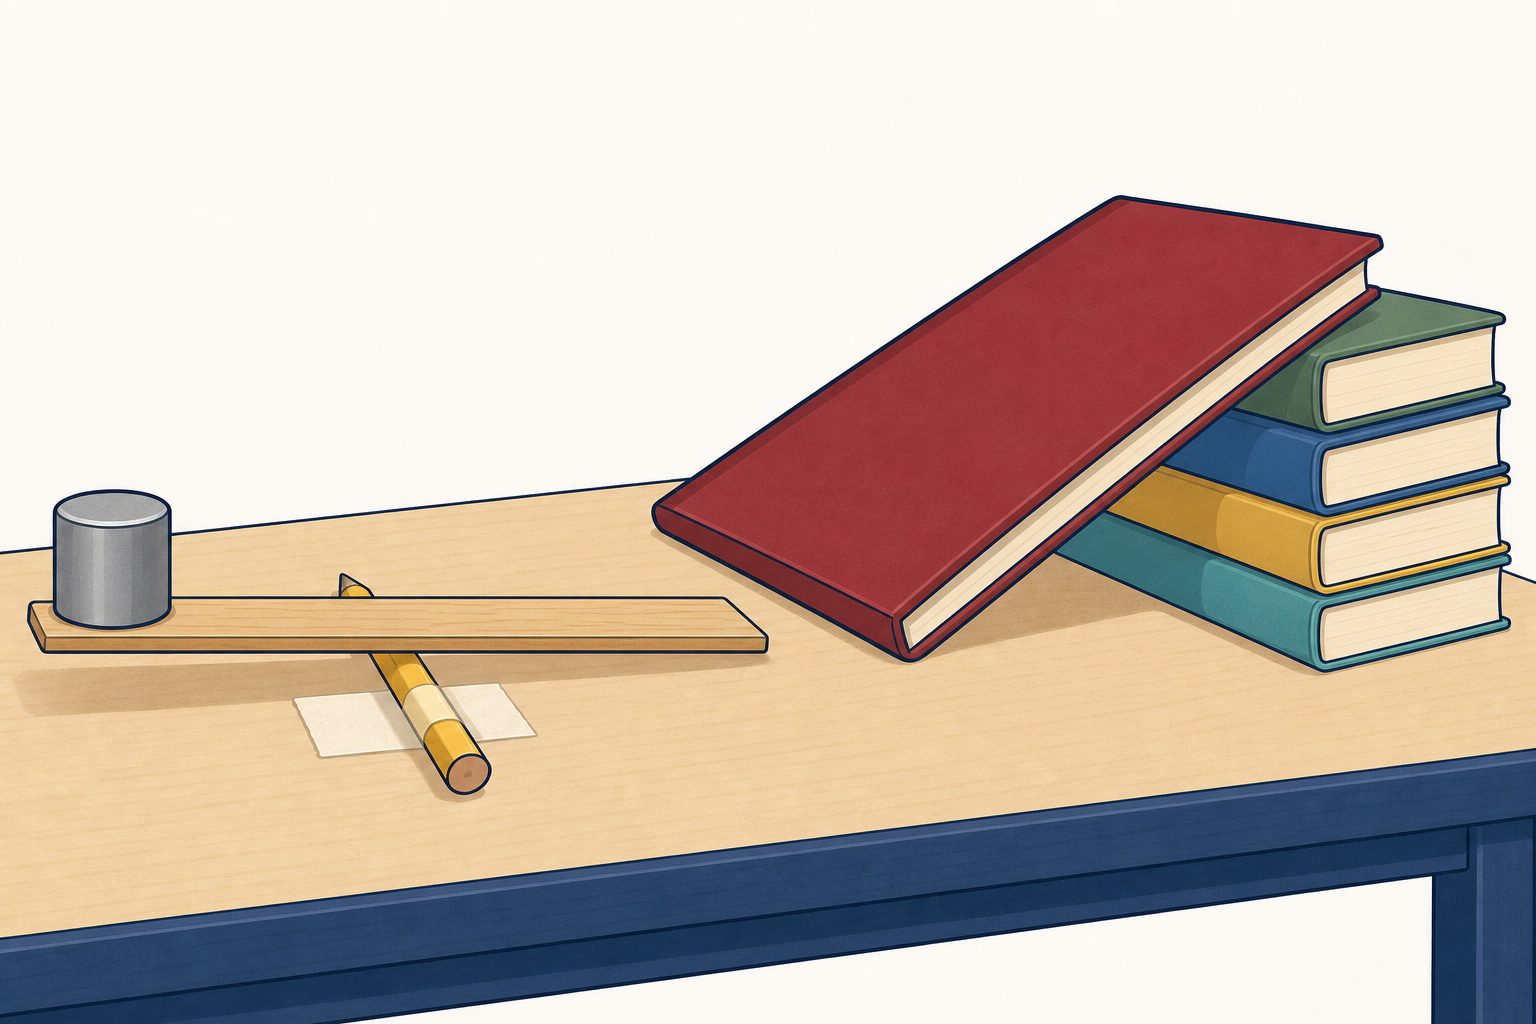
Imagine you need to lift a heavy box onto a shelf. Would you rather lift it straight up, or roll it up a long slope? Why?
Today we build two simple machines, a lever and a ramp, and feel how they change the effort needed to move a load.
Keep this beat light: one curiosity question only. Do not hand out apparatus yet.
Hands up: lift straight up, or roll up a slope? Take two or three reasons. Listen for ideas about less force, longer distance, or using body weight.
Bridge: Engineers design simple machines so people can move heavy things with less effort. We will feel that bargain with our own hands.
Have one ruler, one pencil pivot and a small weight ready out of sight for the next step's model, not for pupils yet.
Where have you already used a slope or a stiff bar that lifts something today?
A lever is a stiff bar that turns on a pivot. A ramp is a slope that lets you push a load up gradually instead of lifting it straight up.
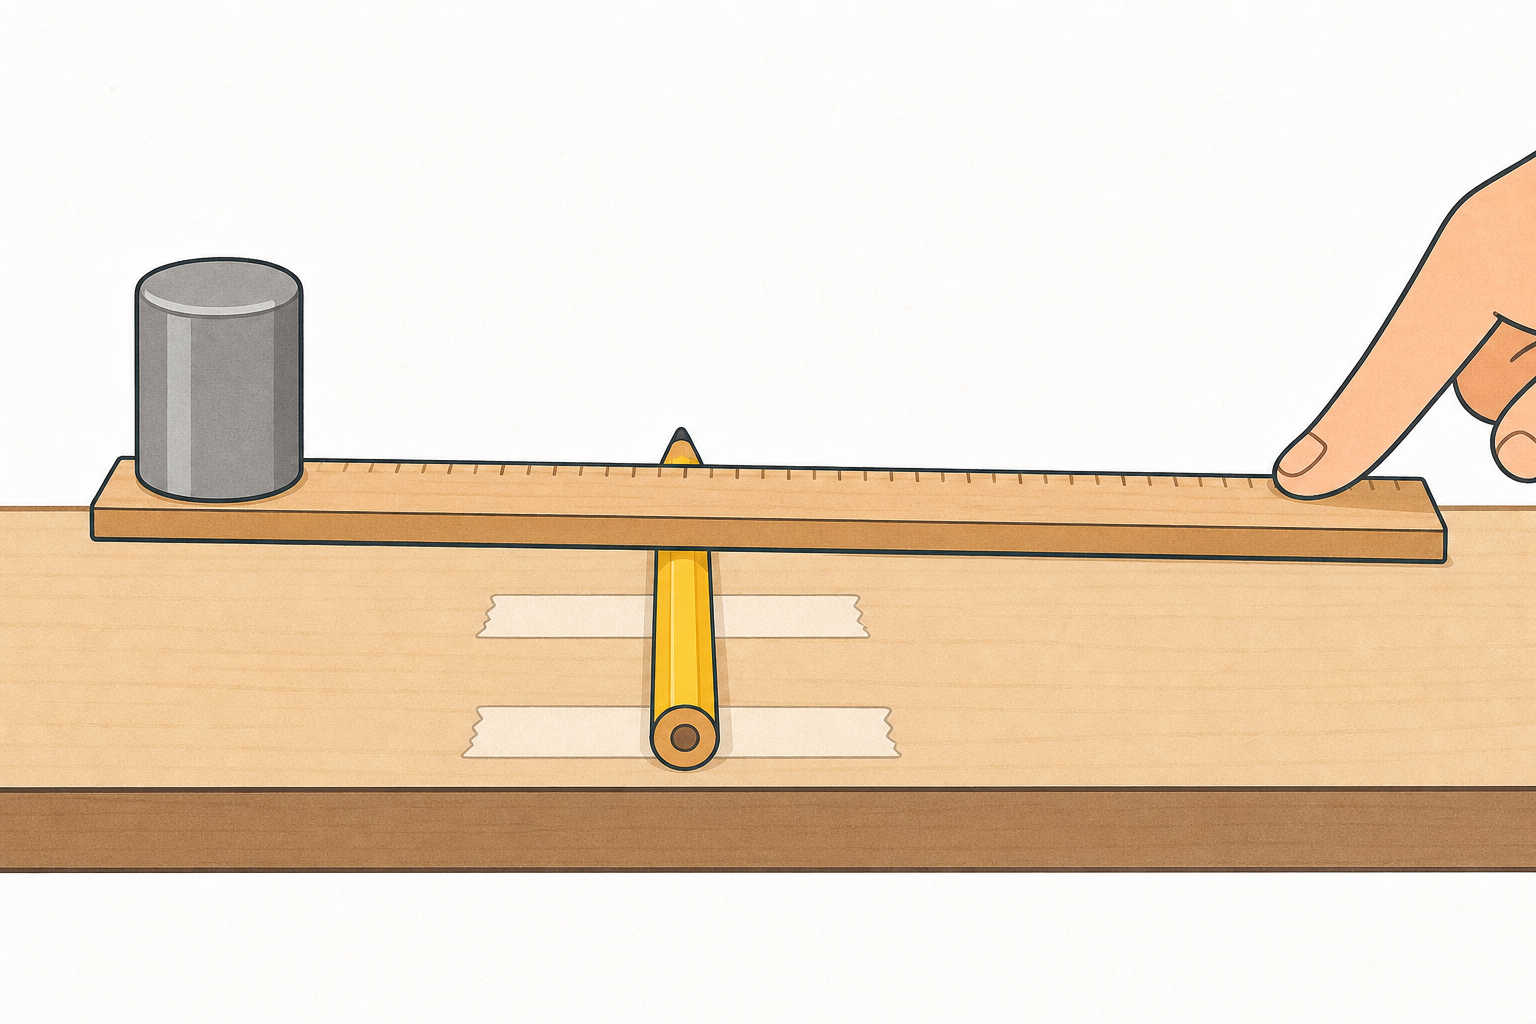
Watch this lever model. We will name the effort (your push) and the load (what moves) as we go.
Project only the short board text. Pace the words: hang lever and ramp on the everyday question first, then label effort and load live during the model so each word attaches to something pupils just saw. Use the table below yourself; do not put the full table on the IWB.
| Concept | Why it matters | Example |
|---|---|---|
| Simple machine — a tool with few or no moving parts that makes a job easier by changing the size or direction of a force | Almost every heavy lift around school and home uses one, so knowing the bargain helps us design better tools | A playground see-saw, a crowbar prising a lid, or a wheelchair ramp at the school door |
| Lever — like a see-saw: a stiff bar that turns on a pivot between your push and the load | Moving the pivot changes how hard you must push, so the same bar can feel easy or hard | A 30 cm ruler on a pencil pivot lifting a small bag of coins |
| Ramp (inclined plane) — a slope that lets you push a load up gradually instead of lifting it straight up | A gentler slope needs less push force, but you travel a longer distance | A plank propped on classroom books so a tin can be pushed up more easily than lifted |
| Effort and load — effort is the force you apply; load is the thing you move | Naming both helps us notice the trade-off: less effort usually means more distance | Pushing the long end of a lever (effort) to raise weights on the short end (load) |
Use one ruler, one pencil as pivot, and a small bag of coins as the load. Think aloud through the full cycle so pupils hear every beat. Do not rush: this is the main teach of the bargain.
As you push, point and say: This push is the effort. The bag is the load.
Misconception to head off: pupils often say machines "give free force". Nothing is free: you give a longer push or a longer path for a smaller force. Name that trade-off every time.
Lever layout aside (for you only): today's model is the see-saw kind (pivot between effort and load). Some everyday levers, such as a bottle opener, put the load between your hand and the pivot. Same idea, different layout. Keep demos and pupil builds to the see-saw kind so they match the definition on the board.
Everyday Ireland links: see-saws, crowbars, scissors, farm loading ramps, and the gentle slope into many school buildings for wheelchair access.
Nature of STEM: engineers choose lever lengths and ramp angles so people can move loads safely with less strain. Physicists study forces; engineers put those ideas into tools.
In your group, build a lever from a ruler and a pivot. Rest a load near one end. Practise pressing the free end so the load rises cleanly without the ruler slipping off the pivot.
When your lever works, keep it set up for the next investigation.
Circulate. Look for a stable pivot and a load that sits without rolling off. If the ruler keeps sliding, seat the pivot in a small blob of sticky tack or rest it in a shallow groove made by two books.
Key questions: Which end is the load? Where is your pivot? Which end will you push?
Differentiation: groups that finish quickly stabilise the load with a small piece of tape so it does not slide during trials. Groups that struggle get a pre-placed pivot mark (a sticker) at the centre as a starting point only.
Safety: keep fingers out from under the load when it is raised. Do not flick the free end hard.
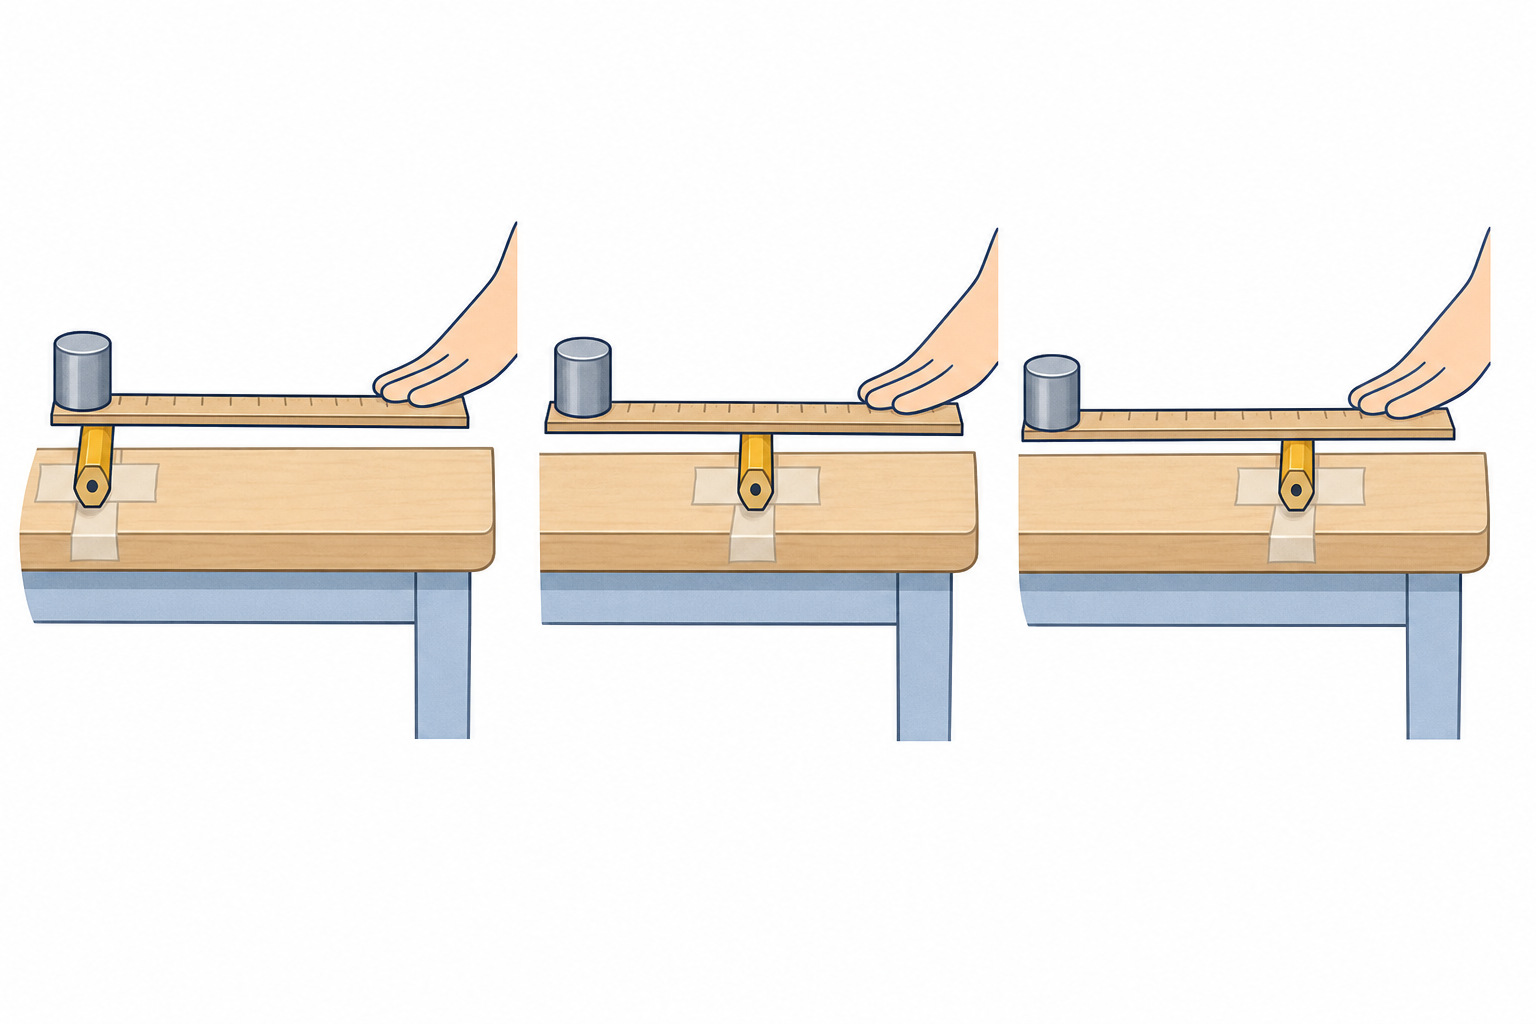
Question: does moving the pivot change how hard you must push to lift the same load?
Predict first, then try three pivot places: nearer the load, near the middle, and nearer your hand. Use the same load and the same hand each time.
After the three trials, and before you pack the lever away for the ramp, jot on your Investigation Journal page (or scrap paper) which place felt easiest and which felt hardest, and whether your hand moved further when the push felt easier.
You already modelled the full cycle in the previous content step. Now groups run their own version with three pivot positions.
We change only the pivot position. We keep the same load, the same ruler, and the same hand doing the push. We judge effort by how hard the push feels (and how far the hand moves).
Name the moment clearly: once groups have tried all three pivot places, and before any lever kit is moved aside, they jot on their Investigation Journal page (or a scrap if the page is not open yet): easiest pivot place, hardest pivot place, and one note about hand travel. This stops the lever evidence blurring during the ramp work. Step 6 deepens the write-up rather than reconstructing from memory.
If every position feels the same, the load is too light. Add a few more coins or washers.
Fold the watchers in: when one group demonstrates at the front, ask the class Will that feel easier or harder? Why? Watching is real participation.
Agency: groups choose the order of the three pivot places and how they will decide "easier" (feel, partner rating, or how far the hand moved). The question and the three positions stay fixed this first time through simple machines.
Safety: lower the load gently. Keep fingers clear of the landing side.
Follow this order with the same load:
If the load sticks or scrapes, rest it on the card tray so you feel the slope helping, not the friction.
Jot which way and which angle felt easiest before packing the ramp away.
Clear lever kit to one side of the desk so the plank has space. Each group uses ordinary classroom books or blocks already in the room: stack a few as a low raised surface, and prop the plank against that stack (or against a desk edge) to set the angle. Use the same load from the lever (bag, tin, washers, or weighted box). Nothing is cut, taped, or built overnight.
If the load will not slide, place it on a scrap of card or a small tray so it can be pushed up the plank. Cue aloud: If it sticks or scrapes, use the card tray — we want to feel the slope helping, not the friction.
Pacing lever (13 minutes after a materials swap): the two comparisons are load-bearing; the build is only a quick prop of the plank. If a group is slow, you set their raised surface in under a minute so they still reach lift-versus-ramp and at least one angle change before the journal step. A group that only manages one steeper-or-gentler trial still has the core ramp evidence. Do not invent desk busywork for watchers; fold them in with whole-class questions.
What to expect: the ramp needs less push force than a straight lift to the same height, but the path is longer. A gentler ramp feels easier still, with an even longer path.
Quick capture: after the comparisons, groups jot which way felt easier (lift or ramp) and which angle felt easier, before packing away.
Key questions: Which way needed less effort? What did you trade for that easier push (think about path length)? What happens when the ramp gets steeper?
Misconception: "the ramp makes the load lighter." The load's weight is the same; the ramp spreads the work over a longer distance.
Safety: do not stand heavy loads on the edge of desks. Mind toes if something slides off the plank. One person holds the plank steady while another pushes the load.
You're previewing this lesson. Get full access to this lesson and hundreds more — each one ready to teach, with interactive activities, printable resources and pupil progress tracking built in.