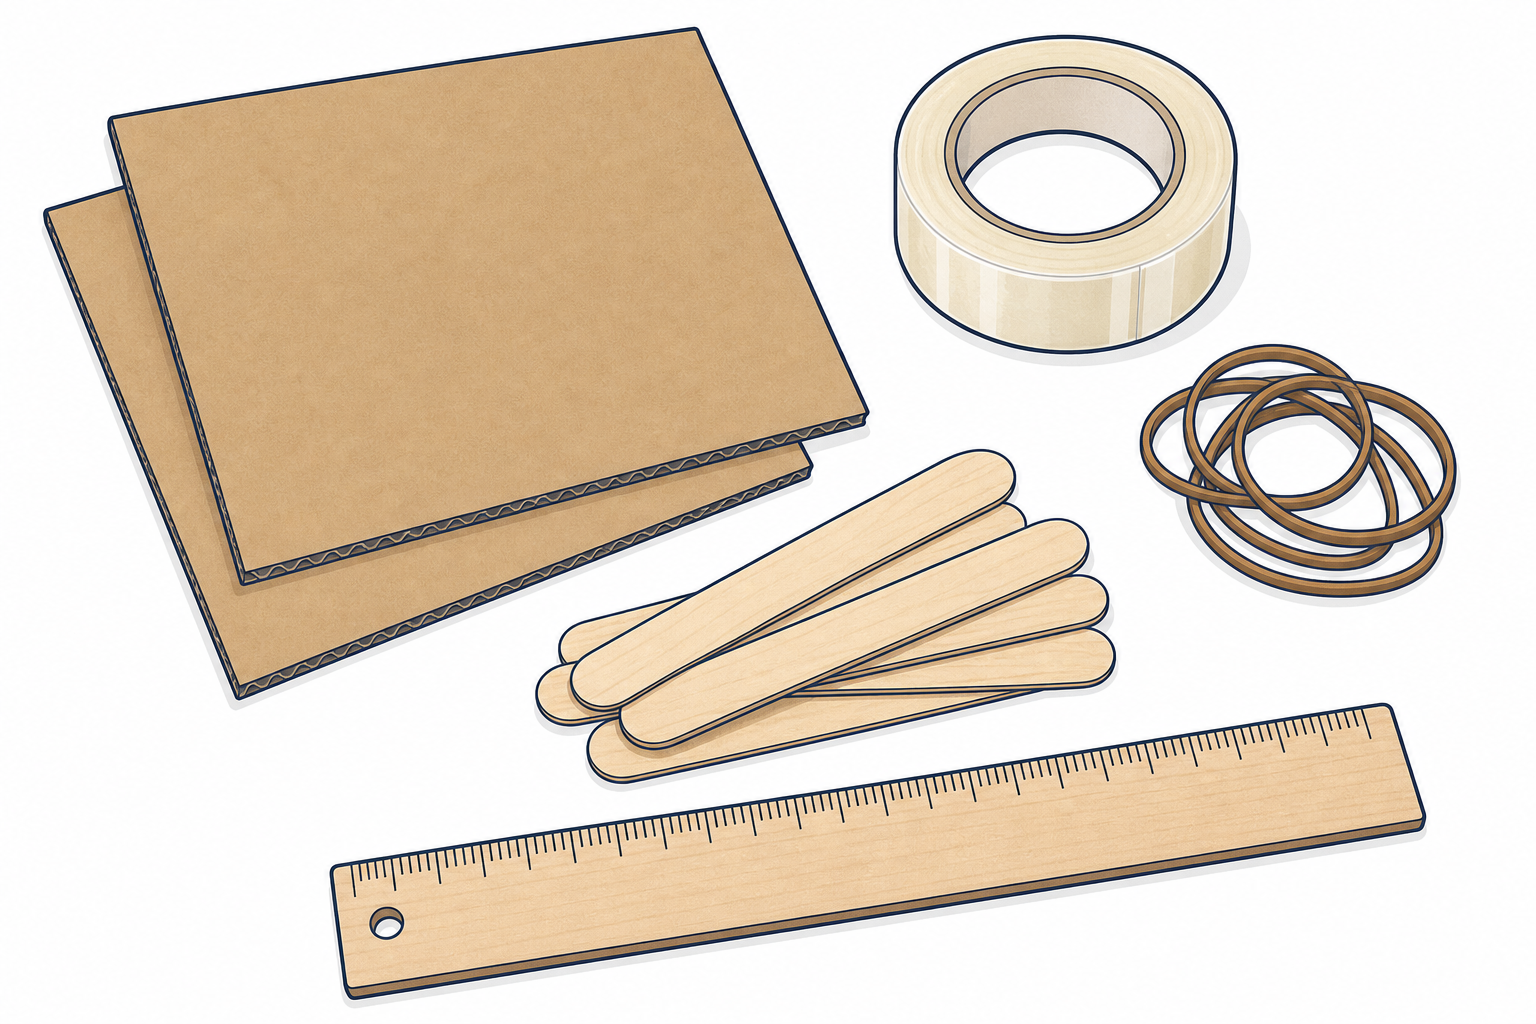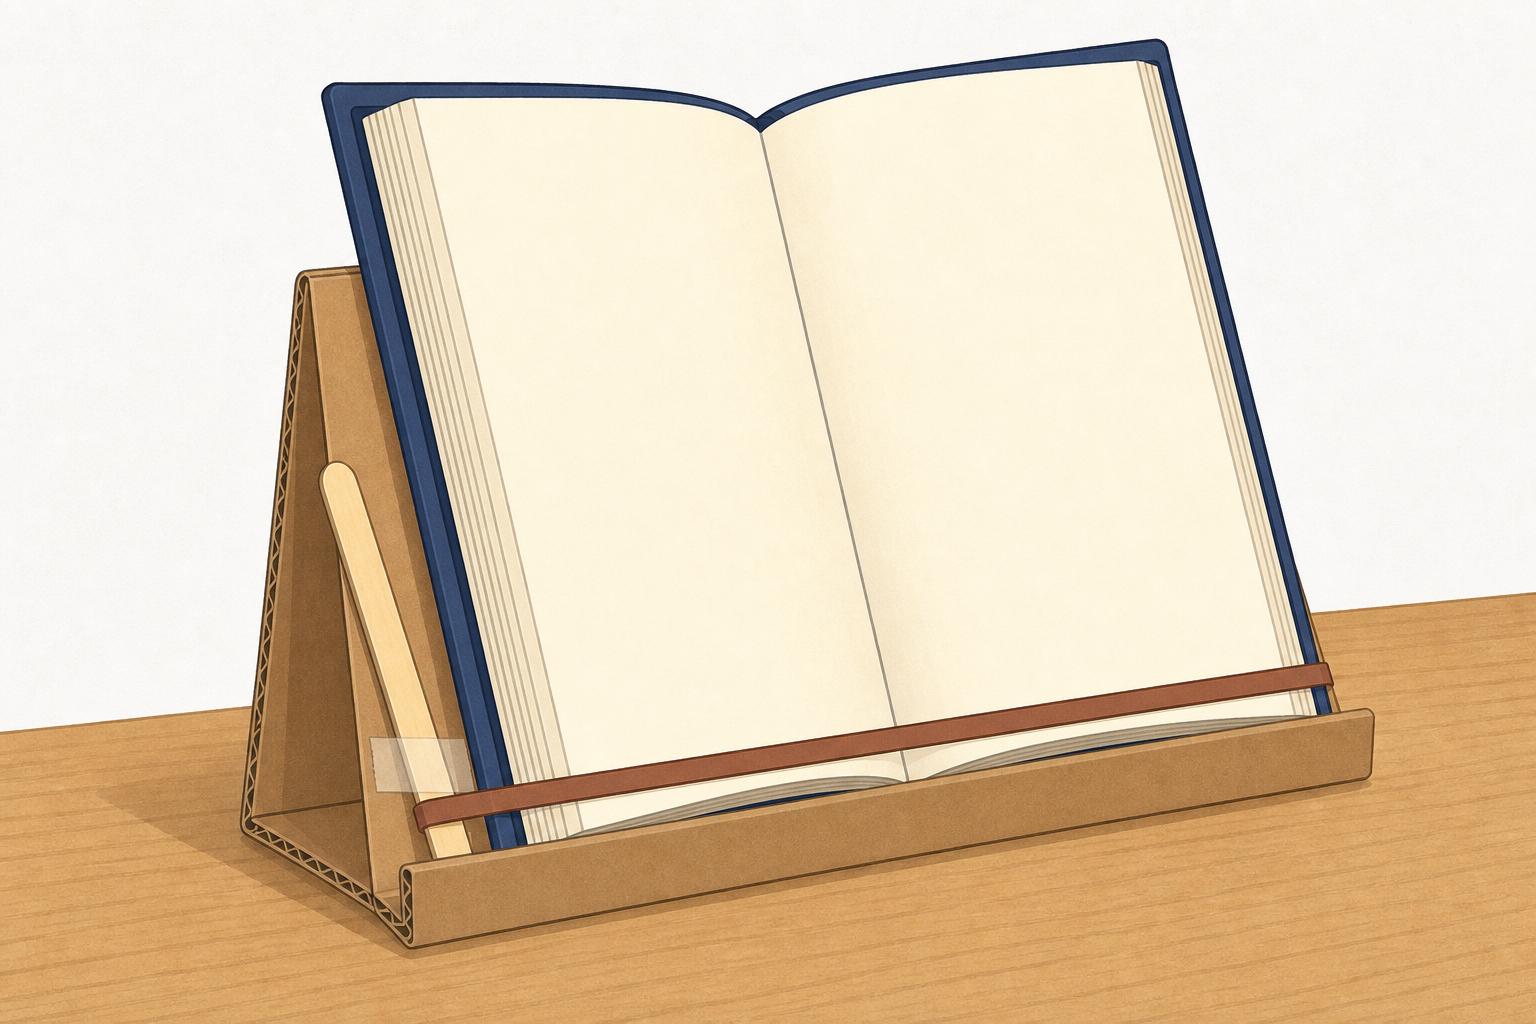
Look at the two drawings your teacher has put on the board. They show the same idea. Which one could a partner build without asking any questions? Hands up for drawing A or drawing B, and be ready to say why.
It is the same reason a flat-pack shelf comes with labelled diagrams: so someone who was not in the room can still build it.
Before the lesson, draw two quick versions of a simple desk book stand on the board or IWB. Drawing A is a rough outline only: no part names, no materials, no sizes. Drawing B is the same shape with three clear labels, for example card base, 15 cm, card back, 12 cm tall, and tape join.
Do not hand out materials yet. Keep this as a curiosity beat only. Ask: What is missing from drawing A? Capture two or three pupil ideas on the board (materials, sizes, part names) and say you will come back to them. One quick real-world link if needed: flat-pack furniture sheets and LEGO booklets work the same way — labels carry the plan when the designer is not there to talk.
Nature of STEM: engineers share plans so other people can make the same thing. A clear drawing is how the idea travels from one person to another.
Look back at Drawing A and Drawing B. What three things does Drawing B tell a partner that Drawing A does not?
A neat outline still leaves a partner guessing — they need to know what each part is, what it is made from, and how big it is in centimetres.
We will use those three things on every label today: part name, material, and size in centimetres.
Keep the board short. First invite the class to name what Drawing B adds (part names, materials, sizes). Only then seal the terms. Use the table below as your teaching reference, not as a screen full of text.
| Concept | Why it matters | Example |
|---|---|---|
| Annotated sketch — a drawing of a design with labels that name the parts, materials and sizes | A partner cannot build from a picture alone if they have to guess what each bit is made of or how big it is | A book-stand sketch with the base, back and front lip each labelled, not just outlined |
| Label — a short note on a sketch naming a part, its material or its size in centimetres | Labels turn a private doodle into a plan another person can read | Writing lolly-stick back, 12 cm beside the upright piece |
| Sharing a plan clearly — making a drawing so clear that someone else can understand or build it without extra talk (also called design communication) | Engineers, architects and makers rely on clear plans so a team can work from the same idea | A partner describes how they would build your stand using only your page |
Misconception to head off: pupils often think a neat picture is enough. Neatness helps, but without material and size labels a partner still has to invent the missing facts. Push for part + material + size on every main piece.
Ask: If your sketch only said 'wood', what problem would a builder still have? (Which wood, how long, how thick?)
Watch how labels turn a rough outline into a plan a partner can follow. Call out what is still missing, then we invent our own stands.
Have the board or IWB ready with space to draw. Use a ruler so sizes look deliberate. Pupils watch; they do not sketch yet. Keep this model short — about six minutes — so the class moves quickly into inventing their own stands.
I start with: I need a stand that holds an open reading book on a desk so my hands are free.
Sketch a simple book stand outline only: flat base, sloping back, small front lip. Pause once.
Ask once: What is still missing if someone else had to build it? Take quick hands for part names, materials and sizes. Do not re-run the full Drawing A/B debate from step 1.
I add: three labels out loud and write them: card base, 15 cm wide; card back, 12 cm tall; tape join at the back.
Now the plan is clear because: each main part has a name, a material and a size. That is the pattern you will use — not this exact stand.
Before you hand out pages, clear, cover, or wipe the finished labelled sketch so only a bare outline (or a blank board) remains. Say clearly: My sketch showed the labelling pattern. Your stand must be your own idea — different shape, different sizes, and your choice of junk-modelling materials on the labels. Do not copy my drawing.
Success look-fors later: every main part named; material written; at least two sizes in cm; a partner can describe a build order without help from the sketcher.
Design challenge: invent your own simple stand that holds an open reading book upright on a desk so hands stay free for writing. Make it different from the demo — your shape, your sizes.
Constraints:
On your Design Brief page, draw one clear annotated sketch. Check every main part against this list:
Confirm the demo sketch is cleared or covered. Remind the class: the board model was only the labelling pattern; each stand should look different. Pupils work individually at first so each has their own sketch to swap later. Hand out the Investigation Journal Design Brief page and a ruler. Ordinary pencils are enough; no junk box and no build kit come out in this step. Go straight to the Design Brief page (no separate draft sheet).
Circulate and coach thin labels into full ones. If a pupil writes only wood, ask which piece, and how long? If the drawing is tiny, remind them a partner needs room to read the labels. Fast finishers add a short build order in three steps under the sketch, still on the same page, or check that every join is labelled.
Differentiation: support pupils with a spoken checklist (part, material, size) as they point to each piece — no separate outline sheet is provided. Stretch: ask them to mark one measurement that must be exact for the stand to stay upright, and say why.
Swap Design Brief pages with a partner. Do not explain your drawing. Work through these steps:
This is a spoken test of the sketch only. You are not building yet.
Pair pupils. On your signal they exchange pages and keep silent for one full minute while they read. Then Partner A speaks for about two minutes while Partner B only listens; switch roles. Follow the four numbered beats on the board so the sequence stays clear. The test of the sketch in this lesson is spoken description and a build order only; no build materials are out.
Sentence stems to offer: I can see the… is made of…; This part is … cm; I would build it by first… then…; I still need to know…
If a pair finishes early, the sketcher adds one missing label, then the reader checks again. Do not let the sketcher talk the partner through the drawing — that defeats the test of the page.
Common issue: pupils point and invent details that are not written down. Gently stop them and ask where does the page say that?
You're previewing this lesson. Get full access to this lesson and hundreds more — each one ready to teach, with interactive activities, printable resources and pupil progress tracking built in.