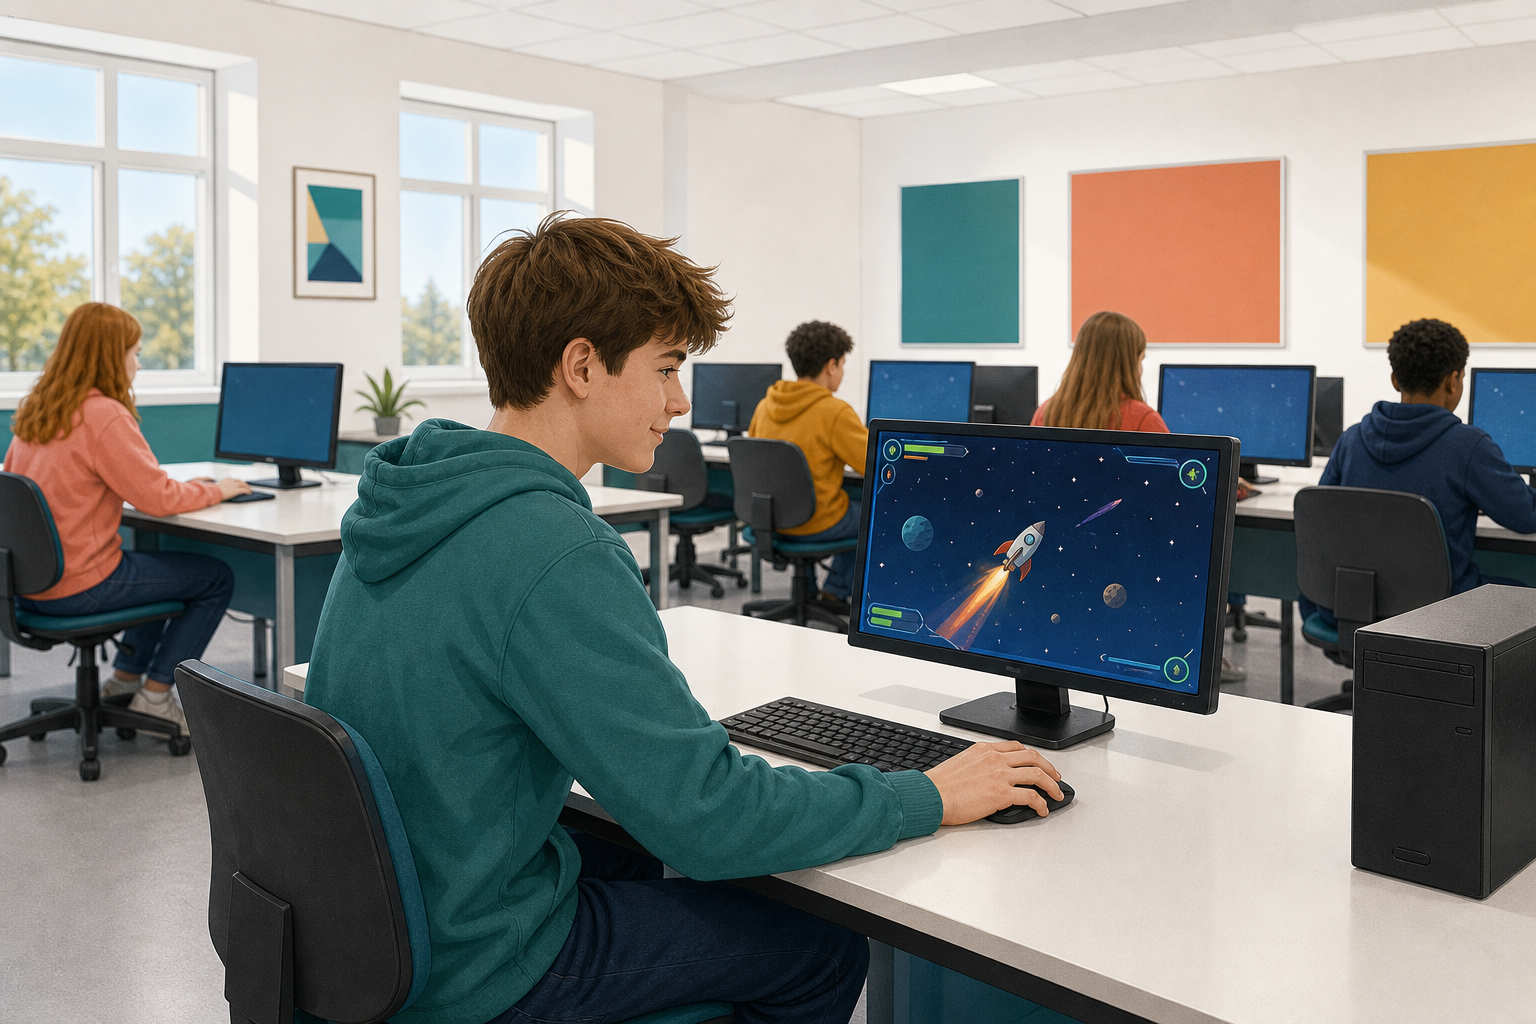
 You can already train a pose model. Today you will load that model into Scratch and build a space game you steer by leaning left and right.
Before you touch any code, think about it: how would leaning your body to one side make a rocket move across the screen?
You will start a new project in Stretch3 and build the game step by step, testing and fixing it as you go.
Your pose-controlled space game has five parts:
- Load your model into Scratch.
- Read the pose it sees, and set how confident it must be before you act on it.
- Move the rocket left and right from that pose.
- Check the pose regularly rather than once.
- Add stars that fall for you to dodge or catch.
If the rocket jitters or ignores you, it is almost always the confidence threshold or how often you are checking.

Go to https://stretch3.github.io/ and start a new Scratch project and delete the Cat sprite.
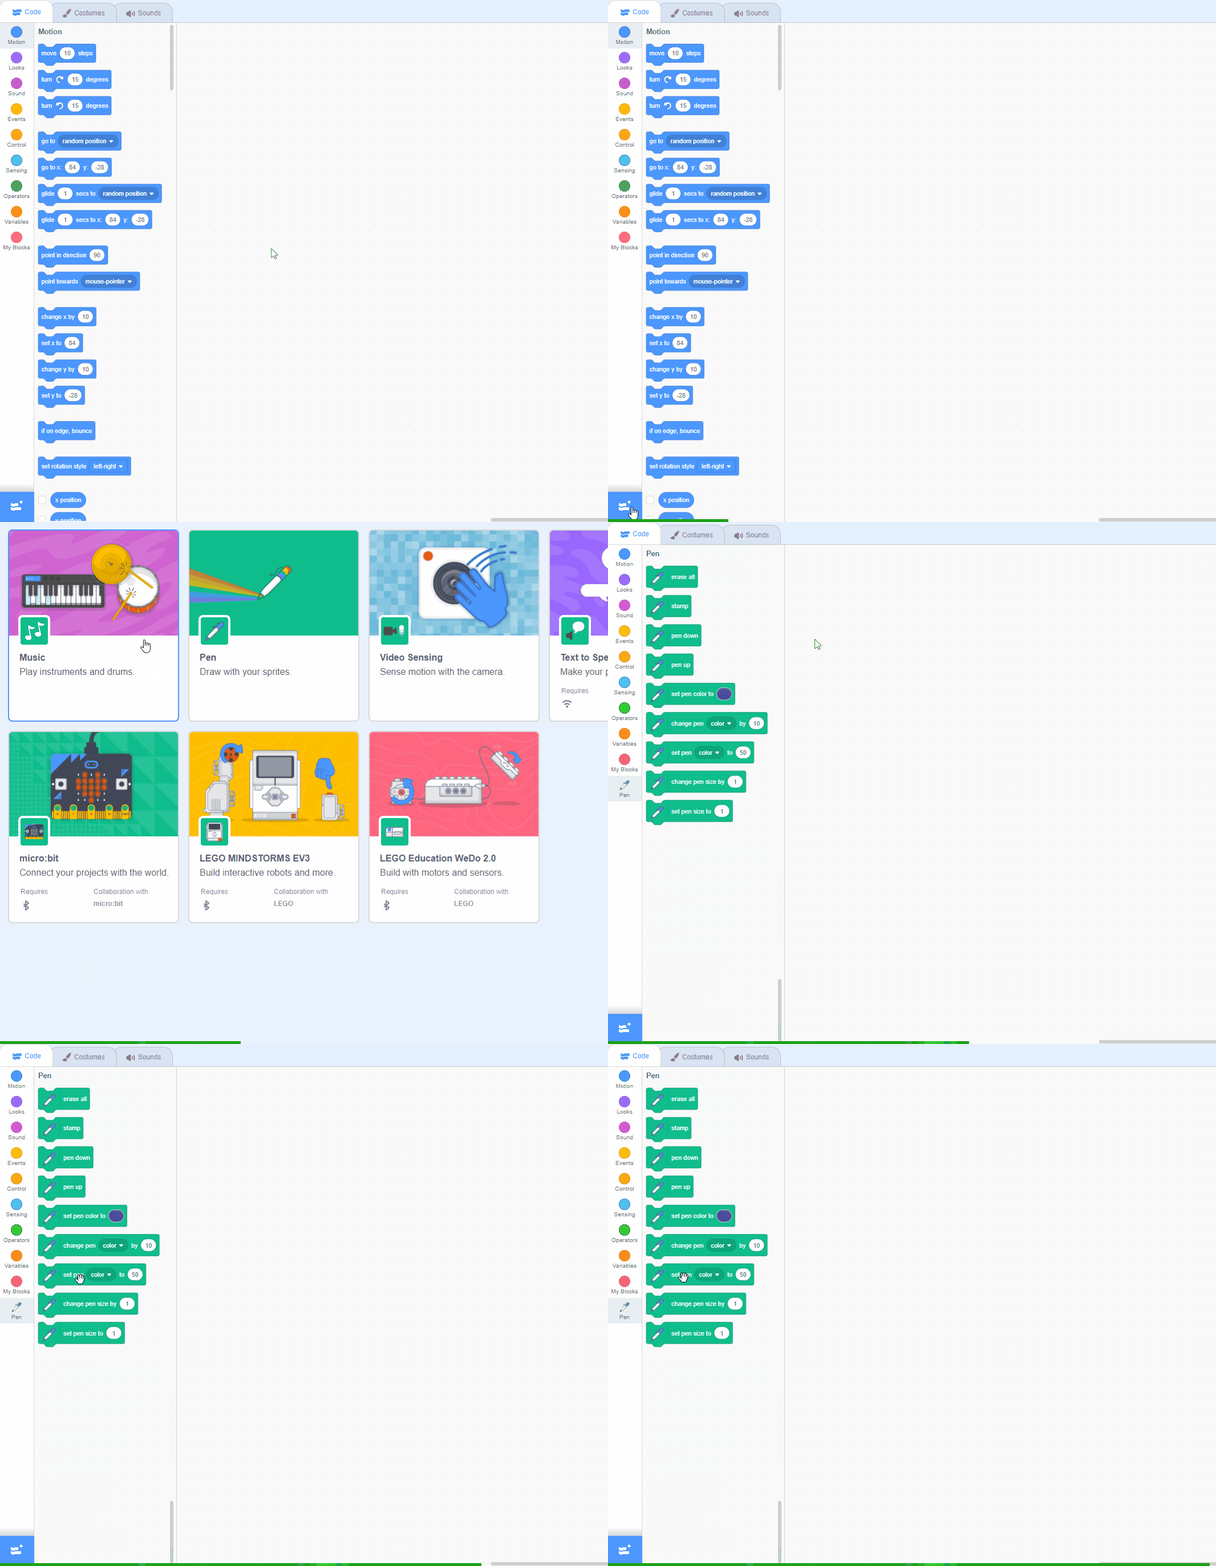
Then, add the TMPose2Scratch extension by clicking on the Extensions button at the bottom left corner of the screen and selecting TMPose2Scratch. This extension allows you to use Google Teachable Machine pose models in your Scratch projects.
When you add this extension, it will automatically try and use your computer's camera. If necessary, click on 'Allow' to give it permission to use your camera. You should see what the camera is showing in the stage area.
Understanding and Adding Extensions in Scratch
What are Scratch Extensions?
Scratch Extensions are additional sets of blocks that expand the capabilities of your Scratch projects. They allow you to:
- Mention extensions like Pen here
- Connect with external hardware (e.g., microbits)
- Access web-based services (e.g., Google Translate, Amazon Text to Speech)
- Use more advanced programming features
How Extensions Work
When you add an extension to your project:
- New blocks appear in the blocks palette
- These blocks are grouped under a category named after the extension
- You can use these blocks just like any other Scratch blocks
Adding an Extension to Your Project
- Look for the "Add Extension" button in the bottom-left corner of the Scratch editor
- Click the "Add Extension" button
- A window will open showing all available extensions
- Browse through the options or use the search bar to find a specific extension
- Click on the extension you want to add
- The extension is now added to your project, and its blocks appear in the blocks palette


Add the Rocketship sprite to the project and then add the following code to it, to position it at the bottom centre of the stage area and shrink its size.
when green flag clicked
  go to x (0) y (-150)
  set size to (30) %
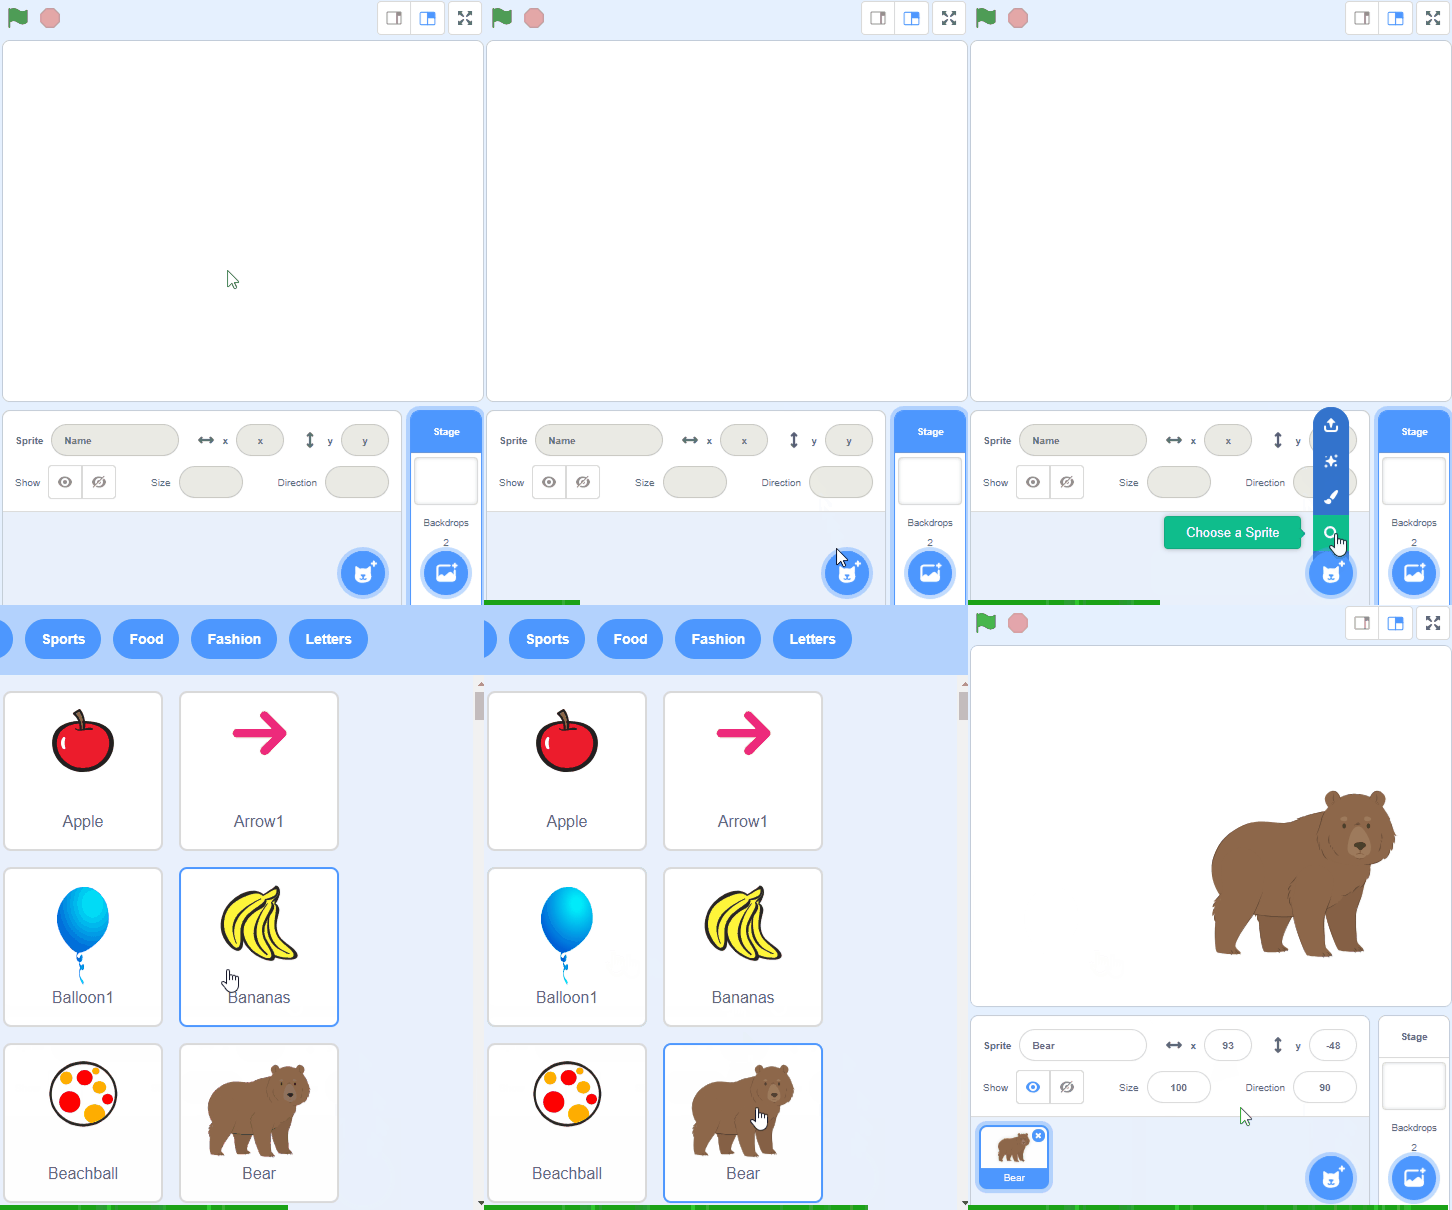
To add a sprite from the sprite library follow these steps:
- Put your mouse over the Choose a Sprite button
- Click on the magnifying glass
- Find the sprite you want in the library
- Click on your chosen sprite
You can use search box or the filter links (Animals, People, Fantasy etc) to locate your sprite.

Now, let's set up the pose model that our project will use. Add the following new code to your sprite:
 when green flag clicked
  go to x (0) y (-150)
  set size to (30) %
  pose classification model URL [link to your model] :: extension
Put the link of your pose model into the pose classification model URL block.

Unlock the full learning experience
You're previewing this lesson. Get full access to this lesson and hundreds more — each one ready to teach, with interactive activities, printable resources and pupil progress tracking built in.
This lesson is copyright of Coding Ireland 2017 - 2026. Unauthorised use, copying or distribution is not allowed.
Scratch is developed by the Lifelong Kindergarten Group at the MIT Media Lab. It is available for free at https://scratch.mit.edu