 Today you are coding in Scratch. You will build an autonomous car that senses the track and steers by itself.
You can already make sprites move and respond to events. Today you will use sensing and decisions so the car follows a track without you steering every turn.
Before you run anything, think: what might the car need to notice so it can stay on the road?
What is an autonomous car?
An autonomous car (also known as a driverless car, self-driving car or robotic car) is a car that is capable of sensing what is around it and navigating without a person driving.
How does it work?
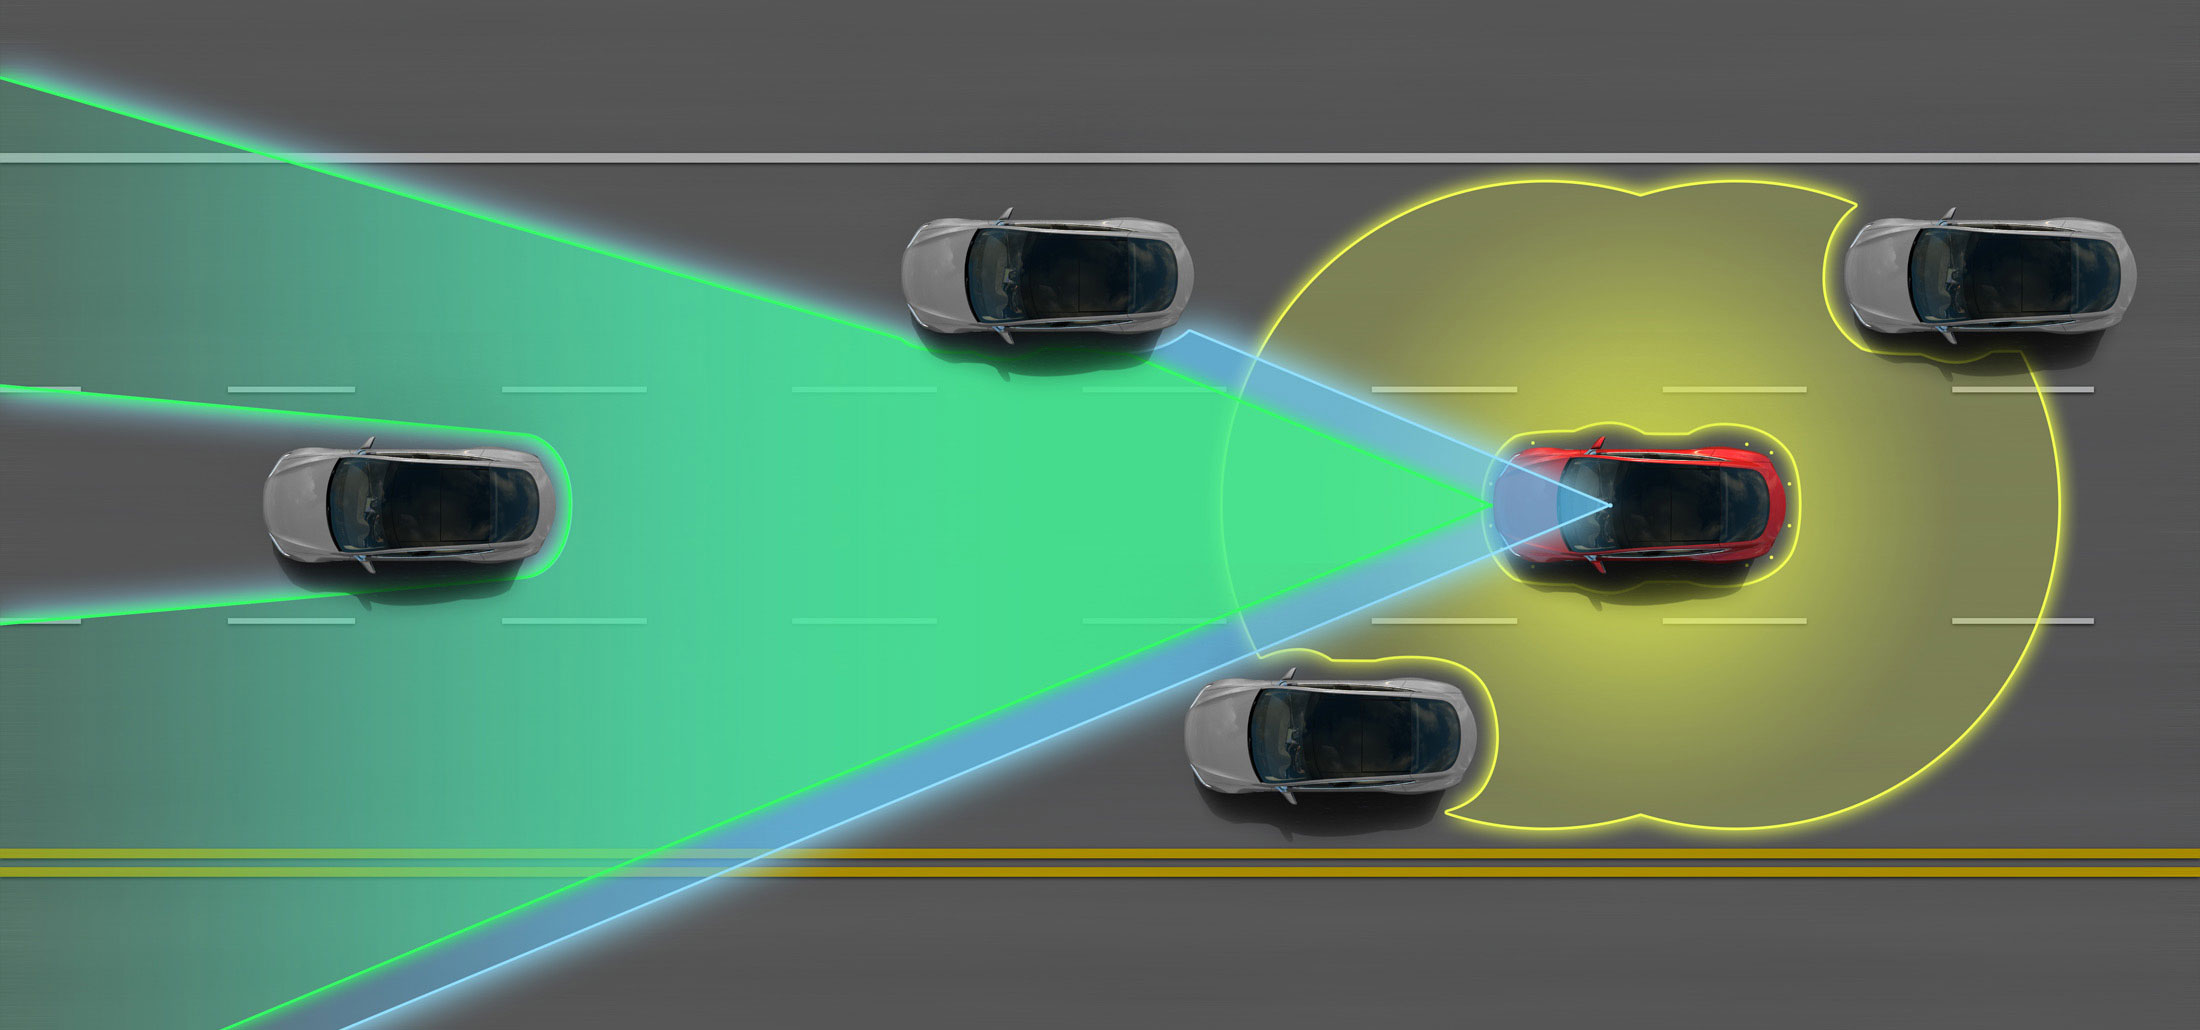
Autonomous cars use a variety of techniques to detect their surroundings, such as radar, laser light, GPS, odometry (measuring how far the wheels have turned) and computer vision. They have advanced control systems that interpret sensory information to identify appropriate navigation paths, as well as obstacles and relevant signage.
The following 2 minute video shows some of the different cameras that a Tesla autonomous car uses to sense where the road is and all the different objects that it comes close to such as people and other cars.
Let's program our own autonomous car! First, create a new Scratch project and delete the cat sprite.
Go to the Scratch website using the link below and click on the 'Create' link in the blue bar at the top.
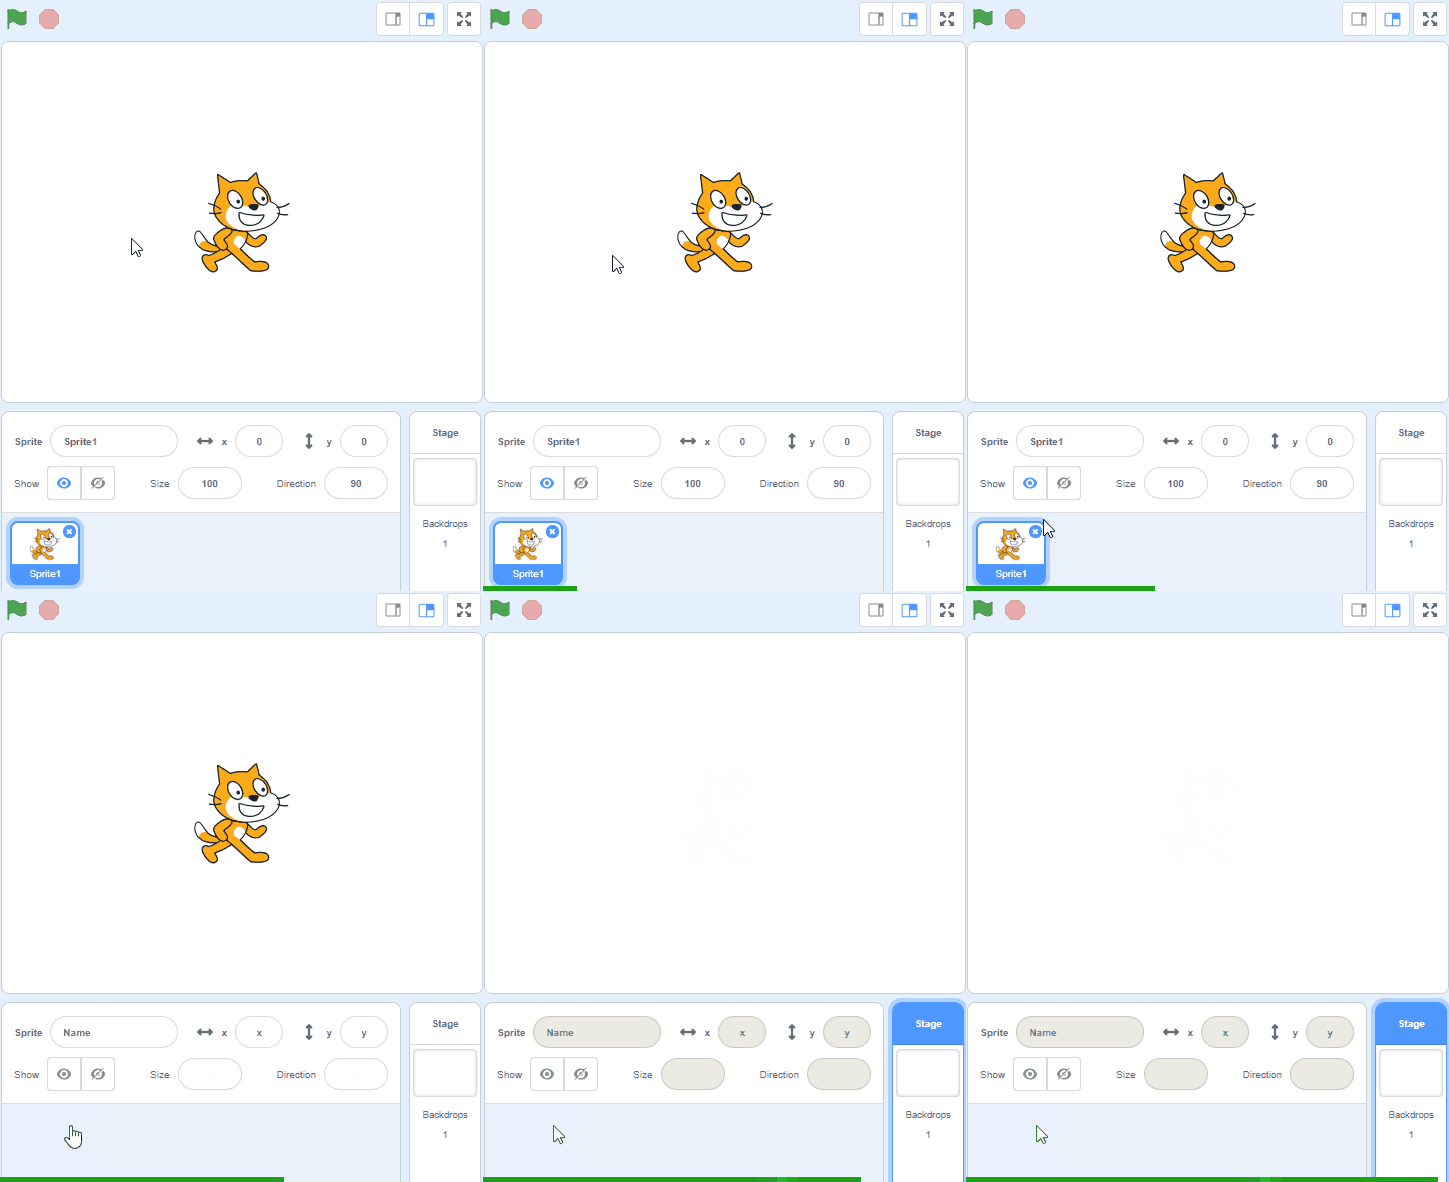
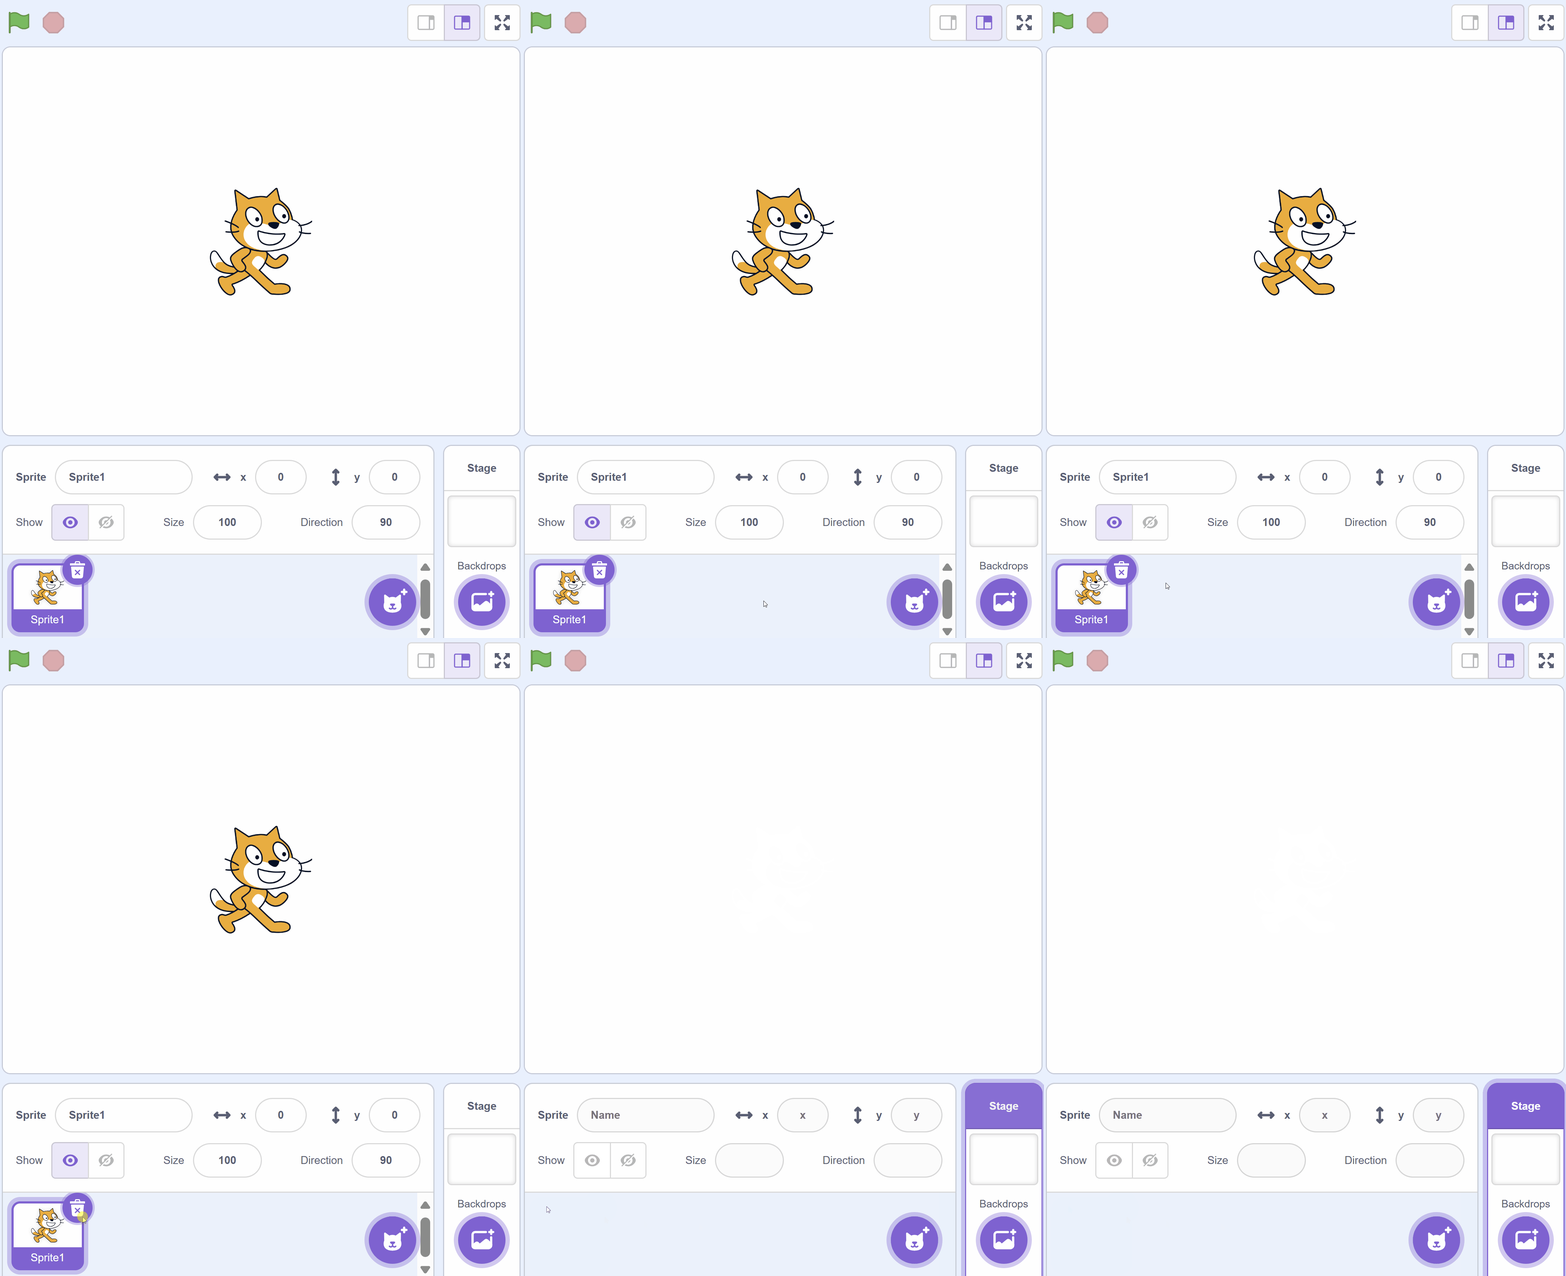
By default, each new project starts with the cat sprite already added. To delete the cat click on the x in the blue circle beside the cat in the sprite list.
Included with this step is a car picture that we're going to upload into our Scratch project. First download the picture file onto your computer and then upload it into your project.
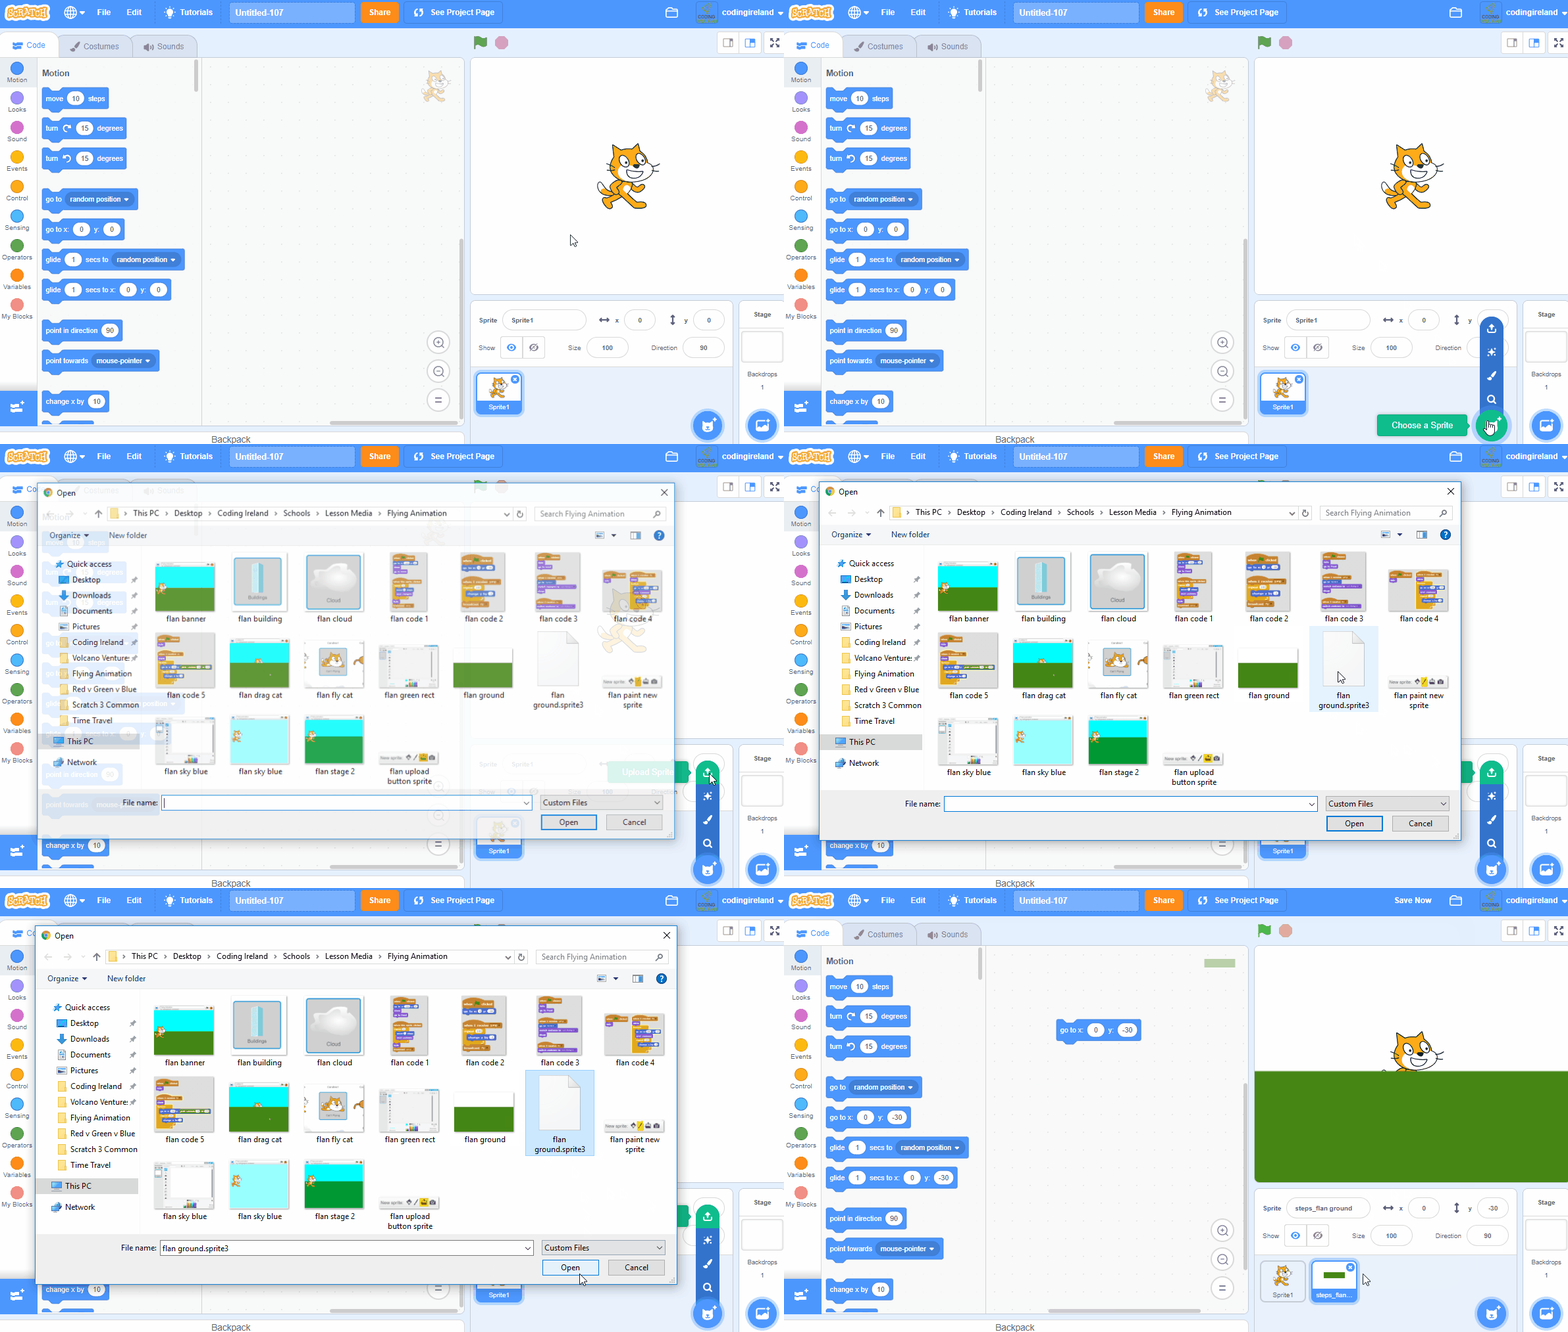
You can upload images and sprite files into your project. To upload a sprite follow these steps:
- First save the image or sprite file onto your computer. You do this by right clicking on the image or link and then selecting 'Save image/link as...'.
- Choose a location on your computer such as your desktop and save the file.
- In your Scratch project, put your mouse over the Choose a Sprite button.
- Click on the 'Upload Sprite' button.
- Go to the folder you saved your file.
- Select the file and click 'Open'.
The new sprite will upload into your project and appear in the stage area.
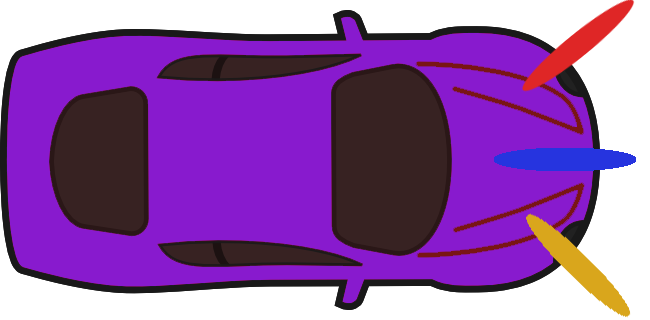
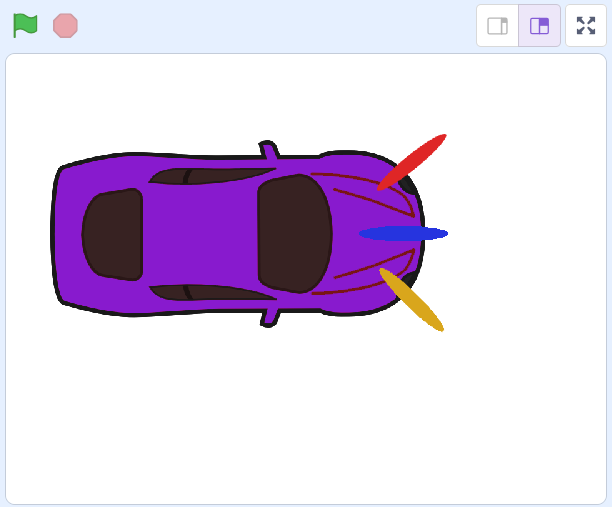
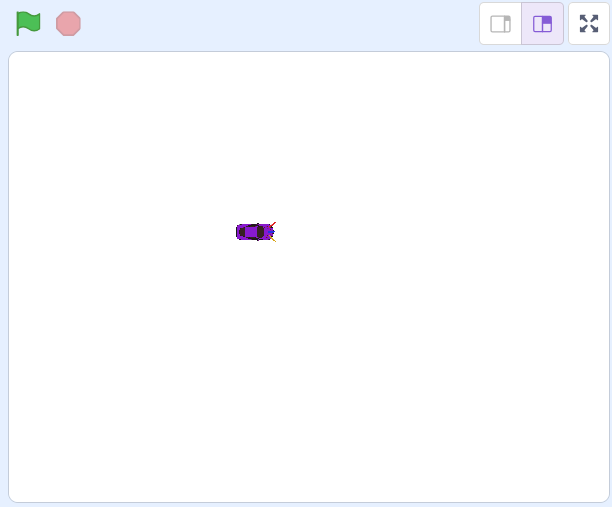
As the car sprite is very large, we'll need to shrink it so that it has room to move around. We're going to shrink it to 10% of it's original size.
Add the following code to the car sprite:
when green flag clicked
set size to (10) %
Unlock the full learning experience
You're previewing this lesson. Get full access to this lesson and hundreds more — each one ready to teach, with interactive activities, printable resources and pupil progress tracking built in.
This lesson is copyright of Coding Ireland 2017 - 2026. Unauthorised use, copying or distribution is not allowed.
Scratch is developed by the Lifelong Kindergarten Group at the MIT Media Lab. It is available for free at https://scratch.mit.edu