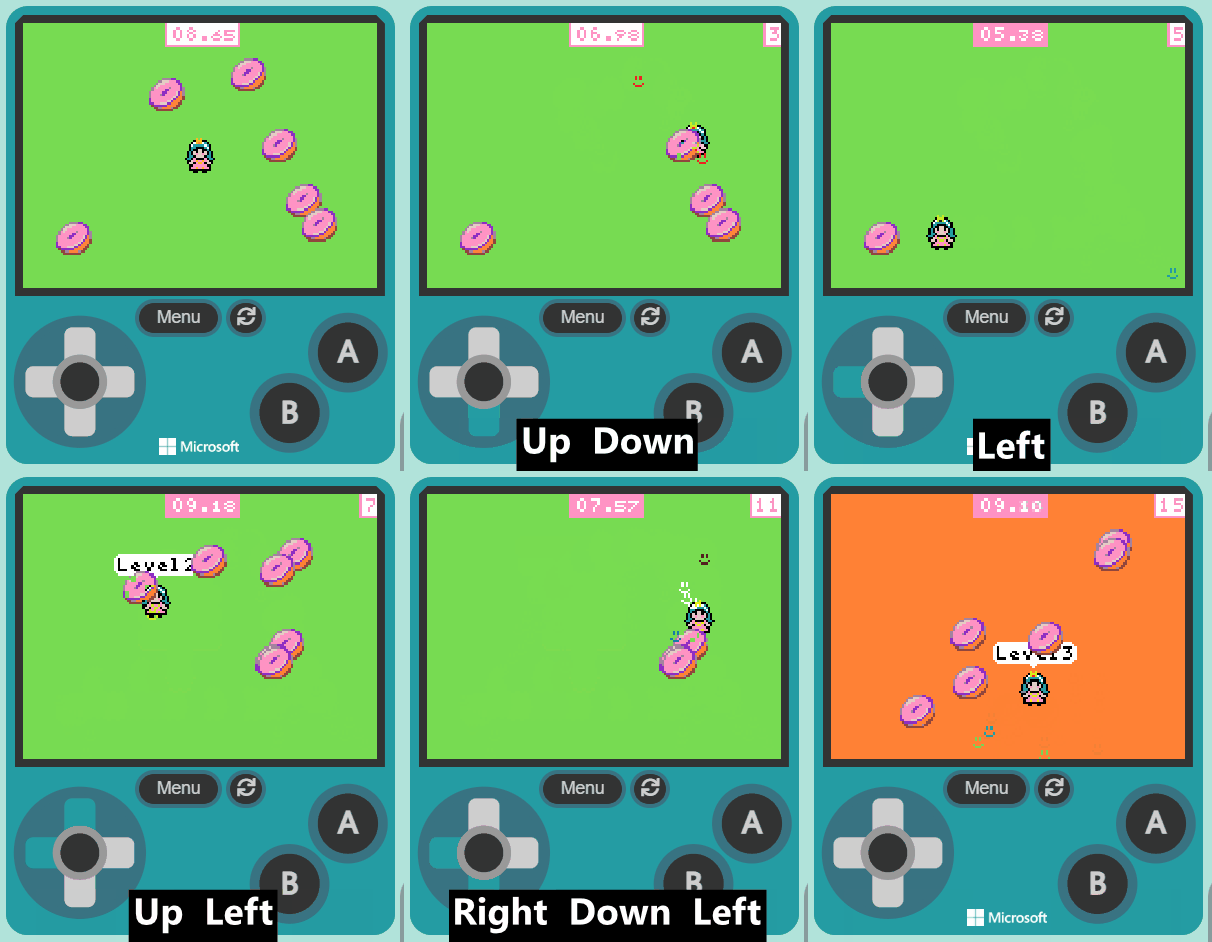
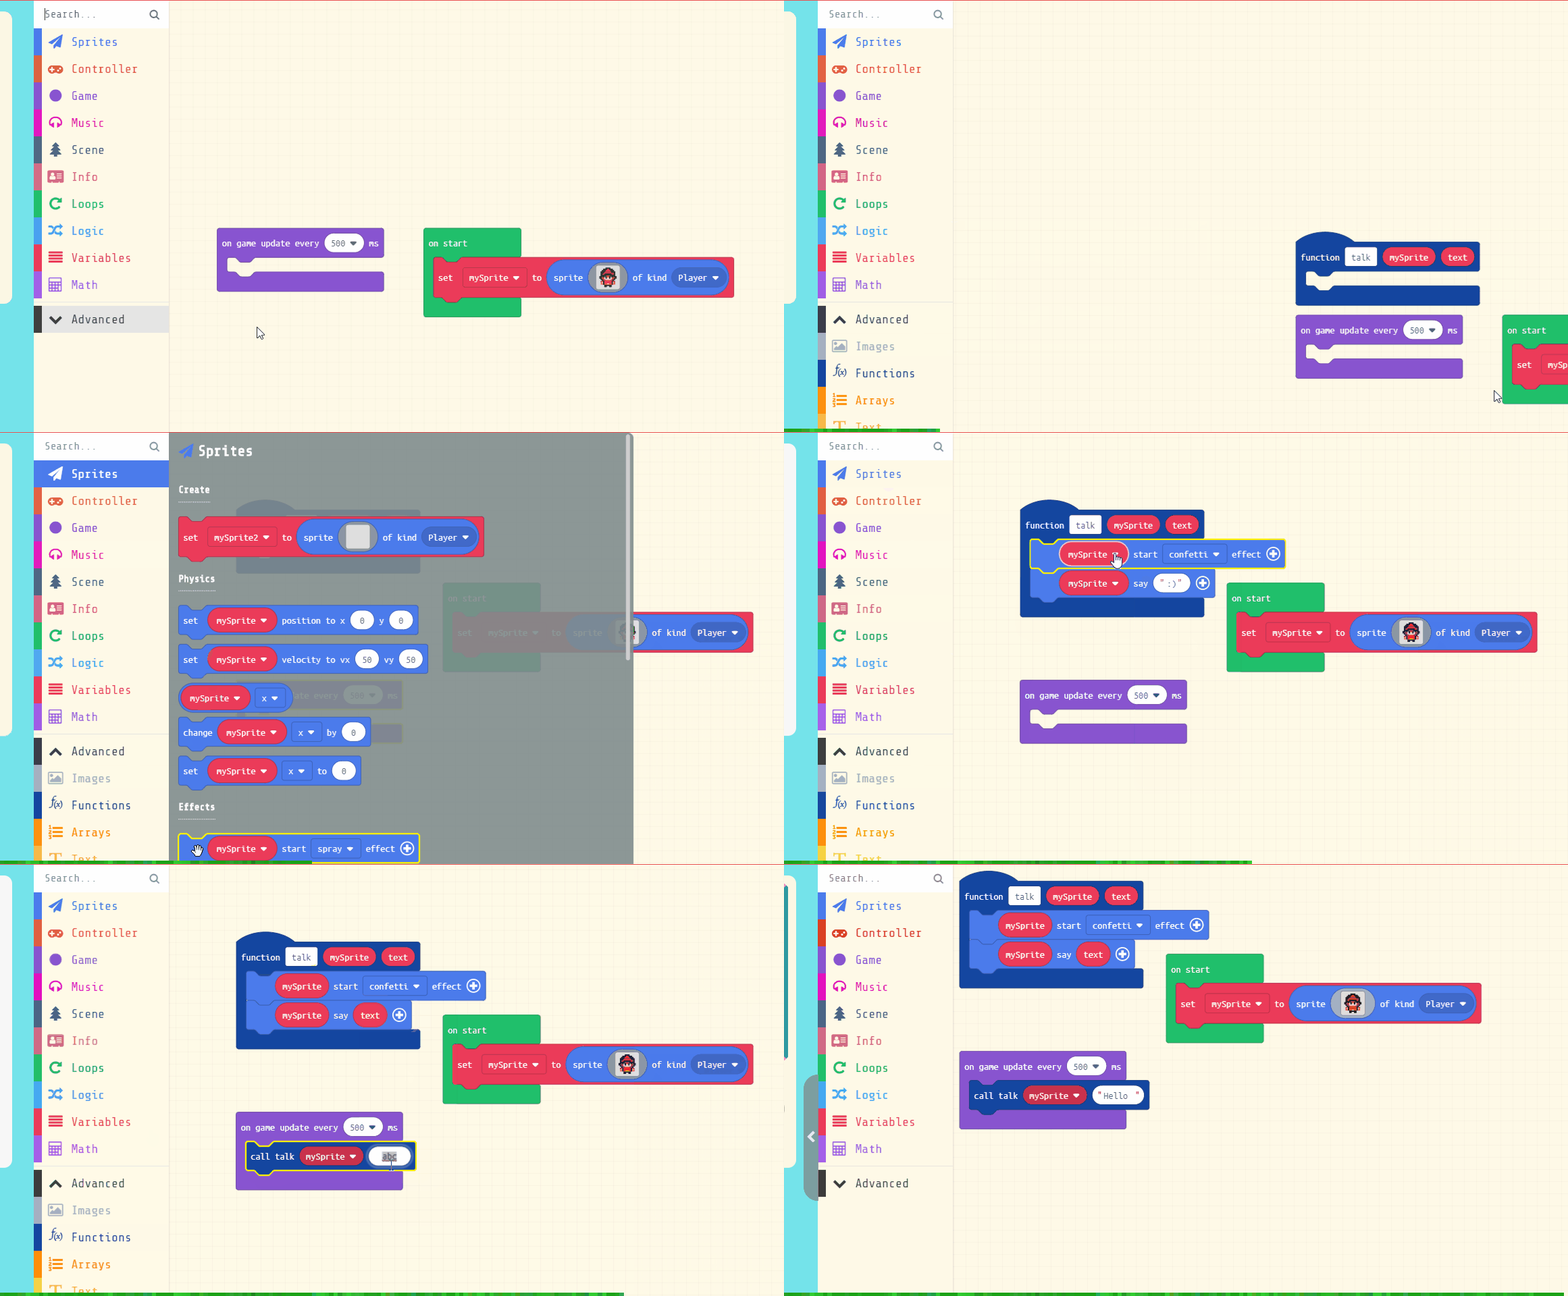
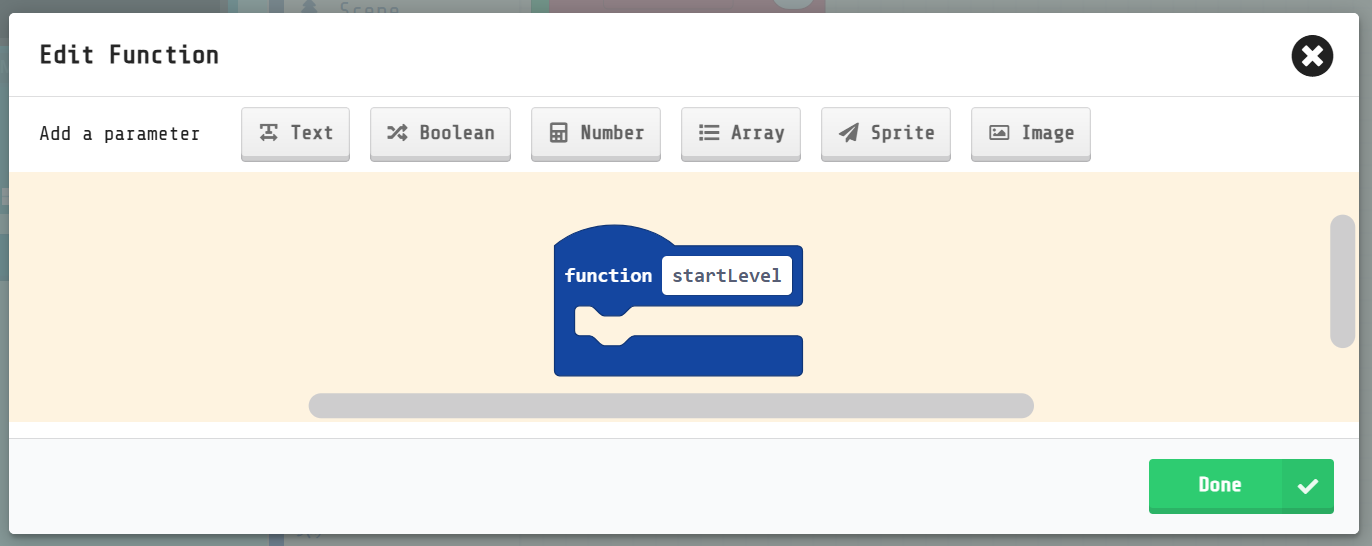
This studio shows code two ways. Most steps give the code as text, and a couple show it as a picture of the blocks. They are the same program. At the top of the MakeCode Arcade editor there is a toggle that says Blocks | JavaScript, and you can move between the two whenever you like. To type the text below, switch to JavaScript.
It is the same program either way. Flip back to Blocks whenever you like and you will see the code you typed as blocks, which is a good way to check you have it right. If a line will not go in, check the brackets and the capital letters, text is fussier than blocks.
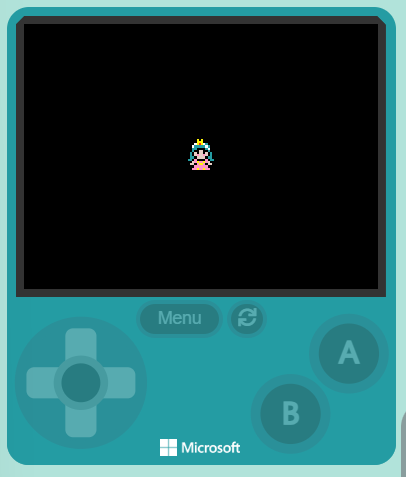
Let's set up the game. We'll create a splash screen, set up some variables, and create our player sprite. The splash screen is the first screen that appears when the game starts. It's a great place to display the game's title or any instructions for the player.
The variables we're creating will be used to keep track of the game's state:
- The 'level' variable will keep track of the current level.
- The 'target' will store the number of donuts to be collected in the current level.
- The 'collected' will keep track of the number of donuts the player has collected so far.
Add the following code:
let mySprite: Sprite = null
let collected = 0
let target = 0
let level = 0
game.splash("Collect the donuts!")
level = 1
target = 0
collected = 0
mySprite = sprites.create(img`
    . . . . . . 5 . 5 . . . . . . .
    . . . . . f 5 5 5 f f . . . . .
    . . . . f 1 5 2 5 1 6 f . . . .
    . . . f 1 6 6 6 6 6 1 6 f . . .
    . . . f 6 6 f f f f 6 1 f . . .
    . . . f 6 f f d d f f 6 f . . .
    . . f 6 f d f d d f d f 6 f . .
    . . f 6 f d 3 d d 3 d f 6 f . .
    . . f 6 6 f d d d d f 6 6 f . .
    . f 6 6 f 3 f f f f 3 f 6 6 f .
    . . f f d 3 5 3 3 5 3 d f f . .
    . . f d d f 3 5 5 3 f d d f . .
    . . . f f 3 3 3 3 3 3 f f . . .
    . . . f 3 3 5 3 3 5 3 3 f . . .
    . . . f f f f f f f f f f . . .
    . . . . . f f . . f f . . . . .
    `, SpriteKind.Player)
controller.moveSprite(mySprite, 70, 70)
Set level to 1.
Set target to 0.
Set collected to 0.
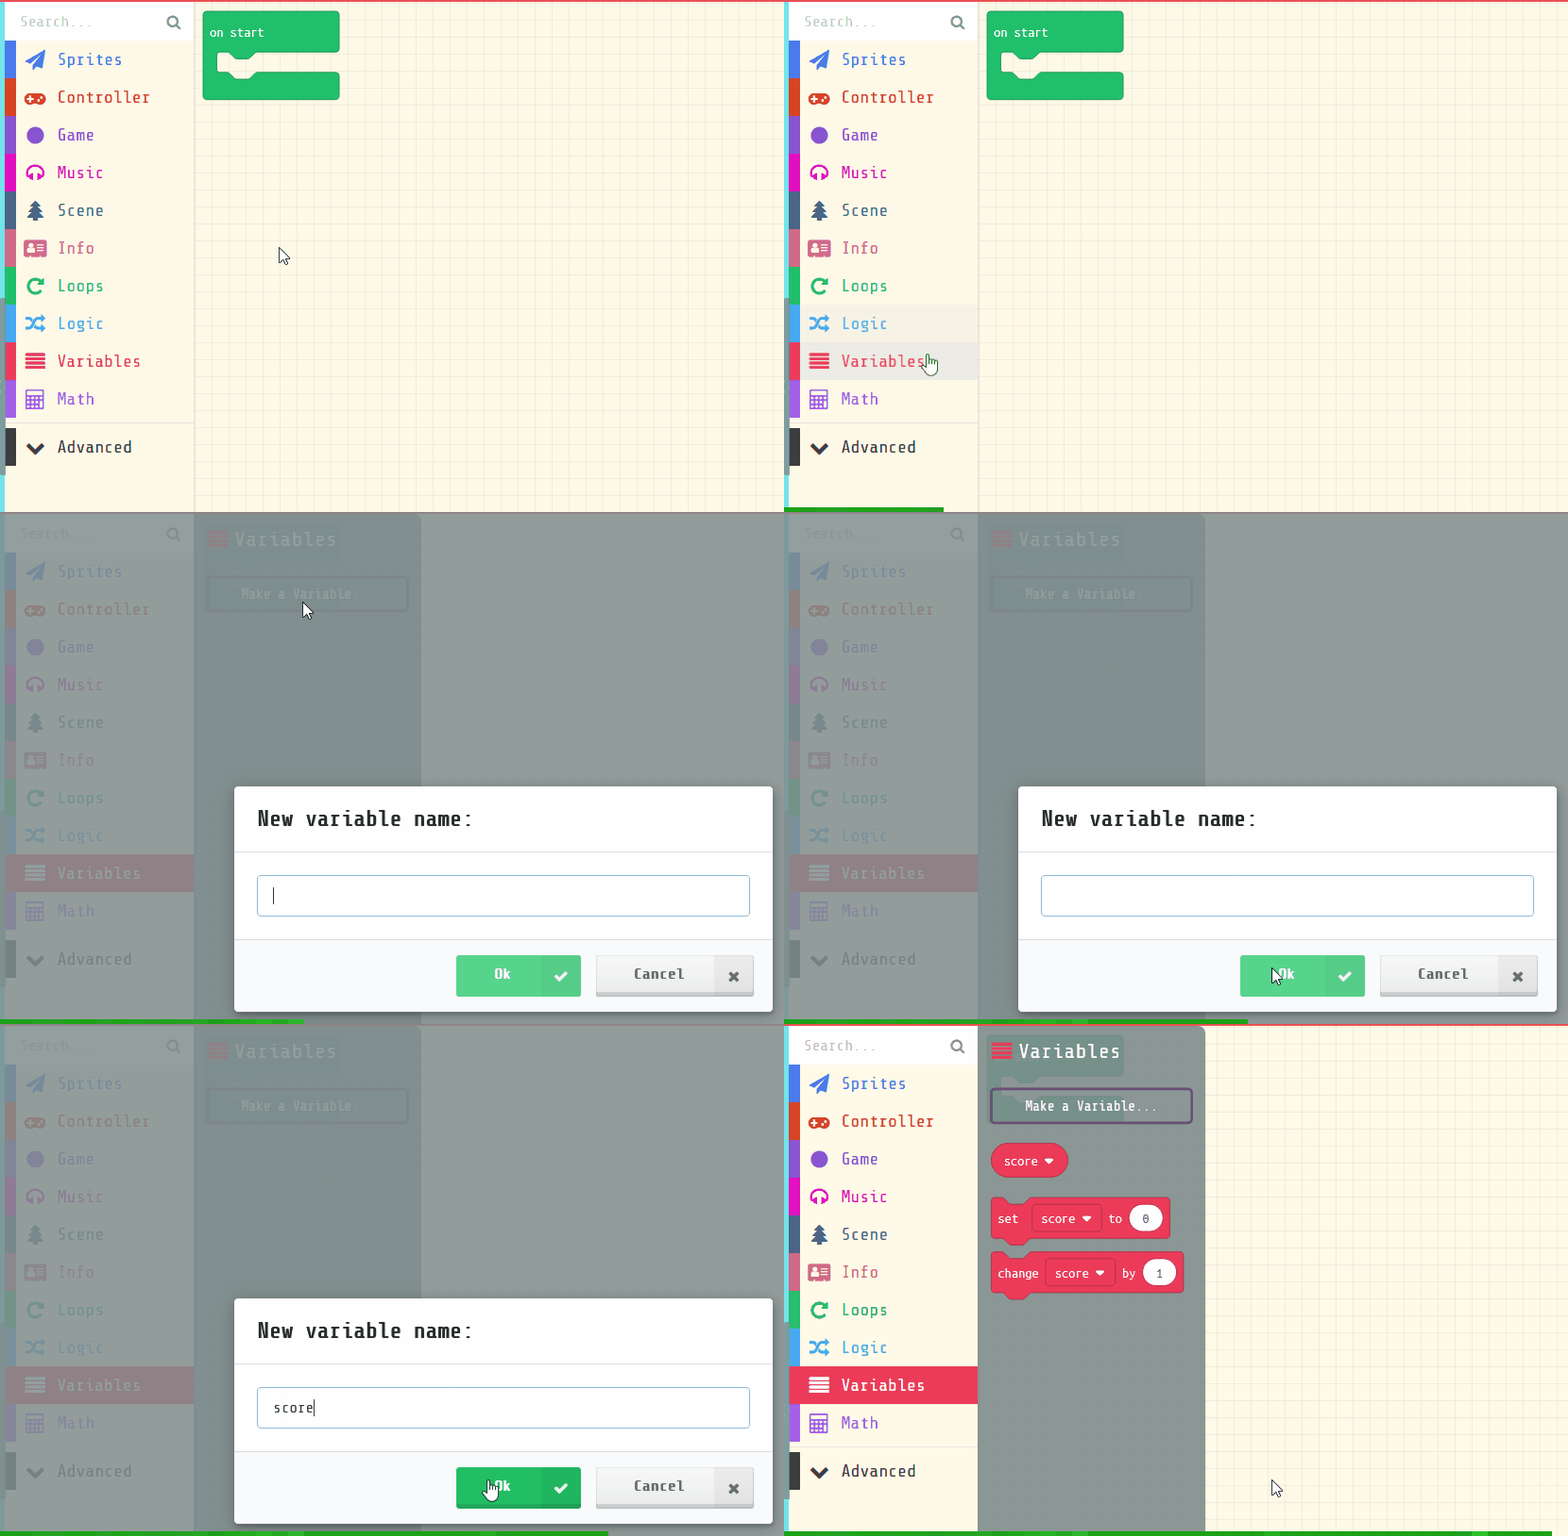
Arcade: How to create a variable
In the Variables toolbox, create a new variable by clicking the 'Make a Variable' button.
Once you click this button a box will appear asking what you want to call your variable. Give it a name that reminds you what you will be using it for. For example, if you wanted to keep track of your score in a game, you would create a variable called 'score'.
.png)
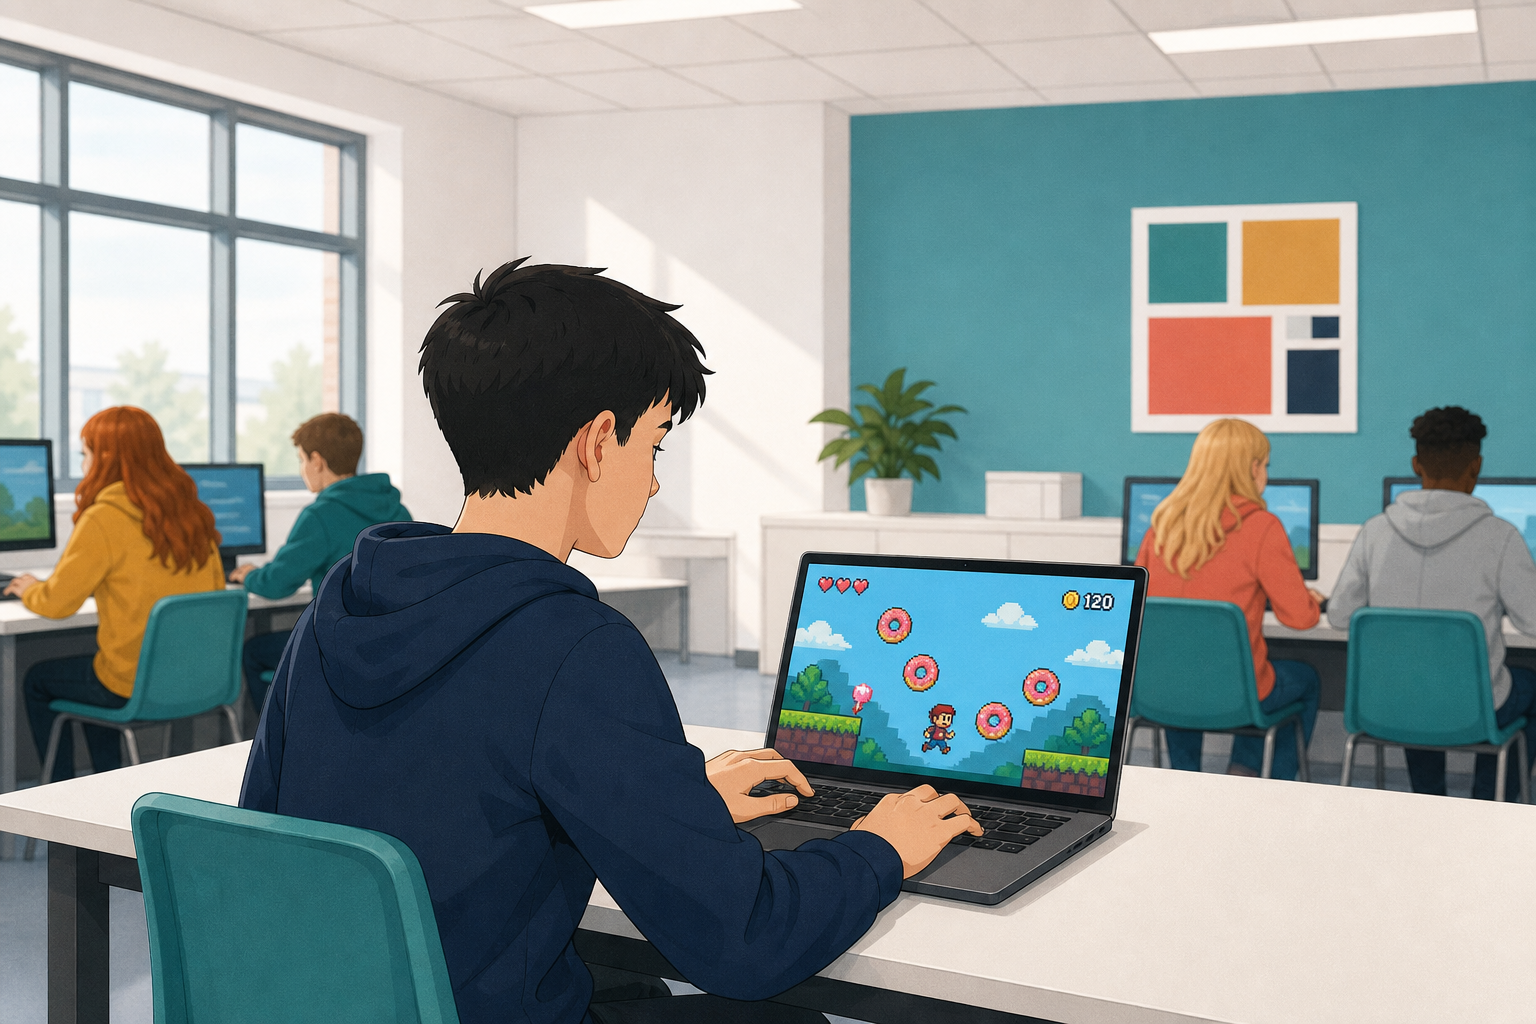 Today you are coding in MakeCode Arcade. You will build Donut Rush step by step at your device: a collection game with score and a countdown.