Today you are coding in MakeCode Arcade. You will build Galaxy Ghosts at your device: a space shooter with falling ghosts, a speed variable, shots, score, a health bar and damage.
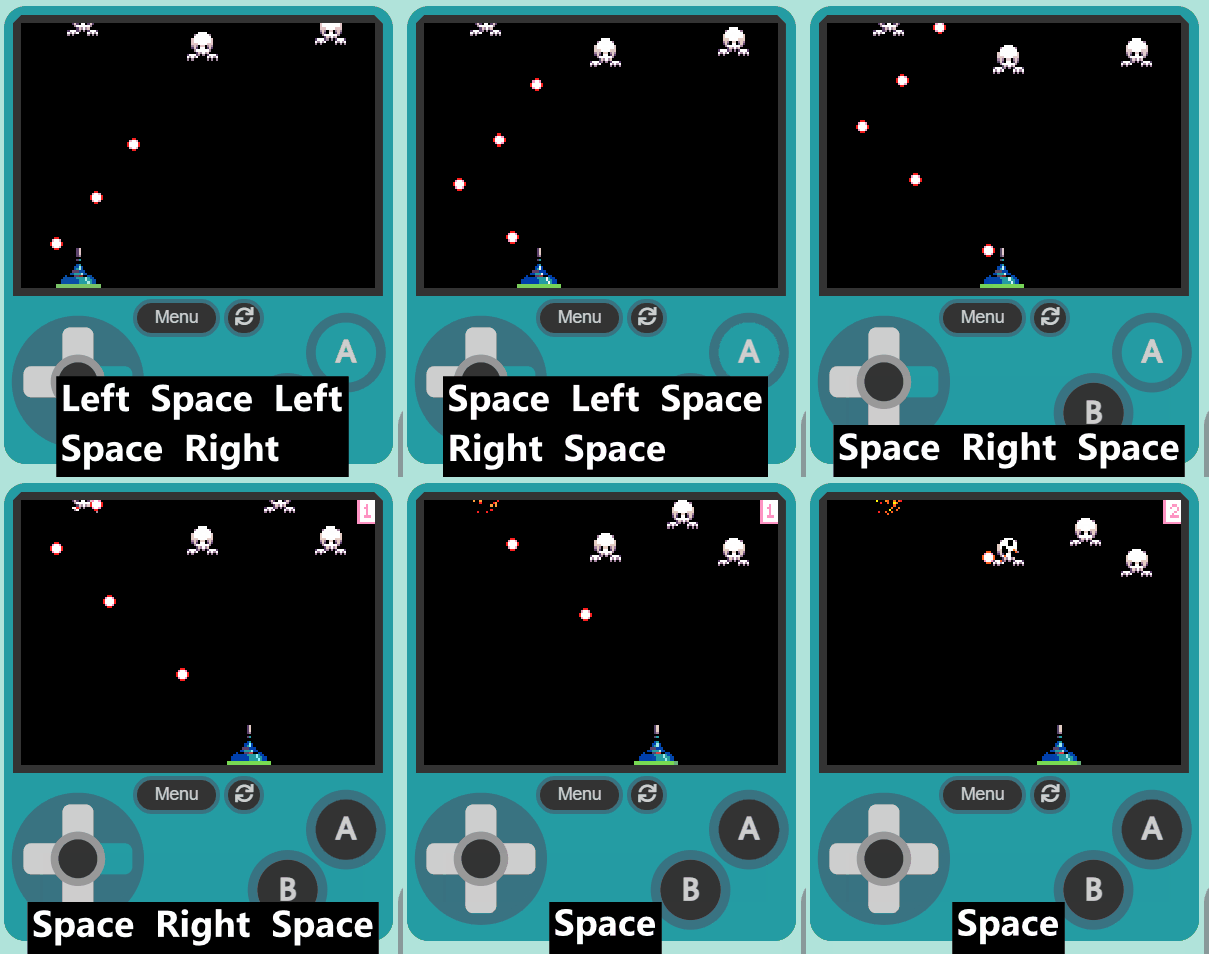
You can already move sprites and run a project. Before you build, think: what might make the ghosts get harder as the game goes on?
You will predict, build step by step, run, and fix as you go. Later you will change one number so the game feels hard but fair.
Keep this short. Devices on MakeCode Arcade, students logged in. Optional predict before anyone builds: ask what might make enemies get harder over time, and park one or two ideas on the board to revisit later. Model only the opening beat, then move into the code-along. Pair students at devices if that is your usual setup.
Welcome to the Galaxy Ghosts lesson! In this lesson, we will be using MakeCode Arcade to create an exciting space-themed game. You will learn how to create and control a player sprite, generate enemy sprites, and program interactions between them. By the end of this lesson, you will have a fully functional game where your player sprite can shoot at the enemy sprites and earn points. Let's get started!
Read the welcome briefly so students know the end goal: a shooter with ghosts, score and health. Do not linger. Confirm everyone can see the Arcade editor before the next step.
Open the MakeCode Arcade website using the link below and create a new project. You can call the project whatever you want.
Ensure every student has a new Arcade project open and named. Watch for students editing someone else's shared link. If the class has a save routine, remind them once now so projects are not lost mid-lesson.
First let's create our player sprite.
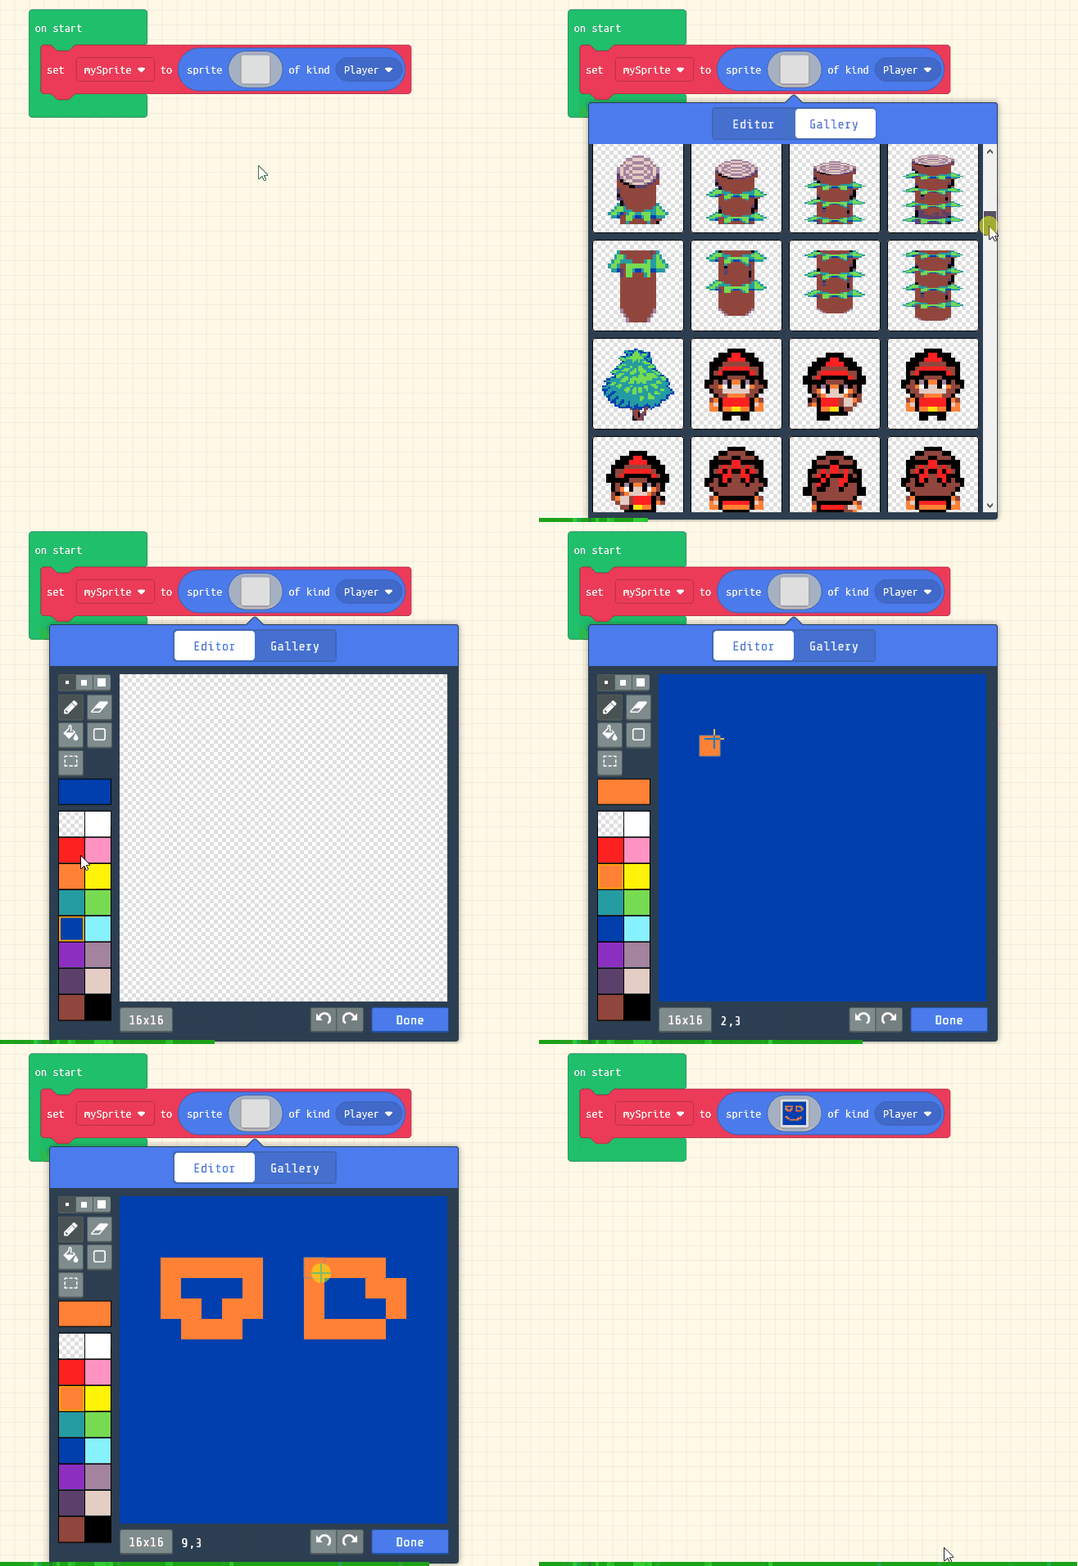
Add the following code and choose the blue space ship sprite:
let mySprite: Sprite = null
mySprite = sprites.create(img`
. . . . . . . c d . . . . . . .
. . . . . . . c b . . . . . . .
. . . . . . . f f . . . . . . .
. . . . . . . c 6 . . . . . . .
. . . . . . . f f . . . . . . .
. . . . . . . 8 6 . . . . . . .
. . . . . . 8 8 9 8 . . . . . .
. . . . . . 8 6 9 8 . . . . . .
. . . . . c c c 8 8 8 . . . . .
. . . . 8 8 6 6 6 9 8 8 . . . .
. . 8 f f f c c e e f f 8 8 . .
. 8 8 8 8 8 8 6 6 6 6 9 6 8 8 .
8 8 8 8 8 8 8 8 6 6 6 9 6 6 8 8
8 8 8 8 8 8 8 8 6 6 6 6 9 6 8 8
`, SpriteKind.Player)
Model creating the player sprite and picking the blue ship on the board. Key question: where should the ship start so it feels like a shooter? Common bug: sprite created but not visible because the image was left blank. Differentiation: support students by confirming the sprite appears before they add movement.
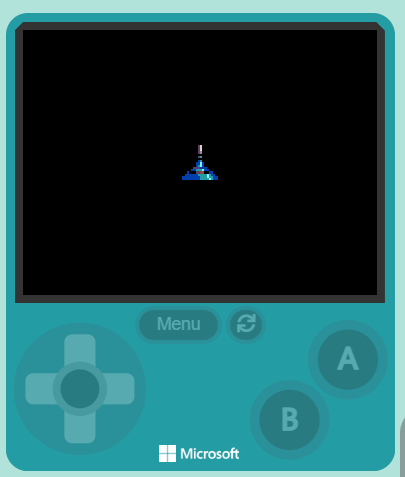
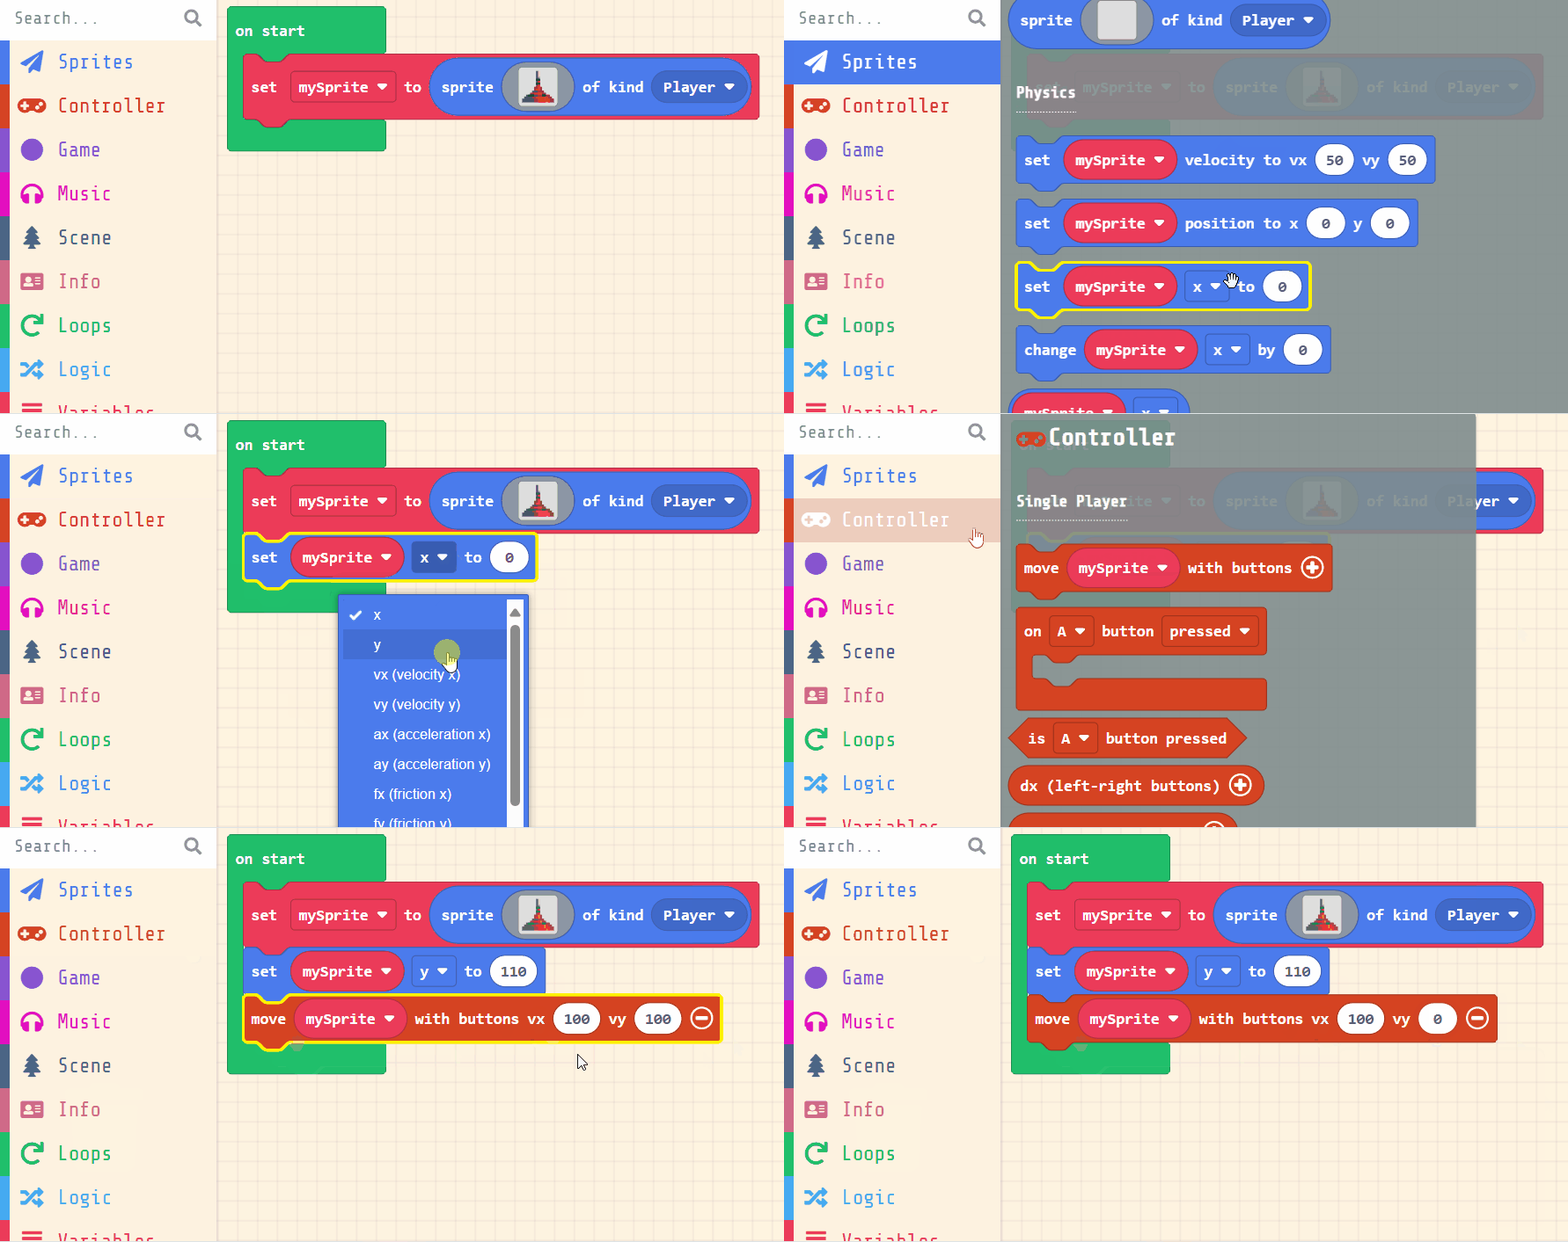
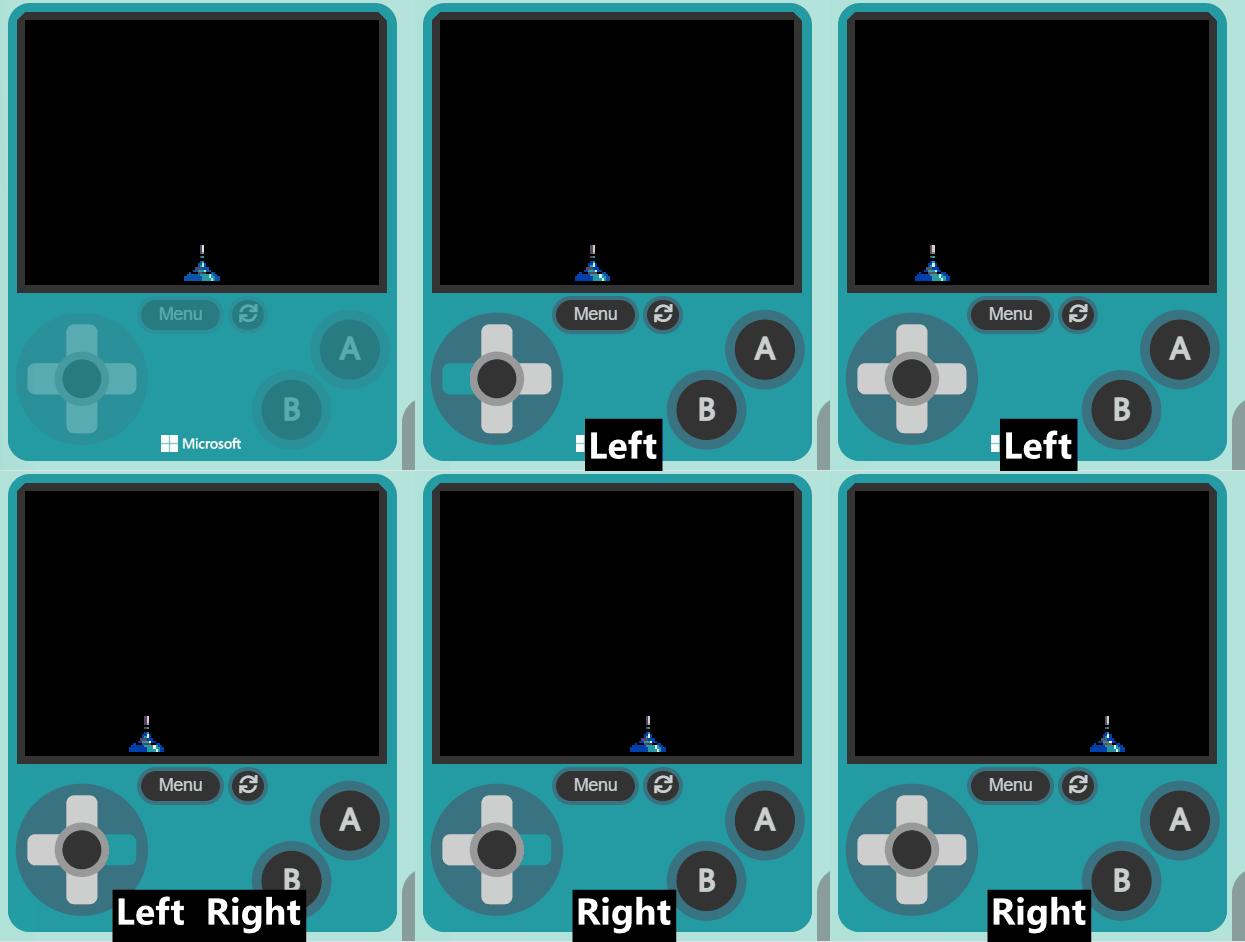
We want to position the player sprite at the bottom of the screen and use the joystick (or arrow keys on your keyboard) to move it left and right.
Add the following new code:
let mySprite: Sprite = null
mySprite = sprites.create(img`
. . . . . . . c d . . . . . . .
. . . . . . . c b . . . . . . .
. . . . . . . f f . . . . . . .
. . . . . . . c 6 . . . . . . .
. . . . . . . f f . . . . . . .
. . . . . . . 8 6 . . . . . . .
. . . . . . 8 8 9 8 . . . . . .
. . . . . . 8 6 9 8 . . . . . .
. . . . . c c c 8 8 8 . . . . .
. . . . 8 8 6 6 6 9 8 8 . . . .
. . 8 f f f c c e e f f 8 8 . .
. 8 8 8 8 8 8 6 6 6 6 9 6 8 8 .
8 8 8 8 8 8 8 8 6 6 6 9 6 6 8 8
8 8 8 8 8 8 8 8 6 6 6 6 9 6 8 8
`, SpriteKind.Player)
mySprite.y = 110
controller.moveSprite(mySprite, 100, 0)
position block and put in a value of 110. This will make the sprite go to the bottom.move block and have values of vx 100 and vy 0. This means we can move the sprite left and right (vx) but not up and down (vy).Model positioning at the bottom and controller left/right movement. Ask: what happens if you only set vx and never place the sprite? Watch for students setting both axes so the ship drifts vertically. Circulate and have pairs run once before enemies are added.
You're previewing this lesson. Get full access to this lesson and hundreds more — each one ready to teach, with interactive activities, printable resources and pupil progress tracking built in.