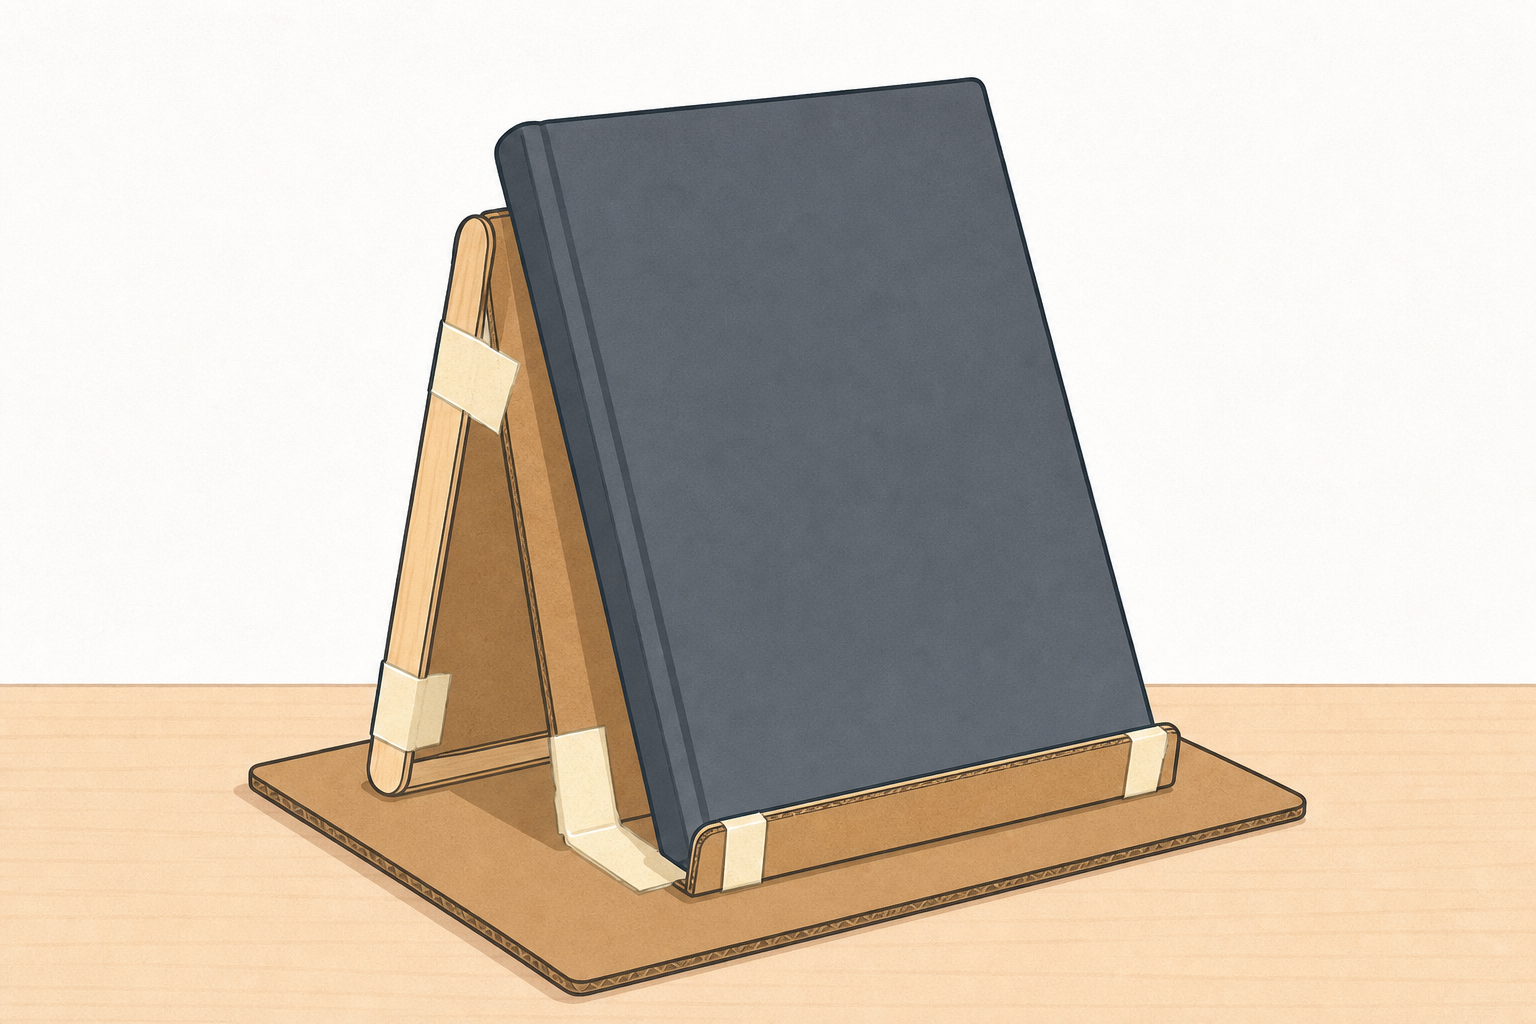
Bring out the model you built earlier in this project. Whether you built a bag hook for the cloakroom, a shelter for the yard toys, or another fix for a school problem, today the question is the same: does it work, what does the evidence show, and how will we explain the whole process to the class?
Have each group's model and Design Brief from Part 1 ready before the lesson. Remind the class of the school problem they chose and the success criteria they agreed. Keep the hook light: no re-teaching the full design process here. Adapt the cloakroom/yard example to whatever problems this class actually chose in Part 1.
Key question: How will we know if our model really solves the problem?
Test your model against the success criteria on your Design Brief. Work through these beats in order:
You will write the fuller conclusion on your Investigation Journal page in the next step. Do not fill an on-screen table during the test.
Before the lesson: clear a test space per group; have a stopwatch or class clock, metre stick or tape measure, and any loads, water or containers the groups' criteria need (only what Part 1 already used).
One recording path only: during the test, pupils jot Trial 1 / Trial 2 on the Design Brief results space or a scratch note. The Investigation Journal stays closed until step 3. If the experiment frame on the IWB shows a results table, treat it as a column model only (Success criterion · Trial 1 · Trial 2 · Met?) so groups match those headings on paper. It is not a second place to type or save results.
Method: each group checks its own single prototype against the success criteria on its Design Brief. This is criterion-checking, not a cross-group comparison of different models. One pupil times or measures, one operates the model, one records on the Design Brief or scratch note. Take each measurement twice if the criterion is numeric.
Worked model (say aloud while one group tests at the front):
Misconception to head off: changing the test halfway to make the model look better. Evidence only counts if the test stays the same.
Differentiation: less confident groups use a simple yes/no checklist against each criterion; confident groups add one measured reading (time, distance or mass held).
On your Investigation Journal page, record what the test showed, whether the model met the brief, and one thing you would change next. Keep what you saw separate from what you think it means. Use the Trial 1 and Trial 2 notes you took during the test.
Pupils use the Investigation Journal page for this lesson. Circulate and push for evidence language: The model held… before So I think…
Look-fors:
If a group's model failed a criterion, treat that as useful evidence, not a failed project.
Each group, count how many of your success criteria the model met and be ready to call out that total. We will enter every group's number on the class chart on the board. When all the bars are up, look at the pattern carefully: groups had different problems and criteria, so a tall bar is not automatically the "best" design. Which bars are tallest, what design choices sit behind them, and could a shorter bar still be a strong result for a harder brief?
Drive the data-recorder interactive on the IWB in explore mode (not display-only) so you can type live. Columns on screen: Group and Criteria met. Open the step by collecting every group's total first: go round the room and enter one row per group as they call out how many of their success criteria they met (for example 0, 1, 2 or 3). Then show the bar chart and run the talk prompts. The interactive is set for up to 12 groups so a full class fits.
Before the bars go up, say aloud: Remember: groups had different school problems and criteria, so we compare carefully. Bars are only like-for-like if every group used the same number of criteria. We are not crowning a winner from the totals alone.
Talk prompts:
No kit fallback: if the interactive is unavailable, tally the same two columns on the board and sketch a simple bar chart by hand.
Every group presents for about 45 seconds. Show your model. Name the problem, one design choice, what the test showed, and one next step.
If you are listening: after every two groups, the class offers one clear comment or one question. Use: One thing that was clear… or One question I still have… Keep it tight so the whole class gets a turn.
Format: whole-class presentations on a tight spine so a full class of groups finishes inside 12 minutes. Aim for about 45 seconds per group (not a full minute). After every two groups, take one shared listener comment. Devices are optional for a photo or chart; the low-cost path is the model in hand plus the journal page.
Hard pacing lever (protect step 6): put a visible 45-second timebox on the board or use a simple timer the class can see. Rule: if you are behind after the first half of groups, skip the listener comments for the remaining pairs and keep every group on the 45-second spine. Do not cut groups out. Do not run full one-minute slots. The reflect step must still start with about 7 minutes left.
Presentation spine (display on the board if helpful):
Listener role (keep visible on the board for the watching class):
Nature of STEM: name it plainly after two or three groups: this is investigate, build, evaluate and communicate — the same cycle engineers and scientists use on real problems in Ireland and beyond.
You're previewing this lesson. Get full access to this lesson and hundreds more — each one ready to teach, with interactive activities, printable resources and pupil progress tracking built in.