Beginner
60 mins
Teacher/Student led
+80 XP

The Operating System: Settings You Can Actually Use

Learn to navigate your device's settings to adjust comfort options like volume and brightness. Discover and try accessibility features such as zoom or larger text to make computer work easier and more inclusive.

Teacher Class Feed

Load previous activity

    1 - Introduction ~5 mins

    Welcome

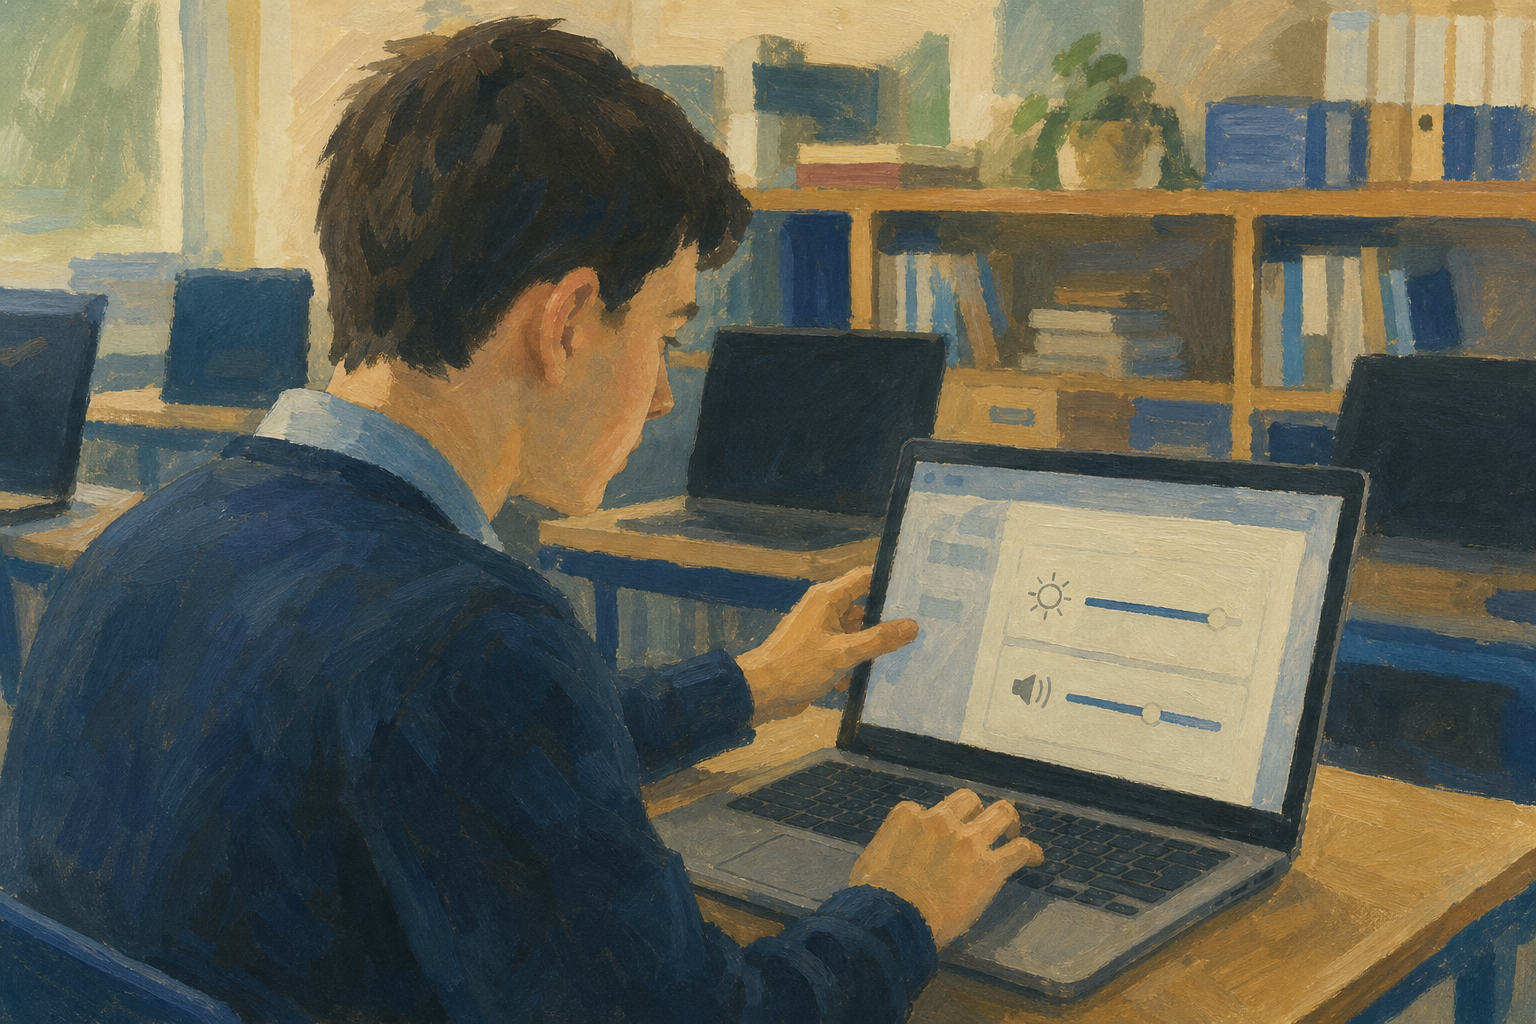
    Illustration for IntroductionYour machine has a control centre full of settings that change how comfortable long computer work feels. Today you open that control centre on your own device, tweak a few everyday options, and try one accessibility feature that real workplaces and Work Experience placements expect people to know about.

    By the end of this lesson, you will be able to:

    • Navigate Settings (Windows/Chromebook) or System Settings (Mac)
    • Adjust brightness and volume for comfortable work (and optionally check date and time if unlocked)
    • Locate and turn on accessibility features such as zoom, larger text, high contrast, dictation or read-aloud
    • Try one accessibility feature for at least five minutes and describe who it helps

    Warm-up

    Think about the last time you worked on a screen for more than twenty minutes. Was the display too dim, the volume too loud, or the text too small? Keep one of those annoyances in mind. You will fix something like it before the end of class.

    2 - Key Concepts ~6 mins

    Three ideas sit behind every click you make in Settings. Your teacher may project one row at a time. Use the table as a quick reference during the practical work; you do not need to memorise it first.

    ConceptWhy it mattersExample
    Operating system (OS) — the software that starts when you switch the machine on and controls hardware, apps, and files Knowing your OS (Windows, macOS, or ChromeOS) tells you which Settings path to follow A school laptop running Windows 11 uses Settings; a MacBook uses System Settings; a Chromebook uses ChromeOS Settings
    System settings — the control panel for display, sound, language, date and time, and accessibility Customising settings makes long project work more comfortable and less distracting Turning brightness down in a sunny prefab classroom so the projector slide and your laptop screen are both readable
    Accessibility features — built-in tools that change how you see, hear, or control the computer (zoom, larger text, high contrast, dictation, read-aloud) They help people with different needs, and they also help anyone working in a bright room, on a small screen, or when typing is slow Magnifier or Zoom during a Work Experience stocktake on a small laptop so product codes stay readable

    Sample Accessibility Try-Out note (save later as {{code:01_accessibility_note}})

    Your portfolio page today is short. Aim for clear sentences like this sample (do not copy it word for word):

    Feature tried: Magnifier (Windows) / Zoom (Mac) / ChromeVox or built-in zoom (Chromebook)

    What it does: It enlarges part or all of the screen so small text and icons are easier to see.

    Who it helps: Someone with low vision, and also anyone checking small print on a form or a payslip-style PDF on a small laptop screen.

    My five-minute try: I kept zoom on while I opened my Project Portfolio and read a short file. Navigation was slower at first, but headings were much clearer.

    3 - Step-by-step Task ~15 mins

    Follow the tab for your operating system. Mandatory path: open Settings, adjust brightness and volume (skip brightness if your machine has no slider), open Accessibility, and turn one feature on. Steps marked optional (date and time, speech tools) only if you have time. Leave that one feature on until you finish the portfolio note later in the lesson.

    4 - Common Issues ~4 mins

    Common Issues

    IssueSolution
    I cannot find Settings at all Windows: use {{btn:Start}} then the gear icon, or press {{kbd:Win+I}}. Mac: {{btn:Apple menu}} then {{btn:System Settings}}. Chromebook: click the time on the shelf, then the gear icon.
    There is no brightness slider Common on desktop PCs and external monitors. Skip the brightness step, use the buttons on the monitor if it has them, and move on to volume. You have not failed the lesson.
    The Accessibility page looks different from the instructions School devices and OS versions move labels around. Search inside Settings for words like Magnifier, Zoom, Narrator, Spoken Content, or ChromeVox and open the closest match.
    Everything is huge and I cannot find the off switch Use the same zoom shortcut in reverse, or open Accessibility again and toggle the feature Off. On Windows Magnifier, {{kbd:Win+Esc}} often closes it quickly.
    I changed the keyboard layout and typing looks wrong Return to language or keyboard settings and reselect the school layout (often English Ireland or English UK). Ask your teacher before changing layouts on shared machines.
    Dictation or read-aloud will not start Check the microphone permission, wear headphones if the room is noisy, and confirm the feature is allowed on school devices. If it is blocked, choose zoom, text size, or high contrast instead.

    5 - Independent Practice ~20 mins

    Independent Practice

    Your goal: Keep one accessibility feature on, use it for five real minutes, then save a short note. This note is portfolio evidence for long screen work and later Key Assignments.
    Time: ~20 minutes
    Task:
    1. Five-minute try (feature still on): Use the computer normally for at least five minutes. Open a long homework file, a report, any file your teacher names, or your Something Real project brief if you already have one. Navigate folders or Settings pages with the feature left on. Do not start typing the note yet.
    2. Folder check with your teacher: Confirm you can open {{code:Project_Portfolio}} and then open the {{code:01_brief}} folder inside it. If {{code:01_brief}} is missing, ask the teacher before you continue. Your teacher may create the folder with you.
    3. Create and rename the note: Watch the short teacher demo on the board first. Then open your school cloud storage (OneDrive at {{code:onedrive.com}} or Google Drive at {{code:drive.google.com}}), open {{code:Project_Portfolio}}, and open {{code:01_brief}}. Create a blank cloud document in that folder the same way your teacher just showed. Click the title at the top of the page and rename it to exactly {{code:01_accessibility_note}} (the automatic file type is fine). If cloud create is slow, draft in a local text editor and move or upload the file into {{code:01_brief}} with that same name before the end of class.
    4. Write four short lines using the same structure as the sample in Key concepts, in your own words:
      • Feature tried:
      • What it does:
      • Who it helps:
      • My five-minute try:
    Success criteria:
    • Exact name {{code:01_accessibility_note}} is visible inside {{code:Project_Portfolio}} then {{code:01_brief}} (required location)
    • The note names one accessibility feature you actually turned on
    • The note explains what the feature does and who it could help, in your own words
    • The note includes a short comment on your five-minute try (what felt easier or harder)

    When you finish writing, you may turn the accessibility feature off, or leave it on if it genuinely helps you. Either choice is fine.

    123learn · Online learning platform

    Unlock the full learning experience

    You're previewing this lesson. Get full access to this lesson and hundreds more — each one ready to teach, with interactive activities, printable resources and pupil progress tracking built in.

    Hundreds of curriculum-aligned lessons
    Interactive activities in every lesson
    Printable resources & progress tracking
    Copyright Notice
    This lesson is copyright of Coding Ireland 2017 - 2025. Unauthorised use, copying or distribution is not allowed.
    🍪 Our website uses cookies to make your browsing experience better. By using our website you agree to our use of cookies. Learn more