Today you will
- turn on Track Changes and see who made each change
- add a comment and reply to it
- make a reviewed copy of your newsletter called {{code:sm1_doc2_newsletter_reviewed}}
 If you don't have a newsletter yet, that's fine. You'll get one to paste in later.
Warm-up
Think of the last time someone corrected your writing. Did they write over your words, or leave notes beside them?
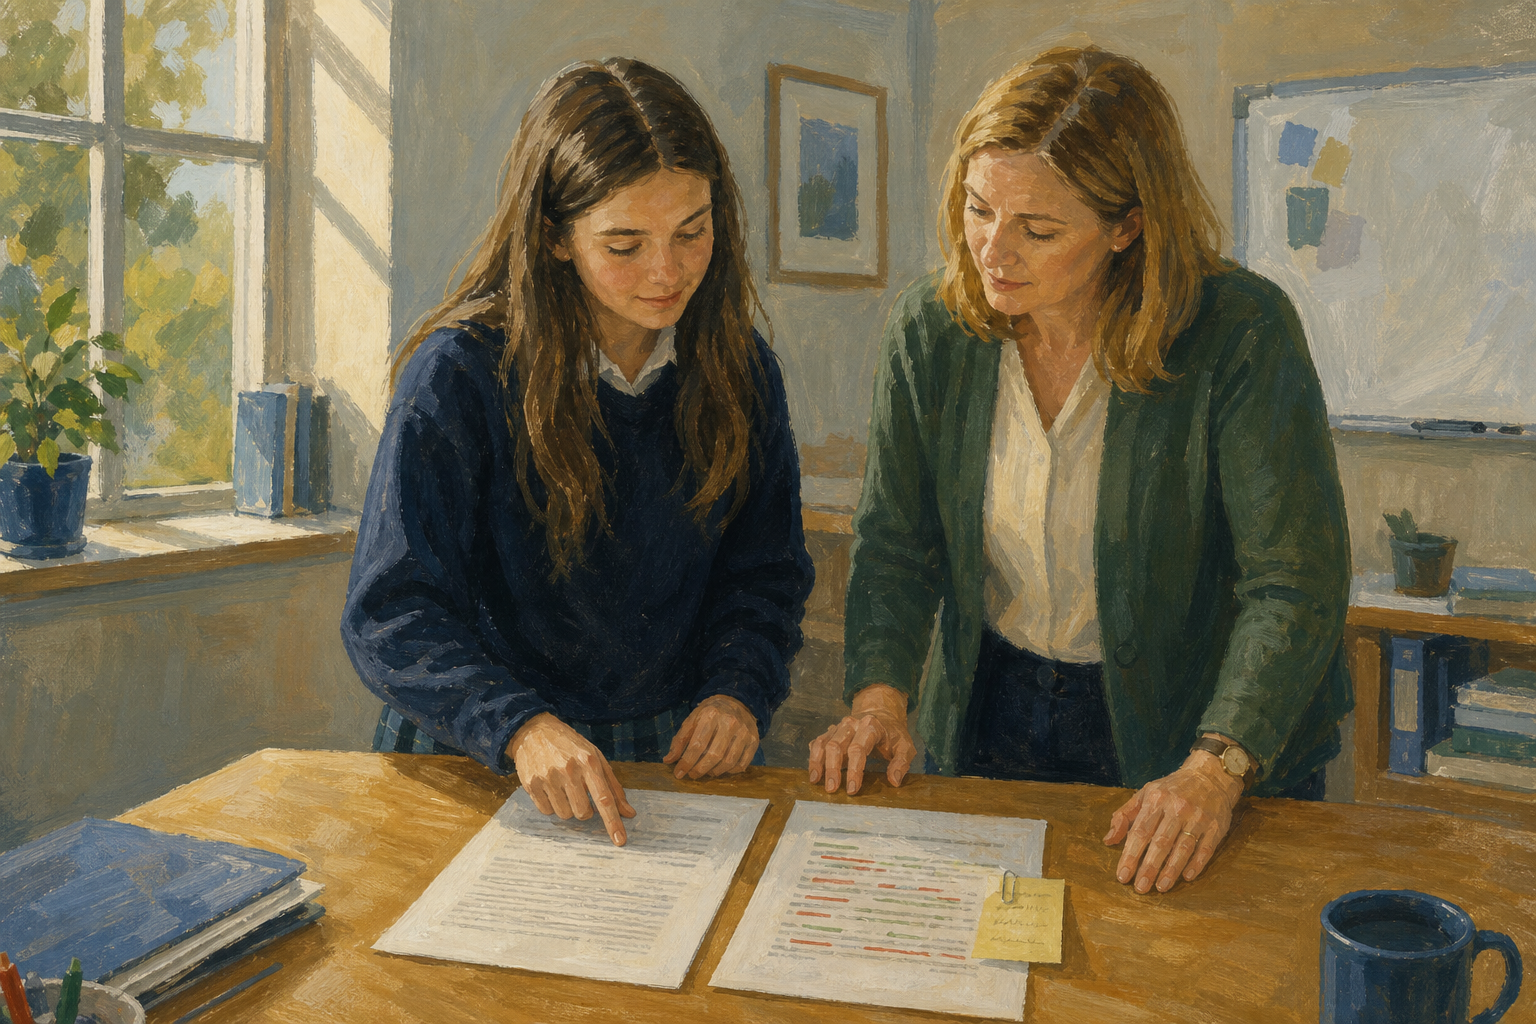
Track Changes (called Suggesting in Google Docs) shows every edit in colour, with the name of the person who made it.
A comment is a note pinned to some words. It asks a question without changing the text.
A reply is an answer written under someone's comment.
A reviewed copy is a separate file for the markup, so your clean newsletter stays safe.
Example
On a catering newsletter, €8 per tray becomes €9 per tray. A comment asks to add the school email.
You will practise on a short file first, not on your real newsletter. Watch your teacher, then follow the steps in the box below.
You will paste this paragraph when the steps tell you to:
Spring menu update: trays are €8 each and orders close next Friday. Contact Aoife on 08X for collection from the school gate.
Common issues
- My edits don't show in colour. Review is off. Turn on {{btn:Track Changes}} or choose {{btn:Suggesting}}, then try again.
- My comment is on the wrong words. Delete it, select the right words, then add it again.
- I changed my clean newsletter by mistake. Use version history to get the clean version back, or ask your teacher.
Independent Practice
- In {{code:sm1}}, find your newest newsletter file. Its name starts with {{code:sm1_doc2_newsletter}}.
- Right-click it and make a copy. In OneDrive, choose {{btn:Copy to}}. In Google Drive, choose {{btn:Make a copy}}.
- Rename the copy {{code:sm1_doc2_newsletter_reviewed}}. Show your teacher before you edit anything.
- Open the copy and turn on {{btn:Track Changes}} or {{btn:Suggesting}}.
- Make three edits that make it clearer. Add one comment that asks a question.
If you have no newsletter, make a new document in {{code:sm1}} called {{code:sm1_doc2_newsletter_reviewed}} and paste in the text below. Then turn on Track Changes or Suggesting and make your edits and comment.
Harbour Side Snacks News
Back at the pier
Our pop-up stall is back beside the pier next Friday from 4 to 7, with toasties at €4 and hot chocolate at €2, and we take cash or Revolut so bring whichever suits you.
Pre-order for your club
Text Aoife on 08X to order a tray of toasties for a match or a meeting.
- {{code:sm1_doc2_newsletter_reviewed}} is saved in {{code:sm1}}.
- Three edits show in colour.
- One comment asks a question.
- I can point to the name on a change.
Unlock the full learning experience
You're previewing this lesson. Get full access to this lesson and hundreds more — each one ready to teach, with interactive activities, printable resources and pupil progress tracking built in.
This lesson is copyright of Coding Ireland 2017 - 2026. Unauthorised use, copying or distribution is not allowed.