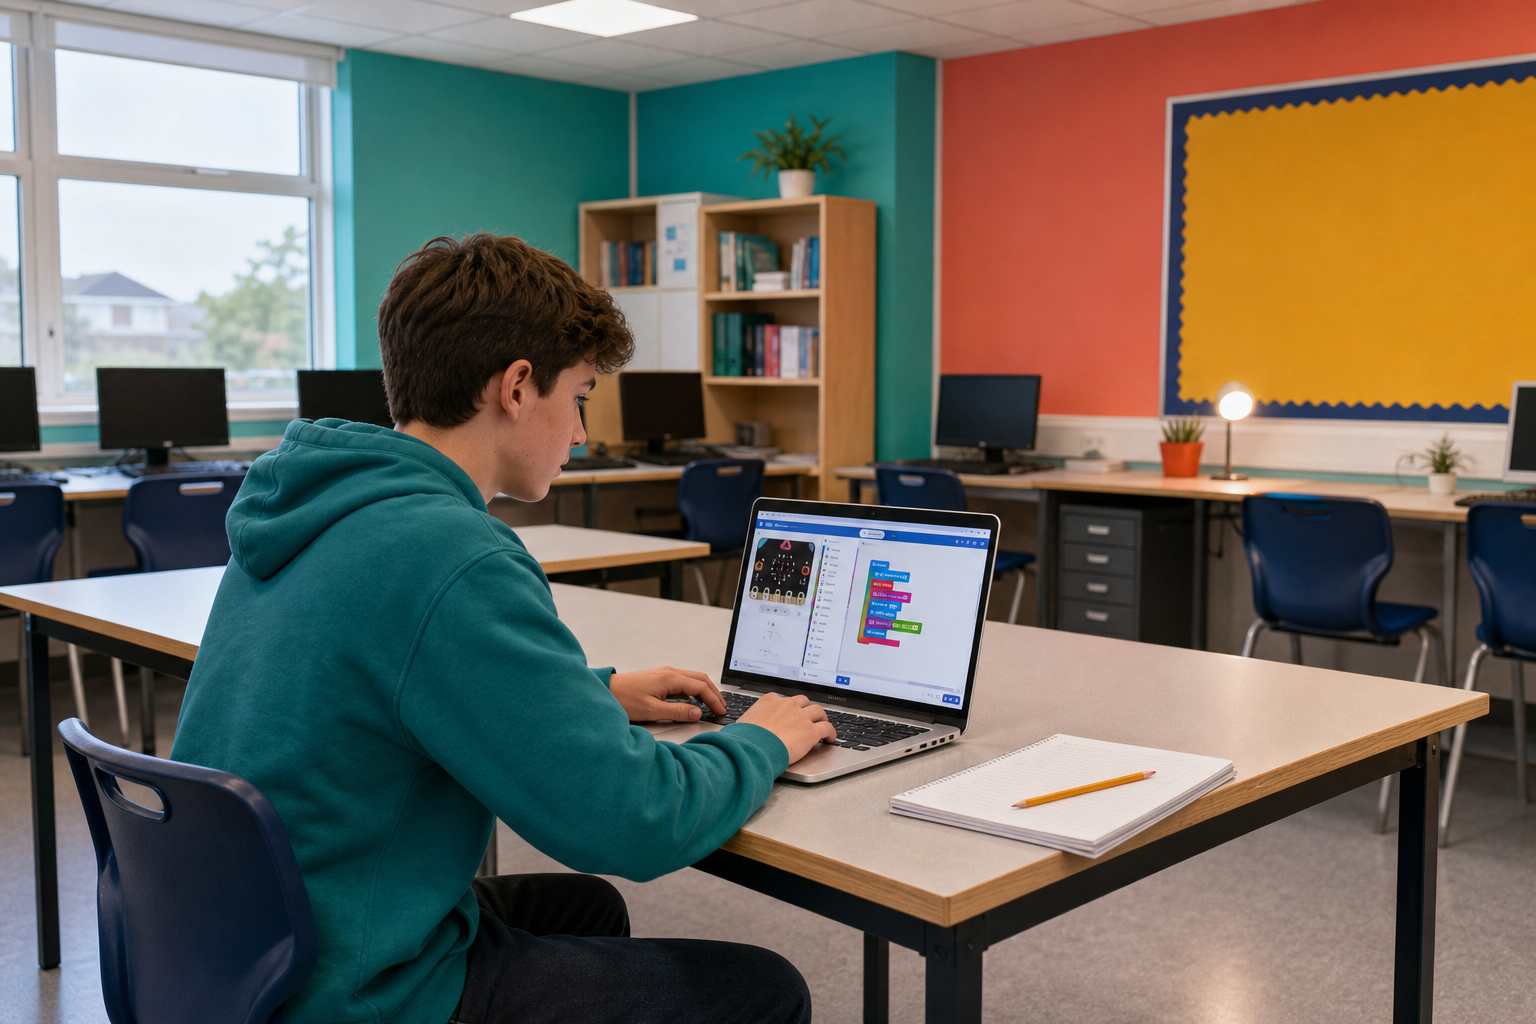
 Today you are coding in Python with the micro:bit editor.
You can already make things move and show messages with blocks. Now you will type a short first program, run it, and fix anything that does not work.
Before you build, think: what might be the same as blocks, and what might feel new when the code is typed?
You have been building programs by dragging blocks. Today you type the same kind of instructions instead.
The thinking does not change: still a sequence, still run in order. What changes is that the computer no longer stops you making a shape that cannot fit. Spelling has to be exact, and the spaces at the start of a line, called indentation, are part of the code rather than decoration.
Expect errors. An error message is the editor telling you where it stopped, which is more than a block ever told you.
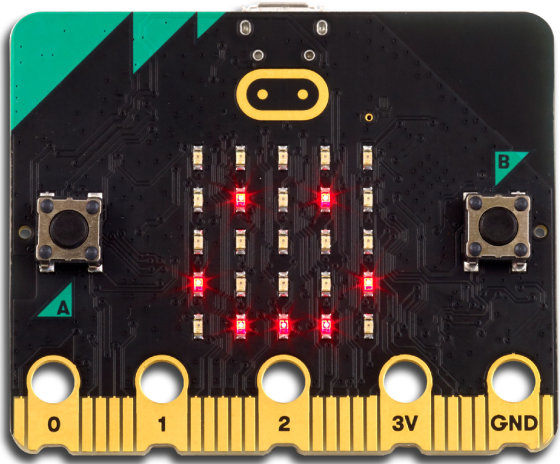
Visit the Micro:bit Python editor by clicking here. This will open up a new browser tab and show the Python code editor where you will write and test your Python code throughout this course.
When you start a new project, you might see some default code like this:
# Imports go at the top
from microbit import *

# Code in a 'while True:' loop repeats forever
while True:
    display.show(Image.HEART)
    sleep(1000)
    display.scroll('Hello')
Keep the first line of the code, which is:
from microbit import *This line is important because it imports all the commands you need from the Micro:bit library, allowing you to use them in your code. Without this line, you won't be able to access the Micro:bit's features like the display or buttons.
Delete the rest of the code before moving to the next step.
To create a new Python project for a Microbit, open the website python.microbit.org.
This will open the code editor with a new project. It might have some example code already added such as:
# Imports go at the top
from microbit import *

# Code in a 'while True:' loop repeats forever
while True:
    display.show(Image.HEART)
    sleep(1000)
    display.scroll('Hello')
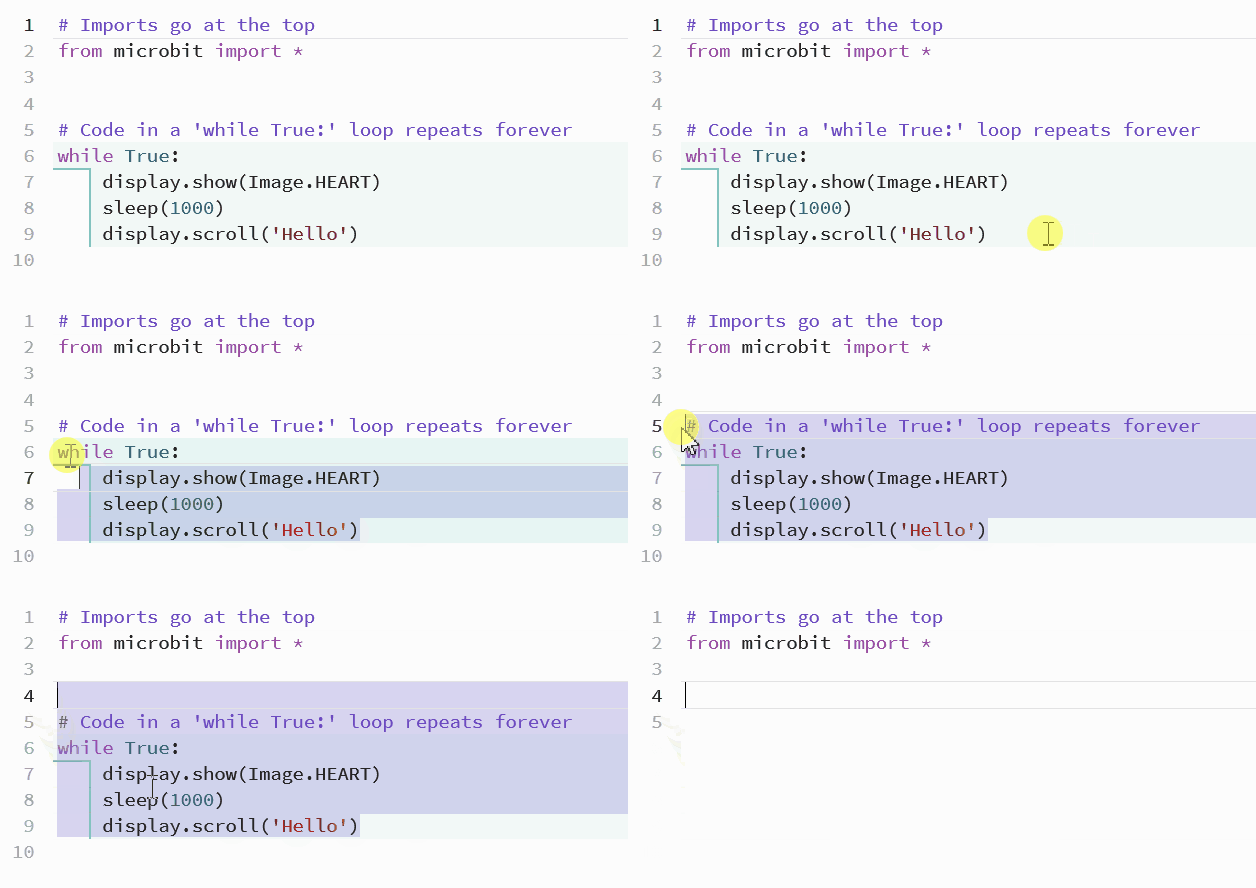
You should delete this code except for the import line that you will need. This imports the necessary libraries you will need to code a microbit.
# Imports go at the top
from microbit import *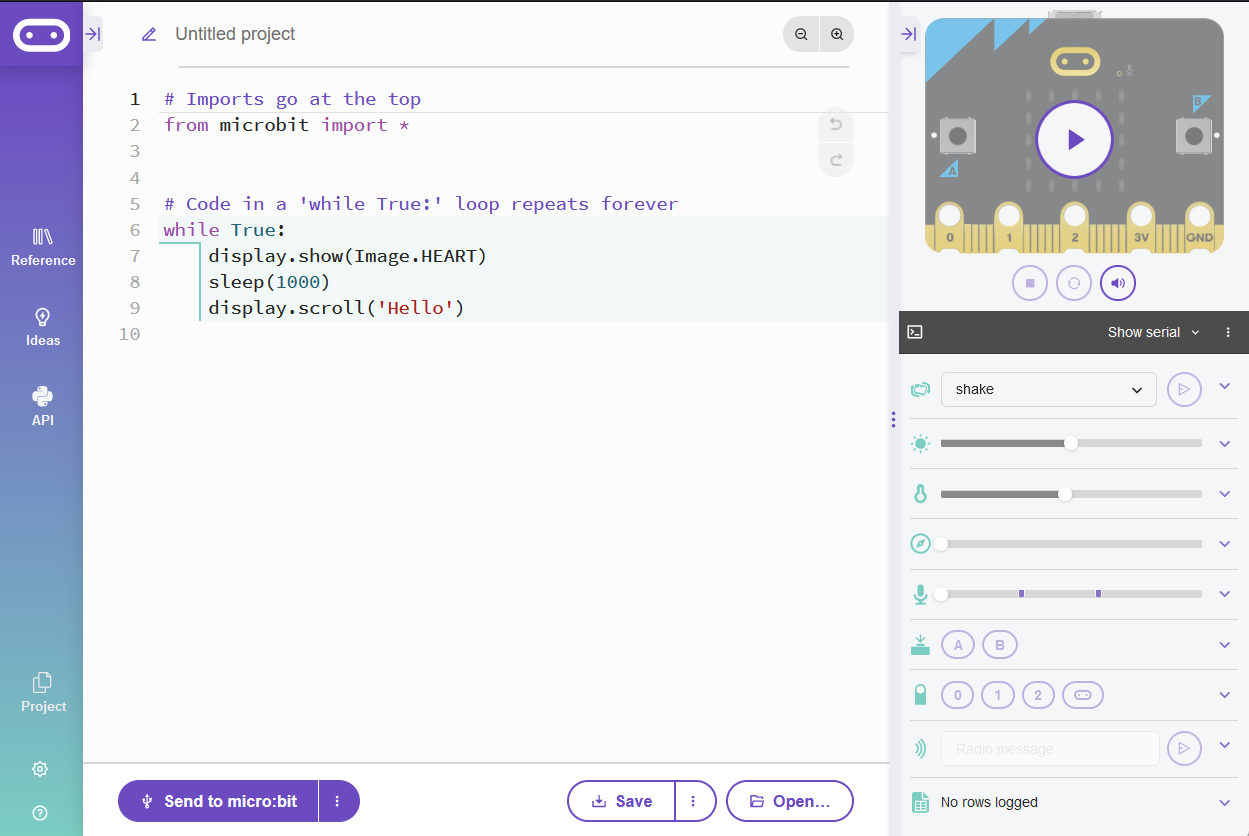
Python has a simple syntax that makes it easy to read and write.
Python uses indentation to define code blocks. Each level of indentation is represented by 4 spaces or a tab. Here's an example:
x = 5

if x > 0:
    display.scroll("x is positive") # this line is indented

y = -3 # this line is NOT indented

if y < 0:
    display.scroll("y is negative")
Notice how the display.scroll statements are indented to show that they're inside the if blocks. The next lines of code after the first if block are not indented, indicating that they are not inside the first if block.
Comments are an essential part of any programming language. They allow you to add notes and explanations to your code. In Python, you can create comments using the # symbol. Any text after the # symbol on the same line will be considered a comment and ignored by the interpreter.
When we say 'ignored by the interpreter', it means that the Python interpreter, which reads and executes your code, will not consider the text after the # symbol as part of the code. It will treat it as a note or explanation, and it won't affect the execution of your program.
Here's an example:
# This is a comment
print("Hello, World!") # This is an inline commentUnlock the full learning experience
You're previewing this lesson. Get full access to this lesson and hundreds more — each one ready to teach, with interactive activities, printable resources and pupil progress tracking built in.
This lesson is copyright of Coding Ireland 2017 - 2026. Unauthorised use, copying or distribution is not allowed.