Intermediate
40 mins
Teacher/Student led
+65 XP
Pupils work on their own device
 Chromebooks, laptops, and PCs are crucial tools for coding and digital skills education. Chromebooks are ideal for web-based applications and collaborative projects, while laptops and PCs support a wider range of programming environments and software for more intensive tasks like software development and data analysis.
Animate a Pendulum, Part 2: Reverse, Balance and Export
Students reverse and mirror their frames into a full swing cycle, delete the guide layer, refine the timing and export a looping GIF. This lesson counts towards outcome 3.8: students use these editing skills to build their digital montage in the montage lessons that follow.
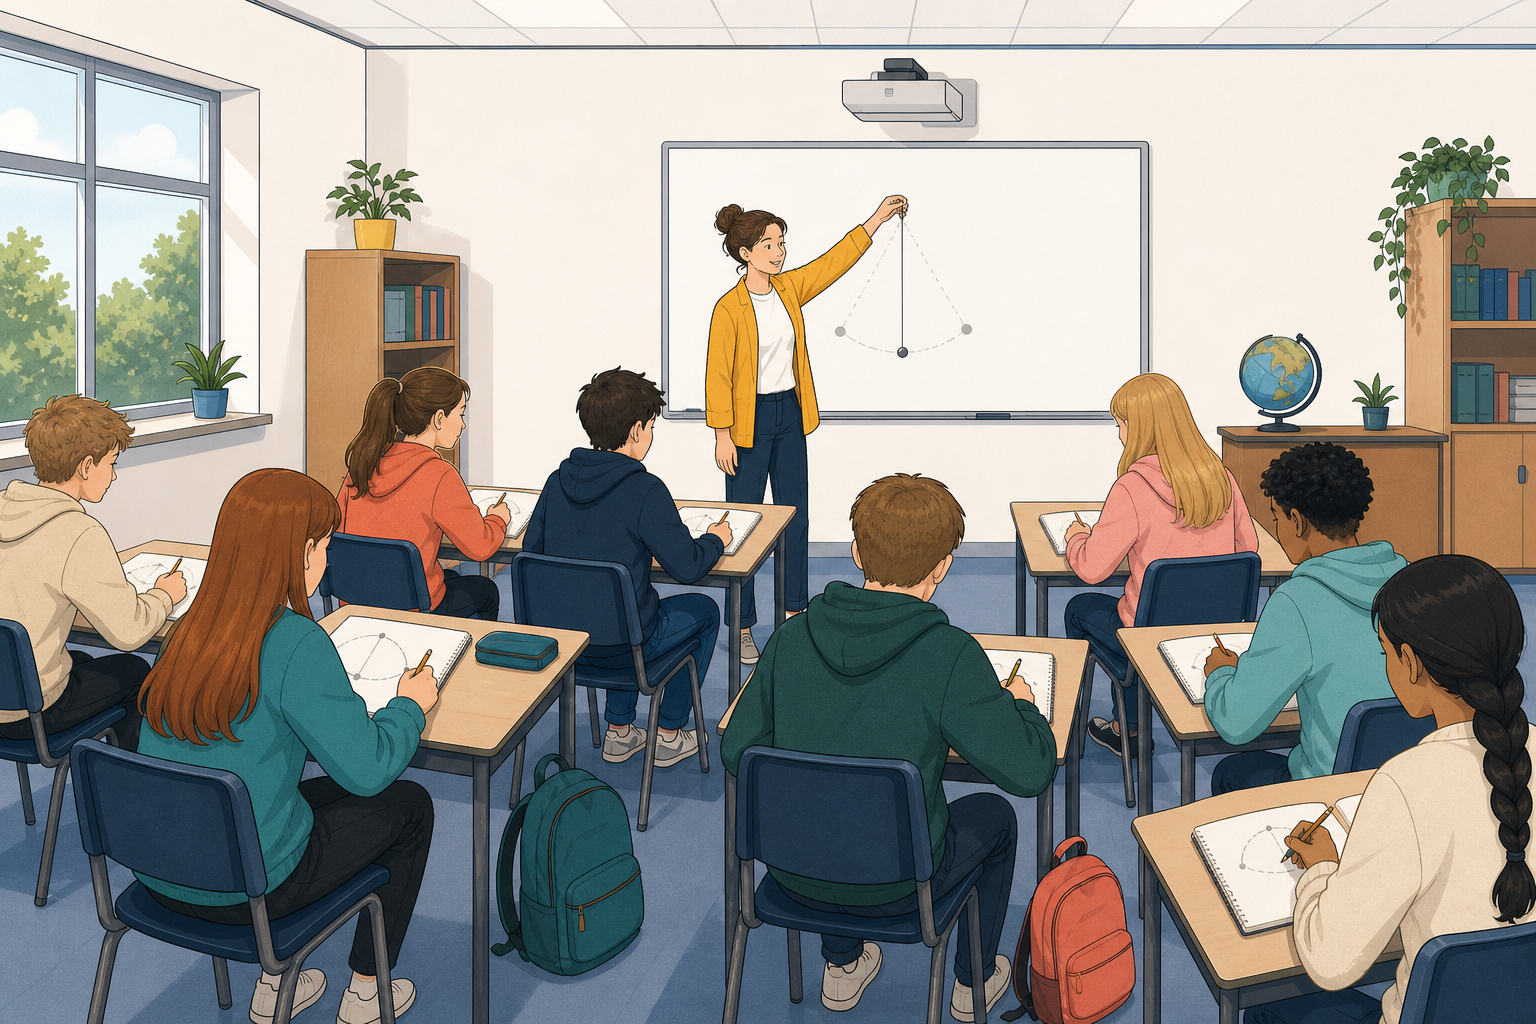 Last lesson your pendulum swung one way and stopped. Today you will add the swing back, make both sides match, and export it as a GIF file.