Intermediate
40 mins
Teacher/Student led
+70 XP
Pupils work on their own device
 Chromebooks, laptops, and PCs are crucial tools for coding and digital skills education. Chromebooks are ideal for web-based applications and collaborative projects, while laptops and PCs support a wider range of programming environments and software for more intensive tasks like software development and data analysis.
Animate It, Part 2: Layers, Timing and Getting It Out
Students split their animation onto layers, change the frame rate, save an editable project and export a finished GIF. This lesson counts towards outcome 3.8: students use these editing skills to build their digital montage in the montage lessons that follow.
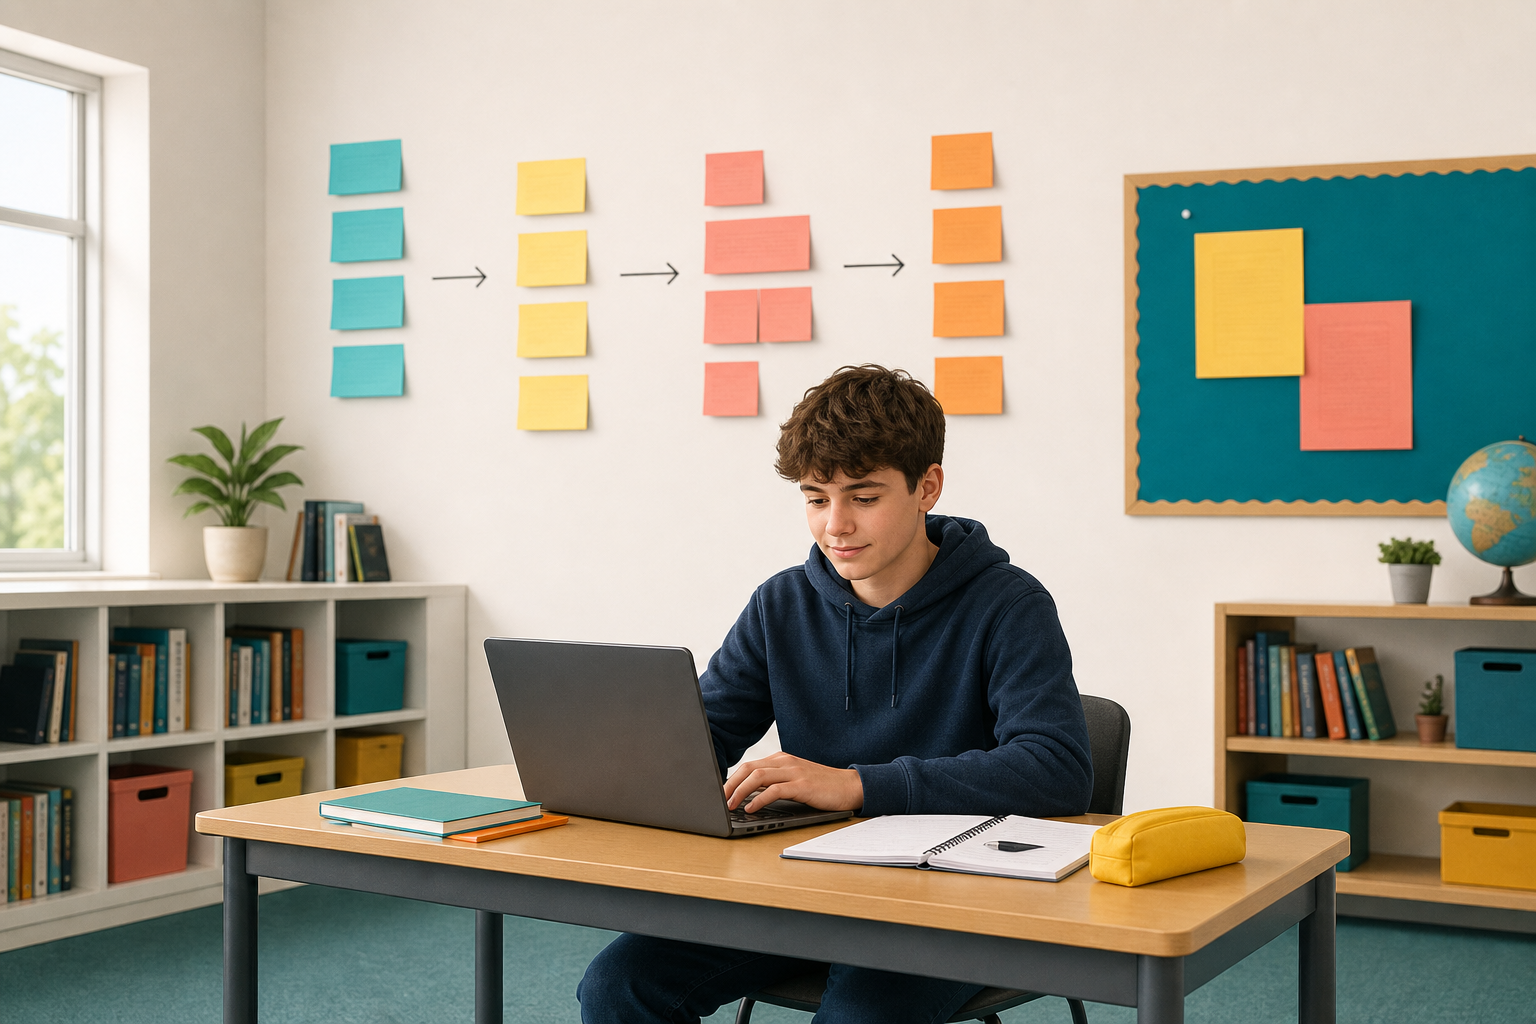 Today you will turn your bouncing ball into a finished animation. You will put the ball and the background on separate layers, change how fast it plays, and save it as a file anyone can watch.