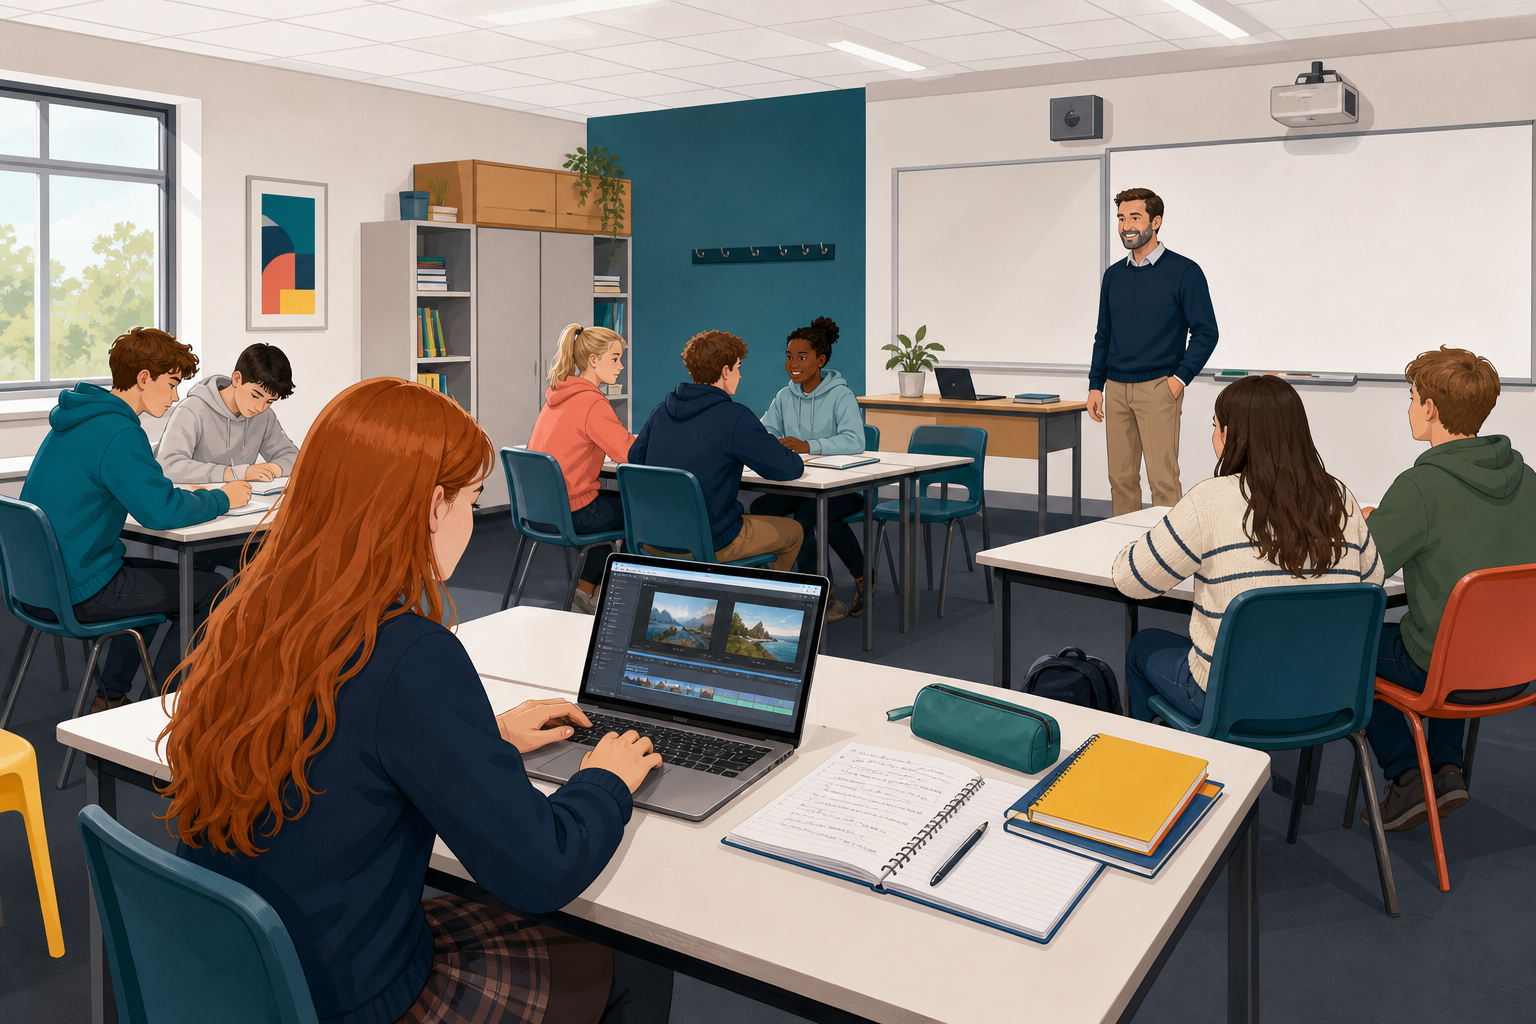
 You already have a draft of your montage, with its parts in order, and a source log that lists everything you borrowed. Today you will add two things a viewer needs. First, you will write captions, which are short lines that say what each part is. Then you will write credits, which say who made each thing you borrowed. At the end, a partner will check that nothing has been left without a credit.
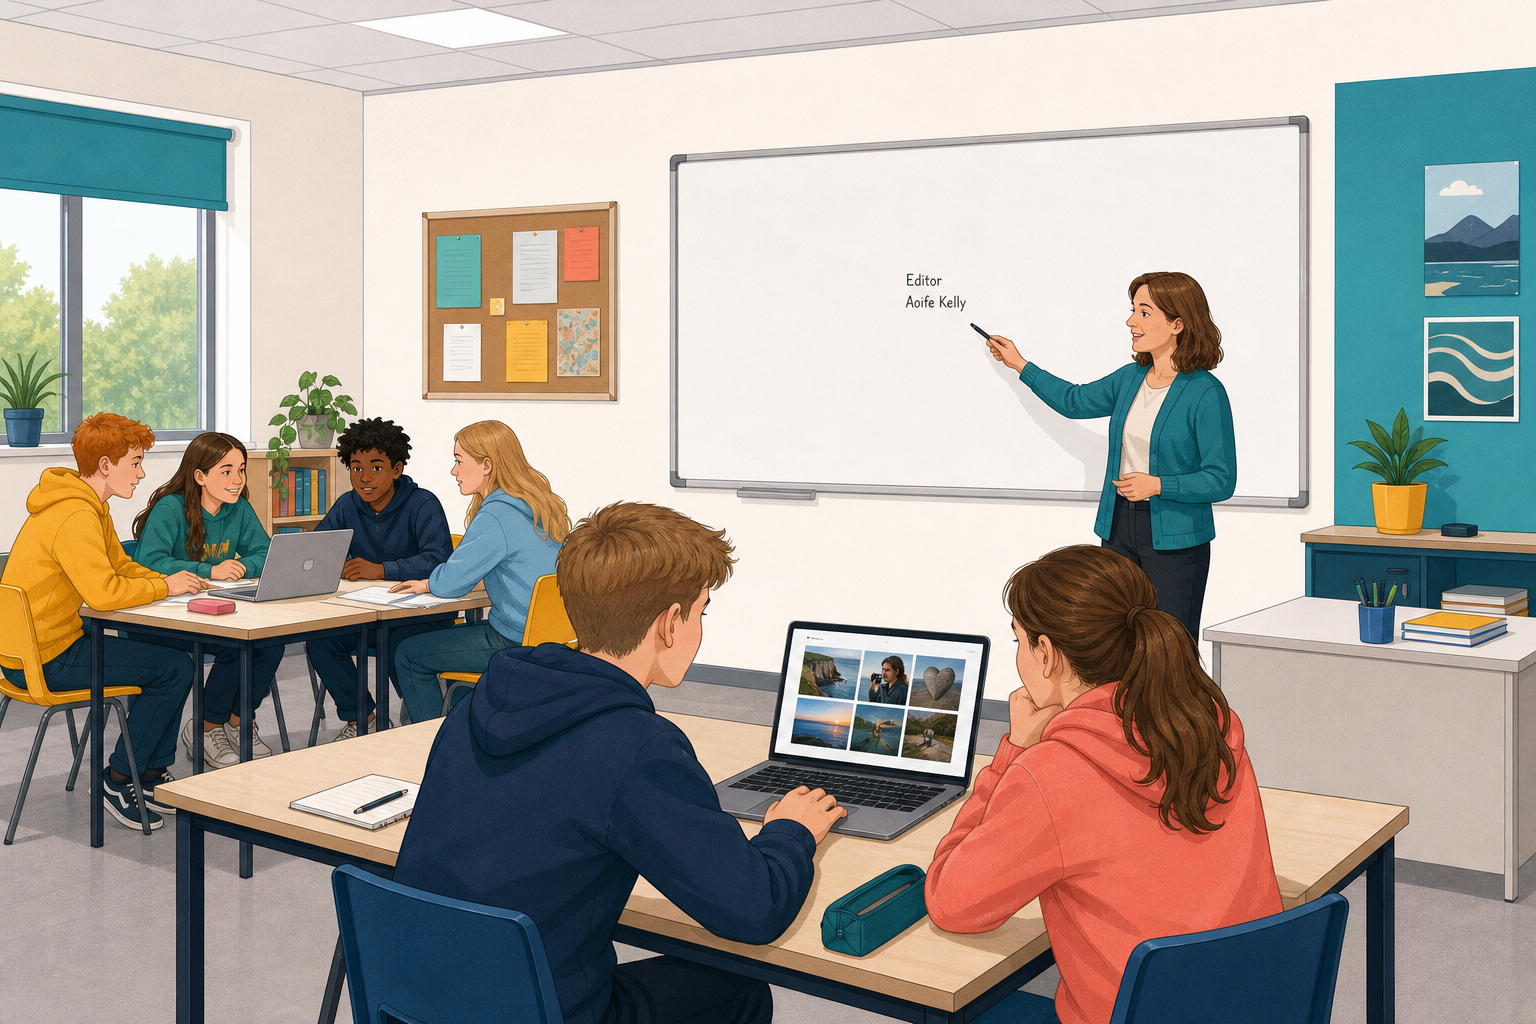 Without captions, a viewer has to guess what they are looking at. Without credits, nobody can see who made the things you borrowed, or that you were allowed to use them.
Look at these two made-up credits for a free-to-reuse photo of a hurling match.
Weak: "Image from the internet."
Strong: "Crowd at a club match, Photo by A. Byrne via Pixabay, free to reuse."
The strong one says what the image shows, who made it, where it came from and what the licence allows. The licence is the rule about reuse that came with the file. Every borrowed image, clip and sound needs a credit this good.
A good caption says what the viewer is looking at and why that part is in your montage.
Open your montage draft and your source log, and work through these steps on your own.
- Add a caption to each image, clip, sound or section of your montage in your editor. One clear sentence is enough, saying what the part is and why it is there. Captions go on the montage itself.
- Then write a full credit in your source log for every borrowed file. Say what the item is, who made it, where it came from and what the licence allows. If you do not know who made it, write "creator not listed" rather than guessing a name.
- If you have time, start putting credits on the montage in a credits section, an end card (a screen at the end that lists the credits) or a caption block (a box of text on the screen). Begin with any music, then the main image. It is fine if some are not on yet, because your partner will note which credits are still only in your log.
- Save both files the class way, in the place where you normally keep your work for this course.
By about eight minutes, every part should have a caption, so move on to credits.
If you find a line hard to start, use these:
Caption: "This shows ___, and it is here because ___."
Credit: "___ (what it is), by ___ (who made it, or creator not listed), from ___ (where it came from), ___ (what the licence allows)."
Example credit: "Crowd at a club match, by A. Byrne, from Pixabay, free to reuse."
Before you finish, check that a stranger could follow every caption.
Swap with a partner and check their work.
- Open your partner's montage and source log the way your teacher shows you.
- Go through the montage part by part. For every borrowed image, clip or sound, check that there is a credit in the source log, and note whether it is on the montage yet.
- Use the check in the activity below as you go. Then give your partner three notes from it: one thing that works, one missing or weak credit, and one caption that could be clearer, or "captions clear".
- Then fix the top problem your partner found on your own montage. Write any other problems as a short list on your source log for next lesson, and save both files again the class way.
Partner check: montage against source log
What did partners find today? Common gaps are a missing music credit, a caption that only gives a file name, or a credit that is in the log but not on the montage.
Captions help the viewer, and credits respect the people whose work you borrowed, so both need to be on the montage before anyone else sees it. Keep both files saved for the showcase next lesson, when you will show your finished montage, and fix anything on your list at the start of that lesson.
Unlock the full learning experience
You're previewing this lesson. Get full access to this lesson and hundreds more — each one ready to teach, with interactive activities, printable resources and pupil progress tracking built in.
This lesson is copyright of Coding Ireland 2017 - 2026. Unauthorised use, copying or distribution is not allowed.